• Skip to main content
  • Skip to primary sidebar
  • HOME
  • SKIN CARE
  • HAIR CARE
  • HEALTH AND WELLNESS
  • CONTACT US

Sharvayoni

Unearth Nature's Magic - Your Path to Herbal Radiance and Wellnes

coconut oil

Coconut Oil Blonde Hair Color Base: Achieving Natural Radiance

March 30, 2024 by sharvayonibeauty Leave a Comment

For those with blonde hair, maintaining and enhancing your natural color can sometimes be a challenge. Commercial hair dyes often contain harsh chemicals that can damage your locks over time. However, nature offers a gentle alternative in the form of coconut oil, chamomile tea, and lemon juice. In this article, we’ll guide you through the process of creating a homemade blonde hair color base using these natural ingredients. Say goodbye to chemical treatments and hello to a more natural and nourishing way to enhance your blonde locks.

Things Needed

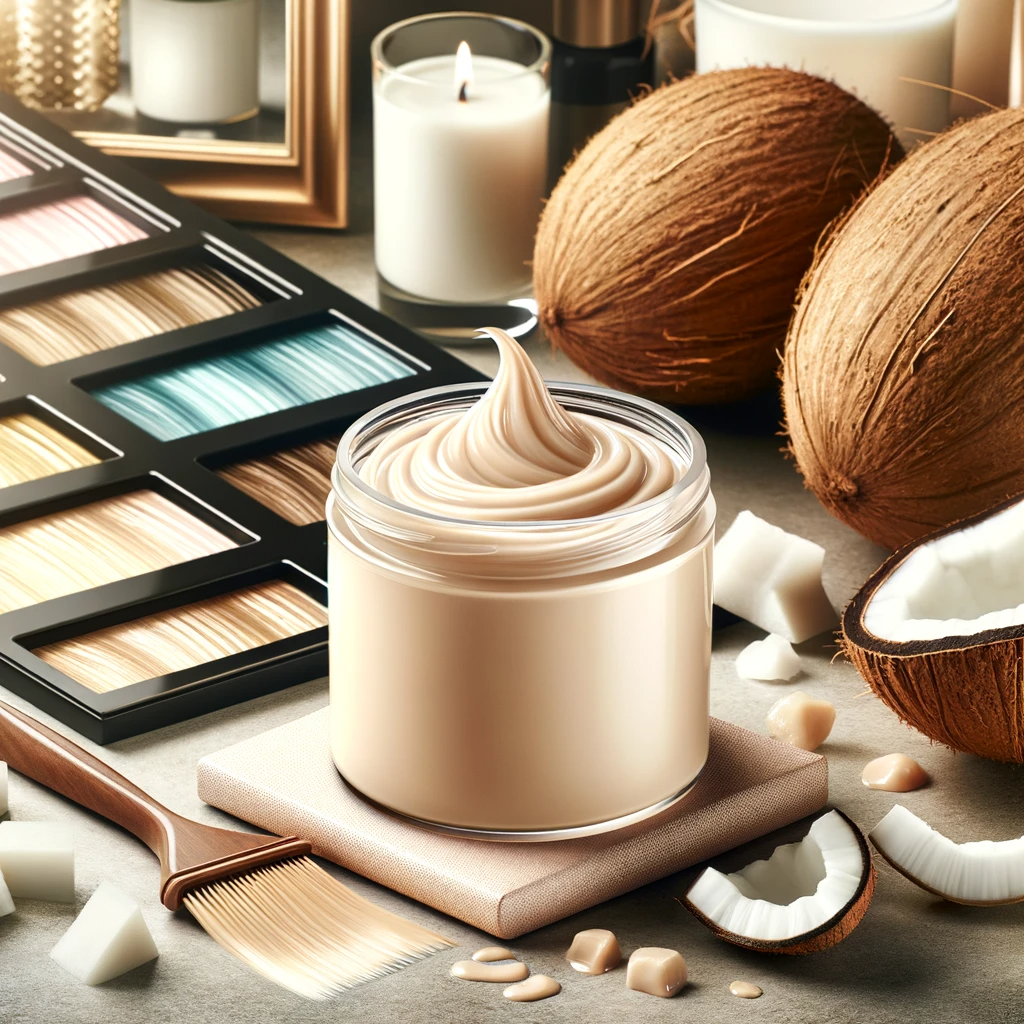
Before we delve into the process of making your own blonde hair color base, let’s gather all the essential items you’ll need:

  1. Strong Chamomile Tea: Prepare 1/2 cup of strong chamomile tea, known for its natural lightening properties.
  2. Fresh Lemon Juice: You’ll require 1/4 cup of fresh lemon juice, which can help lighten and brighten your hair.
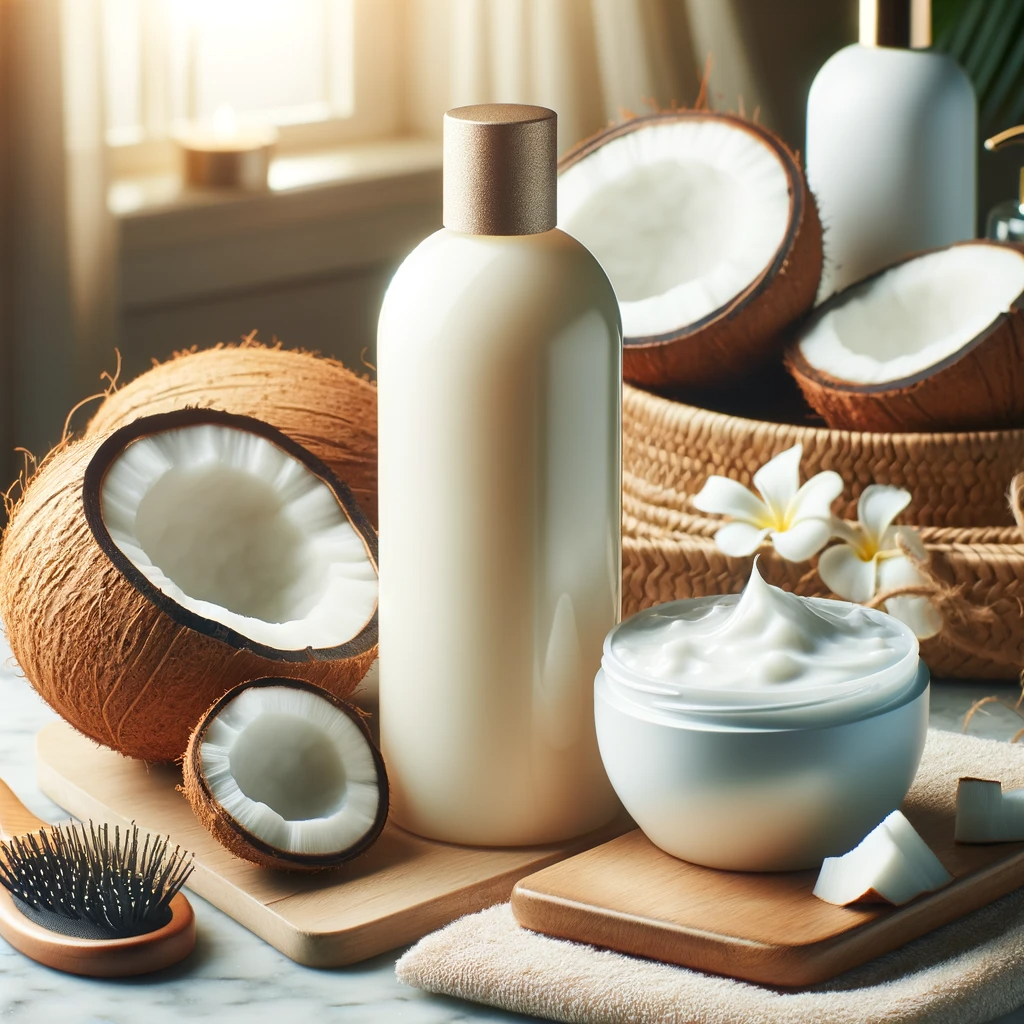
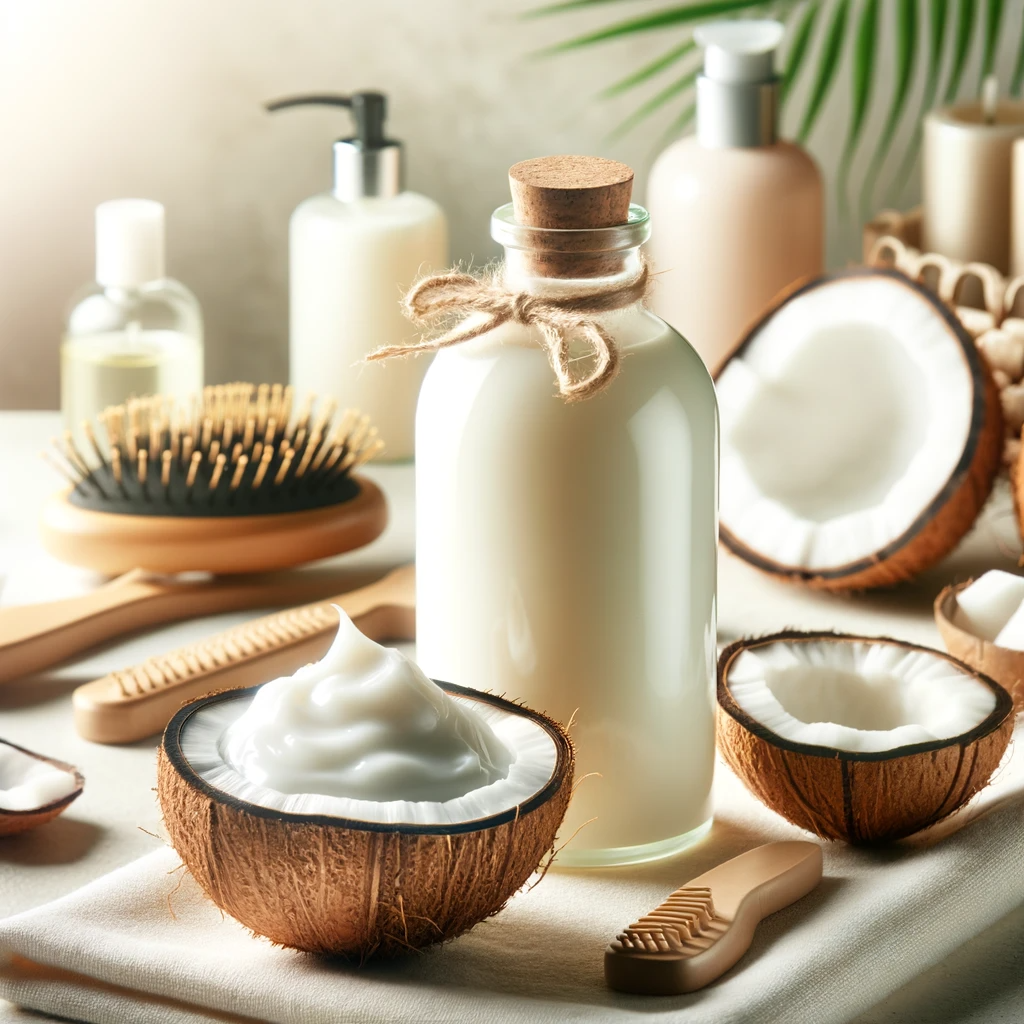
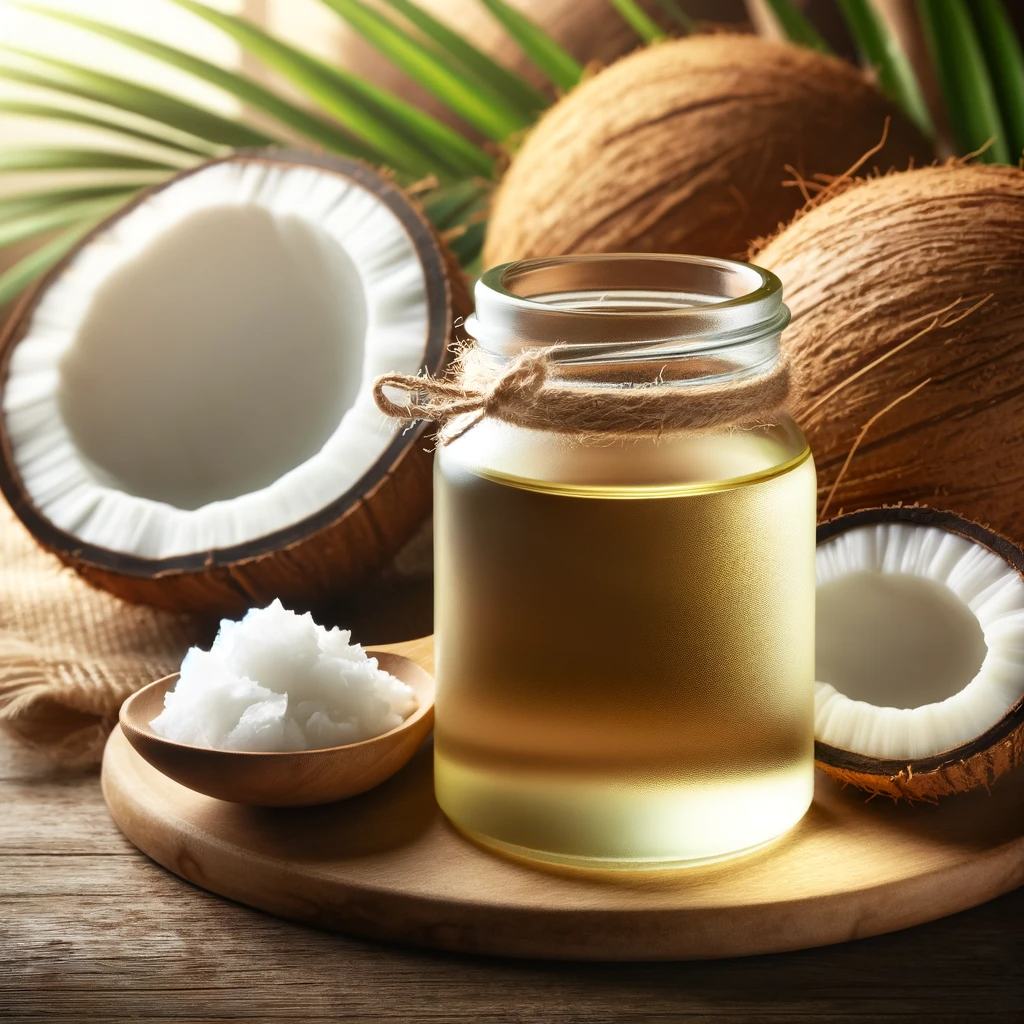
  3. Coconut Oil: 1/4 cup of coconut oil, known for its moisturizing and conditioning effects on the hair.

Now that you have all the ingredients ready, let’s proceed with the steps to prepare your homemade blonde hair color base.

Steps to Prepare

Follow these simple steps to create your own natural blonde hair color base:

Step 1: Ingredient Combination

In a small bowl, combine the 1/2 cup of strong chamomile tea, 1/4 cup of fresh lemon juice, and 1/4 cup of coconut oil.

Step 2: Stirring

Stir the ingredients together to ensure they are well combined. You want a consistent mixture for your blonde hair color base.

Step 3: Emulsification

Transfer the mixture into an electric blender and blend until it emulsifies into a smooth and creamy consistency.

Step 4: Application

Apply the blonde hair color base evenly to your entire hair length, from the tips to the roots. Ensure that all your hair is thoroughly coated.

Step 5: Waiting Time

To maximize the lightening effect, wear a plastic cap and leave the mixture on your hair for 45 to 75 minutes. If you’d like to intensify the results, consider adding heat by staying in the sun or using a hair dryer during this time.

Benefits

Creating your own blonde hair color base using coconut oil and natural ingredients offers several benefits for your hair and overall hair care routine:

1. Natural Lightening

Chamomile tea and lemon juice are known for their natural lightening properties, helping to brighten and enhance your blonde hair color.

2. Nourishment and Moisture

Coconut oil provides essential moisture and nourishment to your hair, leaving it soft, shiny, and healthy.

3. Avoiding Harsh Chemicals

By choosing a natural hair color base, you can avoid the potentially harmful chemicals often found in commercial hair dyes, protecting the health of your hair.

4. Customizable Shade

This homemade blonde hair color base allows you to customize the shade and intensity of your blonde hair, giving you control over your look.

Conclusion

Enhancing your blonde hair color naturally is not only possible but also beneficial for the overall health and vitality of your hair. With the help of coconut oil, chamomile tea, and lemon juice, you can create a DIY blonde hair color base that not only brightens your locks but also nourishes them from within. Say goodbye to chemical treatments and hello to a gentler, more natural way to achieve the blonde hair of your dreams. Embrace the power of nature and enjoy the radiance and beauty of your enhanced blonde hair, all while maintaining its health and shine.

Filed Under: Hair Care Tagged With: beauty tips, blonde hair, chamomile tea, chemical-free hair dye, coconut oil, DIY Hair Care, hair care, Hair Color Enhancement, hair lightening, homemade hair color, lemon juice, natural beauty

Coconut Oil Dark Hair Color Base: Naturally Enhance Your Dark Locks

March 29, 2024 by sharvayonibeauty Leave a Comment

Many people with dark hair desire to enrich their natural color or cover up gray strands without resorting to harsh chemical hair dyes. Fortunately, nature provides a gentle solution in the form of coconut oil. By combining coconut oil with other natural ingredients, you can create a dark hair color base that enhances your existing shade and promotes hair health. In this article, we will guide you through the process of preparing a coconut oil-based dark hair color base that is both effective and safe for your locks.

Things Needed

Before we dive into the process of making your own dark hair color base, let’s gather all the essential items you’ll need:

  1. Coconut Oil: You’ll require 2 tablespoons of coconut oil, known for its nourishing properties and ability to penetrate the hair shaft.
  2. Spent Coffee Grounds: 1 tablespoon of spent coffee grounds, which can add depth and darkness to your hair color.
  3. Strong Coffee: 1 cup of strong coffee, which acts as a natural dye and provides a rich, dark hue.

Now that you have all the ingredients ready, let’s proceed with the steps to prepare your homemade dark hair color base.

Steps to Prepare

Follow these simple steps to create your very own coconut oil-based dark hair color base:

Step 1: Ingredient Combination

In a small mixing bowl, combine the 2 tablespoons of coconut oil, 1 tablespoon of spent coffee grounds, and 1 cup of strong coffee.

Step 2: Stirring

Stir the ingredients together thoroughly to ensure they are well combined. You want a consistent mixture that will evenly coat your hair.

Step 3: Application

Massage the prepared mixture into your hair, starting from the roots and working your way down to the tips. Ensure that your hair is thoroughly coated with the dark hair color base.

Step 4: Waiting Time

Leave the mixture on your hair for approximately 45 to 60 minutes. This allows the natural dye properties of the coffee and the conditioning effects of coconut oil to work their magic.

Step 5: Rinse and Style

After the waiting time has elapsed, wash off the dark hair color base thoroughly with water. Pat your hair dry and style it as desired.

Benefits

Creating your own dark hair color base using coconut oil offers several benefits for your hair and overall hair care routine:

1. Natural Darkening

Coffee and spent coffee grounds contain natural pigments that can help enhance the darkness of your hair color, giving it a richer and more vibrant look.

2. Nourishment and Moisture

Coconut oil is a fantastic natural conditioner that moisturizes and nourishes your hair, leaving it soft, shiny, and healthy.

3. Chemical-Free Option

By opting for a natural hair color base, you can avoid the potentially harmful chemicals found in commercial hair dyes, which can damage your hair and scalp.

4. Temporary Solution

This homemade dark hair color base offers a temporary solution for those who want to experiment with a darker hair shade without committing to a permanent change.

Conclusion

Enhancing your dark hair color naturally has never been easier with the help of coconut oil and coffee. By following the simple steps outlined in this article, you can create a DIY dark hair color base that not only enriches your natural shade but also promotes the overall health and vitality of your hair. Say goodbye to harsh chemical dyes and hello to a more natural and gentle way of achieving the hair color you desire. Experiment with this homemade solution and enjoy the confidence that comes with beautiful, naturally darkened locks.

Filed Under: Hair Care Tagged With: beauty tips, chemical-free hair dye, coconut oil, coffee grounds, dark hair color, DIY Hair Care, hair care, Hair Color Enhancement, Hair health, natural beauty, natural hair dye, temporary hair color

Coconut Oil Hair Conditioner: Natural Nourishment for Your Tresses

March 28, 2024 by sharvayonibeauty Leave a Comment

When it comes to achieving lustrous and healthy hair, nature often provides the best solutions. Coconut oil, in particular, is renowned for its moisturizing and nourishing properties, making it an ideal ingredient for a DIY hair conditioner. In this article, we’ll guide you through the process of creating a homemade coconut oil hair conditioner that will leave your locks looking and feeling rejuvenated. Say goodbye to commercial conditioners filled with chemicals and hello to the natural goodness of coconut oil.

Things Needed

Before we dive into the process of making your coconut oil hair conditioner, let’s gather all the essential items you’ll need:

  1. Coconut Oil: You’ll require 2/3 cup of coconut oil, known for its exceptional moisturizing properties.
  2. Jojoba Oil: 1 tablespoon of jojoba oil, which helps condition and soften your hair.
  3. Vitamin E Oil: 1 tablespoon of vitamin E oil, known for its nourishing and antioxidant benefits for hair and skin.
  4. Essential Oil: Choose 10 drops of your favorite essential oil to add a pleasant fragrance to your conditioner. Popular options include lavender, rosemary, or eucalyptus.

Now that you have all the ingredients ready, let’s proceed with the steps to prepare your homemade coconut oil hair conditioner.

Steps to Prepare

Follow these simple steps to create your own nourishing coconut oil hair conditioner:

Step 1: Ingredient Combination

In a mixing bowl, combine the 2/3 cup of coconut oil, 1 tablespoon of jojoba oil, 1 tablespoon of vitamin E oil, and your chosen 10 drops of essential oil.

Step 2: Mixing

Mix the ingredients together thoroughly using a hand mixer. Continue mixing until you achieve a creamy and smooth consistency. This will ensure that all the oils are well combined.

Step 3: Application

After shampooing your hair, apply 1-2 teaspoons of the coconut oil conditioner to your hair. Make sure to smooth it through your hair evenly, focusing on the ends where hair tends to be drier.

Step 4: Rinse and Pat Dry

Allow the conditioner to sit on your hair for a few minutes to maximize its effects. Then, rinse it out thoroughly with water. Gently pat your hair dry with a clean towel.

Note: If you use hair dyes, be aware that coconut oil may fade the color, especially in the case of red hair tints. Other hair tints or dyes may not be affected.

Benefits

Using a homemade coconut oil hair conditioner offers several benefits for your hair and overall hair care routine:

1. Deep Moisturization

Coconut oil is an excellent natural moisturizer, helping to hydrate and nourish your hair from root to tip. It’s particularly beneficial for dry and damaged hair, leaving it soft and manageable.

2. Jojoba Oil Benefits

Jojoba oil mimics the natural oils produced by the scalp, making it a great choice for conditioning and restoring the hair’s natural balance.

3. Vitamin E Nourishment

Vitamin E oil provides essential nutrients and antioxidants to your hair, promoting overall hair health and shine.

4. Customizable Fragrance

By adding your favorite essential oil, you can customize the scent of your conditioner, leaving your hair smelling delightful.

5. Natural Alternative

Homemade hair conditioner allows you to avoid the harsh chemicals often found in commercial products, making it a gentler and more natural choice for your hair care routine.

Conclusion

Elevate your hair care routine with a homemade coconut oil hair conditioner that provides deep moisturization, nourishment, and a delightful fragrance, all without the harsh chemicals found in commercial products. By following the simple steps outlined in this article, you can enjoy the natural benefits of coconut oil and other nourishing ingredients while keeping your hair soft, manageable, and healthy. Say goodbye to dry and damaged hair, and say hello to the rejuvenating power of nature. Make this DIY conditioner a part of your hair care regimen and enjoy the transformation of your locks, one application at a time.

Filed Under: Hair Care Tagged With: beauty tips, Chemical-Free Hair Care, coconut oil, customizable scent, DIY Hair Care, essential oils, hair care, hair conditioner, Hair Moisturization, homemade conditioner, Jojoba oil, natural beauty, vitamin E oil

Coconut Oil Hair Shampoo: The Natural Route to Luxurious Locks

March 27, 2024 by sharvayonibeauty Leave a Comment

Achieving healthy and lustrous hair doesn’t always require expensive salon treatments or commercial hair products laden with chemicals. Nature offers a simple yet effective solution in the form of coconut oil. By making your own coconut oil hair shampoo, you can enjoy the nourishing benefits of this tropical wonder. In this article, we’ll guide you through the process of creating a natural, coconut oil-based shampoo that will leave your hair feeling refreshed, rejuvenated, and radiant.

Things Needed

Before we embark on the journey of preparing this DIY coconut oil hair shampoo, let’s gather all the essential items you’ll need:

  1. Liquid Castile Soap: You’ll require 1 cup of liquid castile soap, a gentle and natural soap base.
  2. Coconut Oil: You’ll need 1/3 cup of coconut oil, known for its moisturizing and conditioning properties.
  3. Coconut Milk: 1/3 cup of coconut milk, which adds extra nourishment to your hair.
  4. Essential Oils: To customize your shampoo’s scent and enhance its benefits, you’ll need 50-60 drops of essential oils. Consider using oils like lavender, peppermint, wild orange, lemon grass, clary sage, and rosemary.

Now that you have all the ingredients ready, let’s move on to the steps to prepare your homemade coconut oil hair shampoo.

Steps to Prepare

Follow these simple steps to create your very own coconut oil hair shampoo:

Step 1: Combining Coconut Milk and Coconut Oil

Begin by combining the 1/3 cup of coconut milk and 1/3 cup of coconut oil in a mixing bowl. Stir the mixture well until it’s thoroughly combined.

Step 2: Warming the Mixture

Place the mixture over very low heat, warming it gently. It’s crucial to keep the heat exceptionally low to preserve the nutrients in the mixture. Stir occasionally to ensure even heating.

Note: If the heat is too high, the nutrients in the mixture would be destroyed, and the benefits of coconut oil and milk may be compromised.

Step 3: Transfer to a Container

Once the mixture is warmed and well combined, transfer it into a suitable container. This container will serve as the base for your homemade shampoo.

Step 4: Measuring Castile Soap

Measure 1 cup of liquid castile soap and carefully pour it into the container with the coconut milk and oil mixture.

Step 5: Vigorous Shaking

Seal the container tightly and shake it vigorously. This step is essential to ensure that the castile soap combines effectively with the coconut milk and oil.

Step 6: Essential Oils

Next, measure in your choice of essential oil(s) to customize the scent and add their unique benefits to your shampoo. Aim for 50-60 drops in total, but feel free to adjust the amount based on your preferences.

Step 7: Final Shake

Shake the bottle once more to incorporate the essential oils thoroughly with the rest of the ingredients.

Step 8: Covering Well

Ensure that the container is well-covered or sealed to prevent any contamination or evaporation of the ingredients.

Step 9: Application

When using your homemade coconut oil hair shampoo, simply squeeze an appropriate amount onto your hair as you would with any other shampoo. Massage it gently into your hair and scalp, allowing it to lather.

Step 10: Rinse Thoroughly

After massaging the shampoo into your hair and scalp, rinse it out thoroughly with water.

Benefits

Creating your coconut oil hair shampoo offers numerous benefits for your hair and overall well-being:

1. Natural Nourishment

Coconut oil and coconut milk provide natural nourishment to your hair, helping to moisturize and condition it. This can result in softer, smoother, and more manageable hair.

2. Customizable Aromatherapy

By using different essential oils, you can customize the scent of your shampoo to suit your preferences. Essential oils also offer various therapeutic benefits, such as promoting relaxation or invigorating your senses.

3. Avoiding Harsh Chemicals

Homemade shampoo allows you to avoid the harsh chemicals often found in commercial hair products, making it a gentler option for your hair and scalp.

4. Cost-Effective

Creating your shampoo can be more cost-effective in the long run, as you’ll have control over the ingredients and won’t need to purchase expensive salon products.

Conclusion

Embrace the natural goodness of coconut oil with your very own homemade hair shampoo. By following the straightforward steps outlined in this article, you can create a nourishing, customizable, and cost-effective shampoo that will leave your hair feeling refreshed and revitalized. Say goodbye to harsh chemicals and hello to luxurious locks that are sure to turn heads. Elevate your hair care routine with this coconut oil-based shampoo and experience the difference of natural beauty, one wash at a time.

Filed Under: Hair Care Tagged With: beauty tips, coconut oil, cost-effective hair care, customizable scent, DIY Hair Care, essential oils, hair care, Hair Nourishment, hair shampoo, Homemade Shampoo, natural beauty

Coconut Oil Lice Prevention & Cure: The Ultimate Leave-In Conditioner

March 27, 2024 by sharvayonibeauty Leave a Comment

Lice infestations can be a common and frustrating problem, especially among children. Dealing with these tiny parasites can be both time-consuming and uncomfortable. Fortunately, nature has provided us with a powerful ally in the form of coconut oil. In this article, we’ll explore how you can use coconut oil, along with a few other essential ingredients, to create a highly effective leave-in conditioner that not only helps prevent lice but also works as a natural cure. Say goodbye to lice-related worries and hello to healthier, lice-free hair!

Things Needed

Before we delve into the process of making and using this coconut oil-based leave-in conditioner, let’s gather all the necessary items you’ll need:

  1. Coconut Oil: You’ll require 3 tablespoons of coconut oil. Ensure it’s pure, unrefined coconut oil for the best results.
  2. Ylang Ylang Oil: 1 teaspoon of ylang-ylang oil, known for its pleasant fragrance and potential lice-repelling properties.
  3. Tea Tree Oil: 1 teaspoon of tea tree oil, which is widely recognized for its antimicrobial and insect-repelling qualities.
  4. Anise Oil: 1 teaspoon of anise oil, which has been used traditionally for lice prevention.
  5. Distilled Water: 1 cup of distilled water, ensuring purity.
  6. Apple Cider Vinegar: 2 cups of apple cider vinegar, known for its ability to help dissolve the sticky substance that lice eggs use to attach to hair.

Now that you have all the ingredients ready, let’s move on to the steps to prepare and apply this lice prevention and cure leave-in conditioner.

Steps to Prepare

Follow these simple steps to create and apply the coconut oil-based leave-in conditioner:

Step 1: Mixing the Ingredients

In a small mixing bowl, combine the first four ingredients: coconut oil, ylang-ylang oil, tea tree oil, and anise oil. Blend them together thoroughly to create a well-mixed solution.

Step 2: Application

Massage the oil mixture generously over your entire scalp and hair area. Ensure that you cover all parts of your head, from the scalp down to the tips of your hair.

Step 3: Combing

Using a fine-toothed comb or your fingers, work the oil through your hair. This step helps to ensure that the conditioner is distributed evenly and reaches all parts of your hair.

Step 4: Wait

Leave the conditioner on your hair for approximately 120 minutes. To maximize the effectiveness, cover your hair with a plastic cap.

Tip: Heat Application

To enhance the conditioner’s effectiveness, consider using a hair dryer or exposing your hair to direct sunlight for some heat during this waiting period.

Step 5: Combing Again

After the waiting time has passed, use a fine-toothed comb to comb through your hair. This will help remove any dead lice or eggs.

Step 6: Rinse and Pat Dry

Wash your hair thoroughly, ensuring that all the conditioner is rinsed out. Afterward, gently pat your hair dry with a clean towel.

Step 7: Vinegar Spray

Combine the distilled water and apple cider vinegar in a spray bottle. Shake vigorously to mix the solution.

Step 8: Apply Vinegar Spray

Apply the vinegar spray to your hair, gently rubbing it in. This helps to dissolve the glue that lice eggs use to attach to your hair.

Step 9: Final Rinse and Comb

Rinse your hair once more and use a fine-toothed comb to ensure that all lice and eggs have been removed.

Step 10: Apply Light Coconut Oil

To moisturize your hair, apply a light layer of coconut oil. Cover your hair with a plastic cap and style as desired.

Tip: Leave-In Treatment

For ongoing lice prevention, you can leave the coconut oil in your hair until your next hair wash.

Benefits

Using this coconut oil-based leave-in conditioner offers several benefits for lice prevention and hair health:

1. Natural Lice Prevention

Coconut oil, ylang-ylang oil, tea tree oil, and anise oil have all been associated with properties that help repel lice naturally. This leave-in conditioner provides an effective preventive barrier.

2. Lice Cure

In addition to prevention, this treatment can help eliminate existing lice and their eggs, making it a natural and non-toxic alternative to chemical treatments.

3. Hair Health

Coconut oil is an excellent moisturizer for hair, leaving it soft and nourished. The additional ingredients provide antimicrobial and soothing benefits for your scalp.

4. Cost-Effective

Compared to commercial lice treatments, this homemade conditioner is cost-effective and uses natural ingredients without harsh chemicals.

Conclusion

Tackling lice infestations doesn’t have to involve harsh chemicals or expensive treatments. With the power of coconut oil and a few other natural ingredients, you can create a leave-in conditioner that not only helps prevent lice but also acts as a lice cure. By following the simple steps outlined in this article, you can enjoy lice-free hair while maintaining the health and vitality of your locks. Say goodbye to lice-related worries and hello to a more natural and effective solution for lice prevention and treatment!

Filed Under: Hair Care Tagged With: anise oil, apple cider vinegar, beauty tips, coconut oil, DIY haircare, hair care, Hair health, Leave-in Conditioner, lice cure, lice prevention, lice treatment, Natural remedy, tea tree oil, ylang ylang oil

  • Page 1
  • Page 2
  • Page 3
  • Interim pages omitted …
  • Page 8
  • Go to Next Page »

Primary Sidebar

Looking for something?

Connect with us online

  • Email
  • Facebook

Popular Posts!

DIY Shaving Cream: A Smooth and Natural Solution

Sweet Basil to treat pimples

Stop Body Odours Naturally Using Alum

Mustard Hair Growth Mask: A Spicy Solution for Hair Revitalization

Naturally Glowing Skin: The Magic of Yogurt Face Masks

Categories

  • Hair Care
  • Health and Wellness
  • Skin Care

Tags

beauty benefits beauty tips Chemical-Free Hair Care coconut oil curd curry leaves dark circles DIY Hair Care egg exfoliation eye care glowing skin hair care Hair Care Routine hair care tips hair growth Hair health Hair Health Improvement hair loss Hair Nourishment Hair Strengthening health and wellness honey hydration lemon lemon juice milk natural beauty natural conditioner natural face mask Natural hair care Natural Hair Growth Natural Hair Remedies natural ingredients natural remedies Natural remedy natural skincare olive oil radiant complexion radiant skin scalp health Scalp Nourishment skin care skincare skincare routine

© 2026 · Sharvayoni · Privacy Policy · Disclaimer