• Skip to main content
  • Skip to primary sidebar
  • HOME
  • SKIN CARE
  • HAIR CARE
  • HEALTH AND WELLNESS
  • CONTACT US

Sharvayoni

Unearth Nature's Magic - Your Path to Herbal Radiance and Wellnes

cost-effective

Coconut Milk and Yogurt Hair Conditioner: A Natural Path to Silky Locks

January 31, 2024 by sharvayonibeauty Leave a Comment

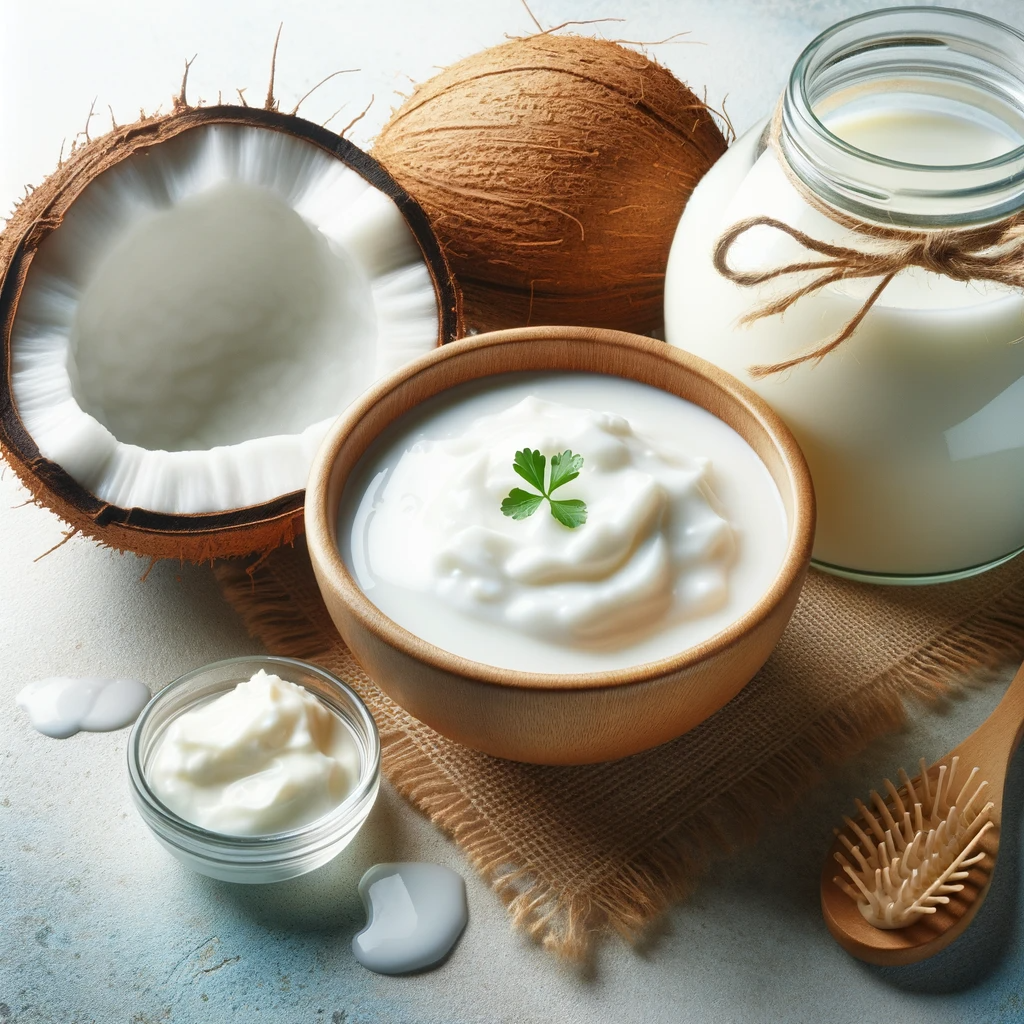
In the quest for luscious, healthy hair, natural ingredients often prove to be the most effective. This homemade hair conditioner, crafted with coconut milk, olive oil, yogurt, and eggs, is a powerhouse of nutrients, offering deep conditioning benefits. Suitable for all hair types, this conditioner deeply moisturizes, strengthens, and revitalizes hair, making it an ideal choice for those seeking a natural alternative to commercial hair products.

Things Needed

Before you begin, ensure you have the following items:

  1. Coconut Milk: ½ cup, for hydration and nourishment.
  2. Olive Oil: 2 tablespoons, for moisturizing and strengthening.
  3. Yogurt: 1 to 2 cups, depending on desired thickness.
  4. Eggs: 2, beaten, for protein and shine.
  5. Small Mixing Bowl: To combine the ingredients.
  6. Whisk or Spoon: For stirring the mixture.
  7. Shower Cap or Plastic Cap: To cover hair during treatment.
  8. Shampoo and Conditioner: For washing off the conditioner.
  9. Towel: To dry hair.

Steps to Prepare

Creating this coconut milk and yogurt hair conditioner is a simple process:

  1. Mix Oil and Eggs: In the small mixing bowl, combine 2 tablespoons of olive oil with two beaten eggs. The oil and eggs form the base of your conditioner.
  2. Add Coconut Milk and Yogurt: Stir in ½ cup of coconut milk. Gradually add 1 to 2 cups of yogurt until you reach the desired level of conditioner’s thickness.
  3. Achieve Creamy Consistency: Whisk the mixture until it reaches a rich, creamy consistency. Ensure the ingredients are well combined.
  4. Apply to Hair: Apply the conditioner to your hair, focusing on covering each strand from roots to ends.
  5. Cover and Wait: Place a shower cap over your hair and leave the conditioner on for 30 to 60 minutes. This allows the nutrients to penetrate deeply.
  6. Rinse Thoroughly: Wash the conditioner out of your hair using shampoo, then follow up with your regular conditioner.
  7. Dry Gently: Pat your hair dry with a towel.

Benefits

This homemade hair conditioner offers numerous benefits:

  1. Deep Moisturization: Coconut milk and olive oil provide intense hydration, making it ideal for dry or brittle hair.
  2. Strengthens Hair: The protein in eggs helps strengthen hair strands, reducing breakage.
  3. Improves Hair Texture: Regular use leads to softer, more manageable hair.
  4. Scalp Health: Yogurt is beneficial for the scalp, helping to reduce dandruff and soothe irritation.
  5. Natural and Safe: Using kitchen ingredients ensures a chemical-free treatment, suitable for all hair types.
  6. Customizable: You can adjust the amount of yogurt to achieve the desired thickness and consistency.
  7. Cost-Effective: Making your own hair conditioner is more economical than purchasing high-end treatments.
  8. Eco-Friendly: Natural, biodegradable ingredients make this treatment environmentally friendly.

Conclusion

Incorporating this coconut milk and yogurt hair conditioner into your routine is an excellent way to naturally nourish and rejuvenate your hair. Its blend of natural ingredients ensures that your hair receives the moisture, nutrients, and care it deserves. Regular use of this conditioner can lead to healthier, stronger, and more vibrant hair, showcasing the beauty of natural hair care solutions.

Filed Under: Hair Care Tagged With: beauty tips, coconut milk, cost-effective, DIY, Eco-friendly, hair care, hair conditioner, Hair hydration, Healthy locks, Natural hair care, Strengthens hair, yogurt

Achieve Radiant Skin with a Homemade Skin Brightening Pack

July 20, 2023 by sharvayonibeauty Leave a Comment

Suntan and darker skin tone can be common concerns for many individuals, especially during the summer months. While there are various commercial products available to address these issues, a natural and cost-effective approach can be just as effective. In this article, we will explore a homemade skin brightening pack made with gram flour, milk powder, and rice powder. Discover how this pack, combined with the right ingredients, can help you achieve a brighter and more even skin tone.

The Power of Gram Flour, Milk Powder, and Rice Powder

Gram flour, milk powder, and rice powder are the key ingredients in this skin brightening pack. Here’s why they work:

  1. Gram Flour (Besan): Gram flour is a popular ingredient in skincare due to its natural exfoliating properties. It helps remove dead skin cells, excess oil, and impurities, revealing a fresh and glowing complexion. Gram flour also has skin-lightening properties that can help reduce suntan and even out the skin tone.
  2. Milk Powder: Milk powder is rich in lactic acid, which acts as a gentle exfoliant and helps brighten the skin. It also contains proteins and vitamins that nourish and hydrate the skin, leaving it soft and supple. Milk powder is known for its ability to improve skin complexion and fade dark spots.
  3. Rice Powder: Rice powder has been used for centuries in skincare routines for its skin brightening and lightening effects. It helps absorb excess oil, tightens pores, and improves skin texture. Rice powder also contains antioxidants that promote a youthful and radiant complexion.

Creating the Homemade Skin Brightening Pack

Follow these steps to create and use the homemade skin brightening pack:

  1. Ingredient Combination: In a bowl, combine gram flour, milk powder, and rice powder in equal proportions. You can adjust the quantities based on your preference and the consistency you desire.
  2. Liquid Addition: Add a liquid of your choice to the dry mixture to form a paste. Options include malta juice, orange juice, rose water, or lemon juice. You can also experiment by combining different liquids for added benefits. Mix well until a smooth and consistent paste is formed.
  3. Application and Drying: Apply the paste evenly on cleansed skin, focusing on areas with suntan or darker skin tone. Leave it on until it dries but not completely. This usually takes around 15 to 20 minutes.
  4. Rubbing and Massaging: Once the pack is semi-dry, wet your hands with a sprinkle of water and gently rub and massage the pack in circular motions. This step helps exfoliate the skin and remove dead cells, promoting a brighter complexion.
  5. Rinse and Moisturize: After massaging, rinse off the pack with lukewarm water. Pat your skin dry and follow up with a moisturizer to lock in hydration.

Consistency and Duration for Visible Results

To achieve noticeable results, it is recommended to follow these guidelines:

  1. Application Frequency: Use the skin brightening pack every third day for at least two months. Consistency is key to achieving desired results. However, if you experience any irritation or sensitivity, reduce the frequency or discontinue use.
  2. Patience and Long-Term Approach: While this homemade pack can be effective, it’s important to understand that skin brightening is a gradual process. Be patient and consistent with your application, allowing time for the ingredients to work their magic.
  3. Sun Protection: To prevent further suntan or darkening of the skin, always protect your skin from harmful UV rays. Apply sunscreen with an appropriate SPF before stepping out in the sun and wear protective clothing and accessories.

Conclusion

Say goodbye to suntan and darker skin tone with the help of a homemade skin brightening pack. By combining gram flour, milk powder, and rice powder with suitable liquids, you can create a powerful remedy that lightens and brightens the skin. Remember to be consistent in your application and have patience as results may take time to manifest. Embrace this natural and cost-effective approach to achieve radiant and even-toned skin.

Filed Under: Skin Care Tagged With: beauty tips, brighter skin, cost-effective, darker skin tone, even skin tone, exfoliation, gram flour, homemade pack, luminous glow, milk powder, natural ingredients, radiant complexion, rice powder, skin brightening, skin care, step-by-step instructions, suntan

How to make Herbal Compact Powder at Home

July 2, 2023 by sharvayonibeauty Leave a Comment

gorgeous-skin-herbal-compact-powder

Discover the secret of making herbal compact powder at home that rivals artificial products in quality and effectiveness. In this post, we will unveil a simple recipe for creating a cost-effective herbal compact powder using easily available ingredients. Say goodbye to expensive commercial compact powders and embrace the natural goodness of this homemade alternative, which guarantees the same results without any side effects.

Beauty Benefits of Multani Mitti

Multani Mitti, also known as Fuller’s Earth, offers a range of beauty benefits. Explore its incredible effects on the skin:

  • Makes Your Face Glow: Multani Mitti helps remove impurities and dead skin cells, leaving your face radiant and glowing.
  • Controls Oil Production: If you struggle with oily skin, Multani Mitti can regulate sebum production and keep your skin looking fresh.
  • Controls Acne: Its antibacterial properties make it an effective remedy for acne and blemishes.
  • Fades Blemishes: Multani Mitti lightens scars and blemishes, giving you a more even complexion.
  • Removes Blackheads and Whiteheads: Say goodbye to stubborn blackheads and whiteheads with the help of Multani Mitti.

Beauty Benefits of Sandal Powder

Sandal powder, derived from the fragrant sandalwood tree, offers numerous benefits for your skin. Let’s explore its beauty-enhancing properties:

  • Removes Blemishes and Warts: Sandal powder has a natural astringent effect that can help fade blemishes and even treat warts.
  • Prevents and Cures Pimples: Its antimicrobial properties make sandal powder effective in preventing and treating pesky pimples.
  • Removes Sun Tan: Bid farewell to sun tan as sandal powder can lighten and brighten your skin, restoring its natural glow.
  • Reduces Wrinkles and Signs of Aging: Sandal powder’s anti-aging properties help minimize wrinkles and fine lines, giving your skin a youthful appearance.
  • Heals Dry Skin: If you suffer from dry skin, sandal powder can moisturize and nourish, leaving your skin soft and supple.
  • Enhances Skin Brightness: Sandal powder promotes a brighter complexion, making your skin look fresh and vibrant.
  • Exfoliates the Skin: Enjoy the exfoliating benefits of sandal powder, which gently removes dead skin cells and reveals a smoother, healthier complexion.

How to Prepare Herbal Compact Powder

Follow these simple steps to prepare your very own herbal compact powder:

Step 1: Take 2 tablespoons of Multani Mitti in a bowl.

Step 2: Add 1 tablespoon of Sandal Powder to the bowl.

Step 3: Mix the ingredients well, maintaining a ratio of 2 parts Multani Mitti to 1 part Sandal Powder.

Step 4: Sprinkle a few drops of Rose Water into the mixture and stir thoroughly until a thick paste is formed.

Step 5: Transfer the paste to an airtight container and leave it overnight to dry.

Once dried, your herbal compact powder is ready for use. Apply a small portion of the powder to any part of the skin and gently buff it with a brush for a gorgeous, finished look.

Conclusion

Why spend a fortune on artificial compact powders when you can create your own herbal version at a fraction of the cost? Embrace the natural goodness of Multani Mitti and Sandal Powder to achieve flawless skin. With their remarkable beauty benefits and the simplicity of this homemade recipe, you can enjoy the same results without worrying about side effects. Give your skin the love it deserves with this herbal compact powder and unveil a radiant, healthy complexion.

Video on Detailed Explanation

Filed Under: Skin Care Tagged With: beauty benefits, beauty tips, commercial compact powders, cost-effective, herbal compact powder, homemade compact powder, multani mitti, natural ingredients, natural skincare, Sandal Powder, skin care, step-by-step guide

Primary Sidebar

Looking for something?

Connect with us online

  • Email
  • Facebook

Popular Posts!

Achieving Strawberry Ginger Blonde: A Natural Hair Tonic Recipe

Homemade Shampoo using Shikakai, Lavender Oil and Henna

Discover Radiant Skin with an Almond Face Pack

Rosewater for all the Eye problems

Garlic Hair Mask: A Natural Solution for Strong, Fast-Growing Hair

Categories

  • Hair Care
  • Health and Wellness
  • Skin Care

Tags

beauty benefits beauty tips Chemical-Free Hair Care coconut oil curd curry leaves dark circles DIY Hair Care egg exfoliation eye care glowing skin hair care Hair Care Routine hair care tips hair growth Hair health Hair Health Improvement hair loss Hair Nourishment Hair Strengthening health and wellness honey hydration lemon lemon juice milk natural beauty natural conditioner natural face mask Natural hair care Natural Hair Growth Natural Hair Remedies natural ingredients natural remedies Natural remedy natural skincare olive oil radiant complexion radiant skin scalp health Scalp Nourishment skin care skincare skincare routine

© 2025 · Sharvayoni · Privacy Policy · Disclaimer