• Skip to main content
  • Skip to primary sidebar
  • HOME
  • SKIN CARE
  • HAIR CARE
  • HEALTH AND WELLNESS
  • CONTACT US

Sharvayoni

Unearth Nature's Magic - Your Path to Herbal Radiance and Wellnes

hair care

Achieving Natural Brunette Tones: Coffee and Henna Hair Dye

May 20, 2024 by sharvayonibeauty Leave a Comment

The quest for a natural, healthier alternative to chemical hair dyes has led many to rediscover the benefits of henna, a plant-based dye known for its conditioning and strengthening properties. When combined with coffee, a common household ingredient, it creates a potent natural dye capable of imparting rich, warm brunette tones to your hair. This guide will walk you through a simple yet effective recipe for using coffee and henna to dye your hair, offering tips and precautions to ensure the best results.

Things Needed

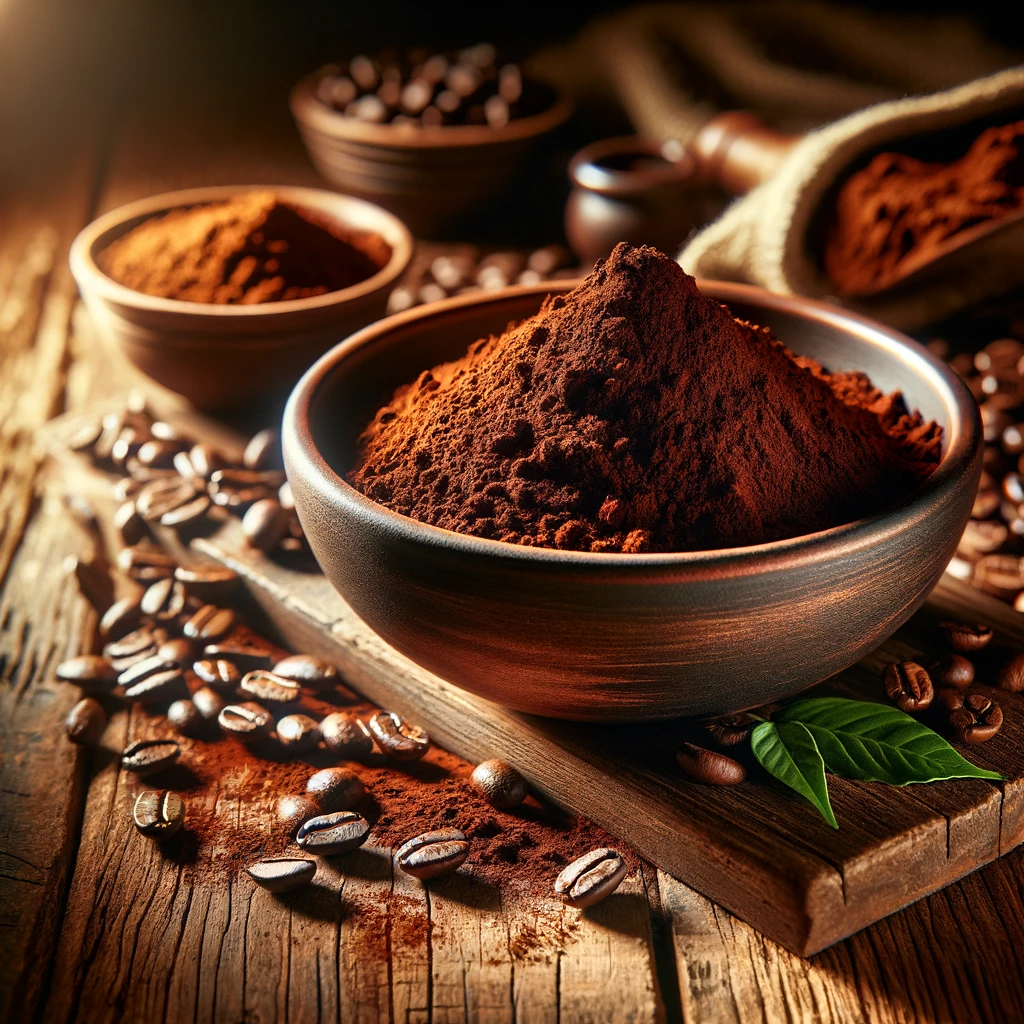
  • 5 tablespoons of ground coffee
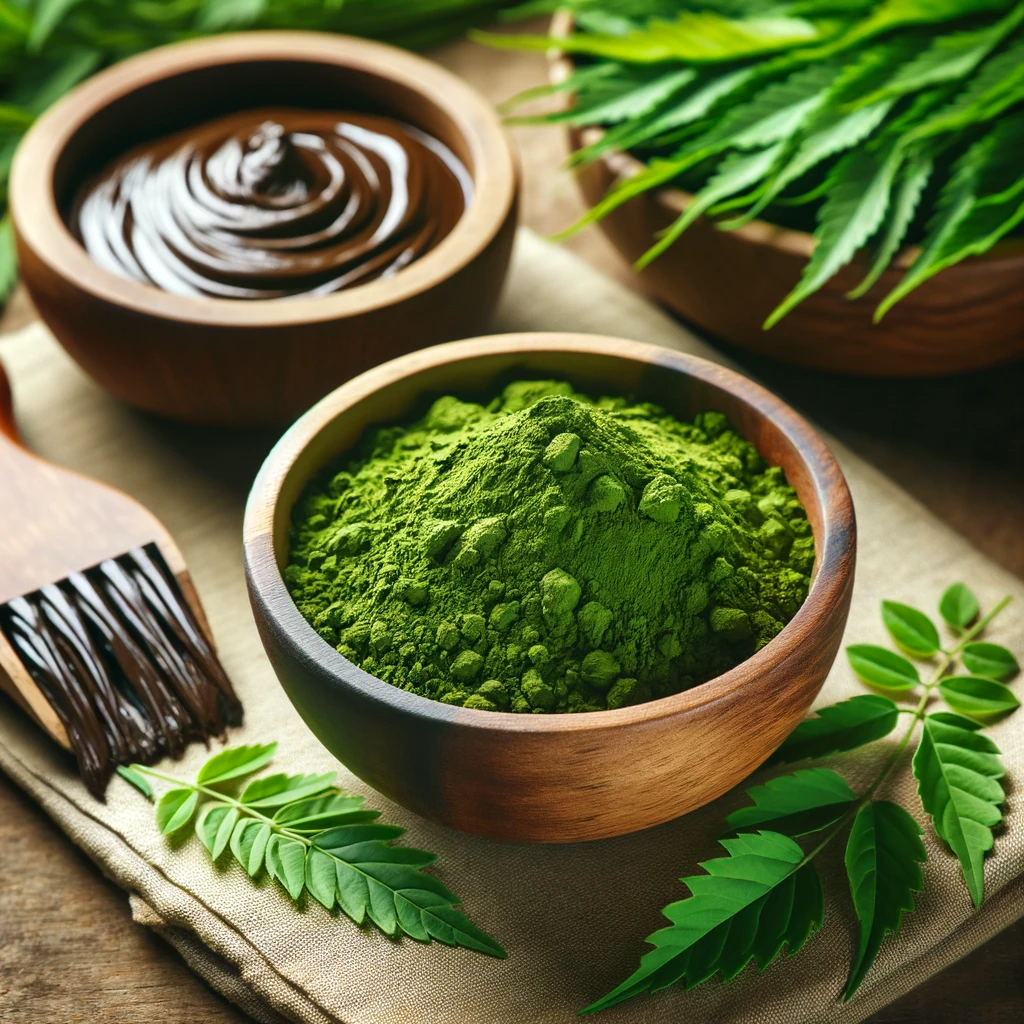
  • 1 cup of Egyptian or Indian henna powder
  • Hot water (enough to create a paste)
  • A non-metallic mixing bowl
  • A wooden or plastic spoon for mixing
  • Gloves to avoid staining your hands
  • A plastic bonnet or shower cap
  • An old towel or shirt to protect your clothing

Steps to Prepare

  1. Boil the Coffee: Start by boiling the ground coffee in water for about 10 minutes. This process extracts the deep colors and aromatic compounds from the coffee, which will help to tint the henna mixture.
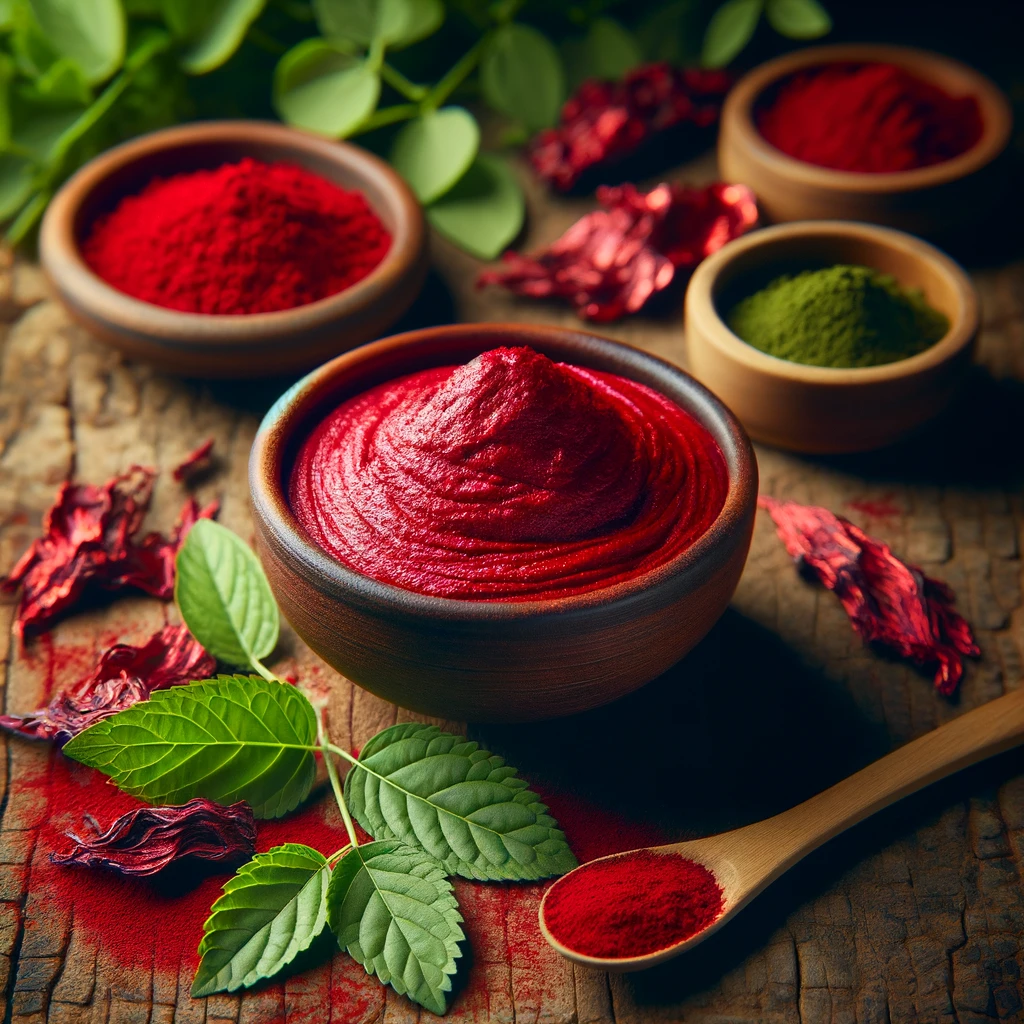
  2. Mix Coffee with Henna: Gradually pour the hot coffee into the henna powder, stirring continuously with a wooden or plastic spoon. Mix until it forms a smooth, consistent paste. Adjust the consistency by adding more hot water or henna, as needed.
  3. Let the Mixture Rest: Allowing the mixture to sit for a few minutes can enhance the dyeing properties of henna, making the application more effective.

How to Apply

  1. Preparation: Don protective gloves and drape an old towel or shirt over your shoulders to protect your skin and clothing from stains.
  2. Application: Section your hair and apply the mixture evenly, starting from the roots and moving towards the ends. Ensure every strand is well-coated for uniform color.
  3. Covering: Once your hair is fully covered in the mixture, wrap it with a plastic bonnet or shower cap. This helps to keep the mixture moist and warm, enhancing the dyeing effect.
  4. Waiting Time: Leave the mixture in your hair for at least two hours. For deeper color penetration or if you have resistant gray hair, you may extend this time.
  5. Rinsing: Rinse your hair thoroughly with warm water until all the mixture is washed out. Avoid shampooing immediately to allow the color to set. Follow up with a moisturizing conditioner or a deep hair mask to nourish your hair.

Benefits

  • Natural Coloring: Provides a safe and natural alternative to chemical dyes, reducing the risk of allergic reactions and scalp irritation.
  • Conditioning: Henna naturally conditions and strengthens hair, while coffee adds shine and depth to the color.
  • Sustainability: Using coffee and henna for hair dyeing is an eco-friendly option, minimizing environmental impact compared to synthetic dyes.

Precautions

  • Patch Test: Always conduct a patch test before applying the mixture to your entire head, especially if you have sensitive skin or allergies.
  • Staining: Be mindful of potential stains on fabrics and surfaces. Use protective coverings and wear old clothes during application.

Tips

  • Enhance Color: For a richer color, consider adding a spoonful of apple cider vinegar to the mixture; the acidity can help the henna penetrate the hair shaft more effectively.
  • Heat Application: Applying gentle heat with a hairdryer over the plastic bonnet can intensify the dyeing process.
  • Frequency: For sustained color and conditioning benefits, apply this coffee and henna mixture once a month.

Additional Insights

Customizing the Color

You can adjust the shade of brunette by varying the amount of coffee in the recipe. More coffee results in darker, cooler tones, while less coffee maintains henna’s natural warmth.

Longevity and Maintenance

The longevity of the color depends on your hair type, the frequency of washing, and exposure to sunlight. To maintain the richness of the color, limit washing and use color-safe shampoos.

Conclusion

Utilizing coffee and henna as a natural hair dye offers a sustainable and health-conscious alternative to traditional coloring methods. This recipe not only imbues your hair with beautiful brunette tones but also contributes to its overall health and shine. By following the steps outlined in this guide, you can

achieve and maintain a rich, natural hair color, embracing the beauty of natural ingredients while minimizing your chemical exposure.

Filed Under: Hair Care Tagged With: beauty tips, brunette tones, chemical-free hair dye, coffee hair color, DIY hair dye, eco-friendly beauty, hair care, henna for hair, homemade hair color, natural beauty solutions, natural hair dye, Organic Hair Care

Enhancing Your Hair Color Naturally: Roselle, Saffron, and Henna

May 19, 2024 by sharvayonibeauty Leave a Comment

The journey towards achieving a reddish hue in your hair doesn’t have to involve harsh chemicals. Nature offers a palette of colors, among which Roselle, Saffron, and Henna are particularly notable for their dyeing properties. This recipe is not just about changing hair color; it’s about embracing a holistic approach to beauty that respects both your health and the environment. Through this guide, you will learn how to prepare and apply a hair color mixture that is as beneficial as it is beautiful.

Things Needed

  • 1 tablespoon of Roselle (dried)
  • 2 tablespoons of Saffron threads
  • 1 cup of natural Henna powder
  • Hot water (sufficient to create a smooth paste)
  • A non-metallic mixing bowl
  • A wooden or plastic spoon for mixing
  • Gloves to prevent staining your hands
  • A hair wrap or shower cap
  • An old towel or shirt to protect your clothing

Steps to Prepare

  1. Boiling Roselle and Saffron: Begin by adding the Roselle and Saffron to a pot of water. Bring the mixture to a boil, then simmer for 15 to 20 minutes. This process extracts the colors and properties of the herbs, creating a potent dye.
  2. Mixing with Henna: Pour the hot herbal water through a strainer directly into the Henna powder in a non-metallic bowl. Stir continuously until you achieve a smooth, consistent paste. Adjust the thickness by adding more water or Henna, as needed.
  3. Letting the Mixture Rest: Allow the mixture to sit for an hour. This resting period lets the Henna fully absorb the herbal dye, enhancing the final color’s richness and depth.

How to Apply

  1. Preparation: Wear your gloves and drape an old towel or shirt over your shoulders to protect your clothing. Divide your hair into sections to ensure even application.
  2. Application: Apply the paste thoroughly to each section of your hair, from roots to tips, ensuring complete coverage. Use your fingers (with gloves) or a dye brush for an even application.
  3. Covering: Once all hair is covered, wrap your head with a hair wrap or shower cap. This helps maintain the mixture’s warmth and moisture, improving dye uptake.
  4. Waiting: Leave the mixture in your hair for 2 to 3 hours. The duration can affect the depth of the color; longer times may result in a richer hue.
  5. Rinsing: Rinse your hair thoroughly with lukewarm water until all the paste is removed. Avoid using shampoo for the first 24 hours to allow the color to set in fully.

Benefits

  • Natural Dyeing: This recipe offers a chemical-free alternative to conventional hair dyes, reducing the risk of scalp irritation and hair damage.
  • Conditioning Properties: Henna acts as a natural conditioner, improving hair texture and adding shine.
  • Antioxidant Rich: Both Roselle and Saffron are rich in antioxidants, which can help protect hair from environmental damage.

Precautions

  • Allergy Test: Always perform a patch test before applying the mixture to your entire head, especially if you have sensitive skin.
  • Stain Prevention: The paste can stain fabrics and surfaces, so take appropriate precautions to protect your environment and wear old clothes during the application.

Tips

  • Enhancing Color: Adding a teaspoon of vinegar or lemon juice to the mixture can help enhance the color release from the Henna.
  • Heat Application: Applying gentle heat (such as with a hairdryer over the shower cap) can intensify the dyeing process.
  • Post-Application Care: Using a silicone-free conditioner after rinsing can help seal the cuticles and lock in the color.

Additional Considerations

Customizing the Color

Experiment with the ratios of Roselle and Saffron to adjust the final color tone to your liking. More Roselle can give a deeper reddish tint, while Saffron adds a golden hue.

Longevity and Fading

Natural dyes tend to fade more gracefully than chemical dyes. To maintain the color, you may need to reapply every 4 to 6 weeks, depending on your hair growth and washing

frequency.

Conclusion

Achieving a beautiful reddish hair color with Roselle, Saffron, and Henna is not only possible but also beneficial for your hair’s health. This natural recipe offers a sustainable and health-conscious alternative to synthetic dyes, embracing the power of nature to transform and beautify your hair. By following this guide, you can enjoy a vibrant hair color that reflects your commitment to natural beauty solutions.

Filed Under: Hair Care Tagged With: beauty tips, chemical-free dye, DIY hair color, hair care, hair coloring guide, homemade hair dye, natural beauty solutions, natural hair dye, Organic Hair Care, Roselle and henna, saffron hair color, sustainable hair care

Crafting Reddish Hair Color Naturally: A Guide to Using Henna and Red Tea

May 18, 2024 by sharvayonibeauty Leave a Comment

For centuries, henna has been celebrated for its ability to dye hair in a range of earthy tones, from reddish to deep brown, depending on the original hair color and the ingredients mixed with it. This recipe elevates the traditional henna application by incorporating red tea, enhancing the reddish tones and offering a unique hue that can captivate the eye. This guide aims to provide a comprehensive approach to using these natural ingredients to achieve a beautiful reddish hair color, suitable for anyone looking to explore the benefits of natural hair dye.

Things Needed

  • 1 cup of natural Indian or Egyptian henna powder
  • 4 tablespoons of red tea leaves
  • Hot water (enough to blend the mixture into a dough-like consistency)

Additional tools:

  • A non-metallic bowl for mixing
  • A spoon or spatula for stirring
  • A shower cap or plastic wrap
  • Gloves to protect your hands from staining
  • An applicator brush (optional for ease of application)

Steps to Prepare

  1. Boil the Red Tea: Begin by boiling the red tea leaves in water for a few minutes. This process extracts the color from the tea, creating a potent dye solution. After boiling, turn off the heat and allow the tea to steep for 5 to 10 minutes.
  2. Mix Henna and Tea: Gradually add the red tea solution to the henna powder in a non-metallic bowl. Stir continuously until the mixture achieves a smooth, dough-like consistency. If the mixture is too thick, add more tea; if too runny, add a bit more henna powder.
  3. Let the Mixture Rest: Allow the henna mixture to sit for an hour or so, enabling the dye to release. This step is crucial for achieving the full color potential of the henna.

How to Apply

  1. Section Your Hair: Divide your hair into small sections to ensure even application. Starting from the roots, apply the henna mixture generously using your hands (with gloves) or an applicator brush.
  2. Cover Your Head: Once all sections are covered, wrap your head with a shower cap or plastic wrap. This keeps the henna moist and warm, enhancing the dye’s ability to penetrate the hair shafts.
  3. Wait: Leave the henna in your hair for at least two hours. For a deeper color, you can extend this period up to four hours or more, depending on your preference.
  4. Rinse: Rinse your hair thoroughly with warm water until all the henna is washed out. Avoid using shampoo immediately after rinsing as it can strip the color. Instead, apply a moisturizing conditioner or a deep hair mask to nourish your hair.

Benefits

  • Natural Coloring: Henna provides a safer alternative to chemical hair dyes, minimizing the risk of allergic reactions and hair damage.
  • Conditioning: Henna naturally conditions your hair, leaving it soft, shiny, and manageable.
  • Scalp Health: The antimicrobial properties of henna help maintain scalp health, potentially reducing issues like dandruff.

Precautions

  • Allergy Test: Conduct a patch test before full application to ensure you’re not allergic to henna.
  • Color Variability: The final color can vary based on your original hair color, the henna’s quality, and how long you leave the mixture in your hair.

Tips

  • Use Fresh Ingredients: For the best results, ensure your henna powder and red tea are fresh and of high quality.
  • Heat the Mixture: Applying the mixture while it’s slightly warm can enhance the dye uptake.
  • Avoid Metal Utensils: Metal can react with henna, affecting the color outcome. Use plastic, glass, or ceramic bowls and spoons instead.

Conclusion

Embracing the natural route for hair coloring can be a rewarding and health-conscious choice. This recipe for achieving a reddish hair color with henna and red tea not only offers a vibrant hue but also nurtures your hair with natural conditioning properties. While the process might seem more labor-intensive than using boxed dyes, the benefits of minimized chemical exposure and enhanced hair health are compelling reasons to give it a try. By following this guide, you’re not just coloring your hair; you’re embracing a centuries-old tradition

of natural beauty care, tailored for the modern enthusiast.

Filed Under: Hair Care Tagged With: beauty tips, chemical-free hair dye, DIY hair dye, hair care, hair care tips, henna and red tea recipe, henna hair dye, natural beauty remedies, natural hair coloring, Organic Hair Care, red tea for hair, sustainable beauty

Embracing Nature: The Ultimate Guide to Natural Hair Dyes Using Henna

May 17, 2024 by sharvayonibeauty Leave a Comment

In the quest for vibrant hair colors and the covering of grays, many of us turn to hair dyes without a second thought to their composition. However, the stark reality is that these conventional dyes are laden with harsh chemicals such as ammonia, peroxide, p-phenylenediamine, diaminobenzene, toluene-2,5-diamine, resorcinol, and more. These ingredients not only pose a risk to our hair’s health, leading to damage from roots to ends and even hair loss, but also to our overall well-being.

Thankfully, nature offers us a bounty of alternatives that can color our hair beautifully without the adverse effects. Among these, Henna (or Mehandi) stands out as not just a personal favorite but also as a testament to the power and gentleness of natural hair dyes. Henna’s use dates back to ancient Egyptian and Indian civilizations, highlighting its long-standing trust and efficacy.

The Henna Advantage

Safety First: For those sensitive or allergic to chemical hair dyes, Henna presents a safe haven. It’s free from ammonia and harsh chemicals, offering a natural path to coloring your hair.

Fosters Hair Growth: Henna is more than just a dye; it’s a natural remedy that nourishes hair from roots to ends, encouraging stronger, thicker growth.

Protection: By coating the hair strands, Henna creates a protective layer that shields the hair from breakage, splitting, and damage from environmental factors like the sun and heat. This layer also adds volume, making thin hair appear thicker.

Health Benefits: Beyond hair care, Henna is known for its therapeutic properties, such as preventing headaches—a common practice in the Middle East—and healing scalp conditions by restoring the scalp’s acid-alkaline balance and preventing dandruff.

Tips for Using Henna

To ensure the best results with Henna, consider the following tips:

  • Moderation is Key: Use Henna no more than once a month to prevent drying and brittleness.
  • Application Conditions: Apply Henna to clean, wet hair for optimal results. Dry hair does not absorb Henna well.
  • Handling: Avoid brushing or combing your hair with Henna in it to prevent damage.
  • Post-Henna Coloring: Should you choose to switch back to chemical dyes after using Henna, wait until the treated hair grows out to avoid unexpected color results. For necessary dyeing, stick to dark colors.
  • Avoid Mixing Oil: Adding oil to Henna can alter its coloring effect and reduce its permanence.

Embracing natural hair dyes like Henna not only aligns with a healthier lifestyle but also pays homage to centuries-old traditions that celebrated beauty in harmony with nature. By choosing natural dyes, you’re not just making a cosmetic choice but a commitment to your health and the environment. Whether you’re looking to revive your hair color or embark on a new hair health journey, the natural path offers a rich palette of possibilities that nourish, protect, and beautify.

Filed Under: Hair Care Tagged With: ancient beauty remedies, beauty tips, chemical-free hair dye, hair care, hair growth, hair protection, healthy hair tips, henna, Mehandi, natural hair dye

Itching Scalp Formula: A Soothing Oil Blend for Relief

May 16, 2024 by sharvayonibeauty Leave a Comment

An itchy scalp can be more than just an annoyance; it can signify underlying scalp conditions, including dryness, dandruff, or even fungal infections. Finding relief is crucial for comfort and scalp health. A natural remedy, combining the soothing and healing properties of lavender, German chamomile, coconut, and eucalyptus oils, offers a potent solution to alleviate scalp itchiness. This article will guide you through creating and applying an effective itching scalp formula.

Understanding Itchy Scalp Causes and Natural Solutions

Scalp itchiness can arise from various factors, from environmental to physiological. Natural oils are renowned for their ability to address these issues gently and effectively, providing both immediate relief and long-term benefits.

Things Needed

  • Lavender oil
  • German chamomile oil
  • Coconut oil
  • Eucalyptus oil

Steps to Prepare

  1. Oil Mixture: Mix equal parts of lavender, German chamomile, coconut, and eucalyptus oils in a bowl. The coconut oil serves as a carrier oil, diluting the essential oils to make the blend safe for direct scalp application.
  2. Container Transfer: Pour the blended oils into a glass bottle or container for easy application.

How to Apply

  • Apply a small amount of the oil blend to your scalp, focusing on the areas most affected by itchiness.
  • Gently massage the oil into the scalp with your fingertips, using circular motions to enhance absorption and stimulate blood circulation.
  • Leave the oil on your scalp for at least 30 minutes or overnight for more intensive treatment.
  • Wash your hair with a gentle shampoo to remove the oil residue.

Benefits

  • Lavender Oil: Known for its soothing properties, lavender oil can reduce scalp inflammation and irritation.
  • German Chamomile Oil: Offers anti-inflammatory benefits, calming the scalp and reducing itchiness.
  • Coconut Oil: Moisturizes the scalp, addressing dryness that can lead to itchiness.
  • Eucalyptus Oil: With its cooling effect, eucalyptus oil provides immediate relief from itchiness.

Precautions

  • Conduct a patch test before applying the oil blend to your scalp to ensure no allergic reactions.
  • Avoid using excessive amounts of essential oils, as they can be potent.

Tips for Enhanced Effectiveness

  • Warm the oil blend slightly before application to increase its soothing effects.
  • For best results, incorporate the scalp massage into your regular hair care routine, applying the oil blend 2 to 3 times a week.
  • Maintain a healthy diet and stay hydrated to support scalp health from within.

Additional Insights: Integrating Scalp Care into Hair Health

A comprehensive approach to hair care includes regular scalp treatments, using natural remedies like this itching scalp formula, alongside proper nutrition and hydration.

Conclusion

The itching scalp formula, with its blend of lavender, German chamomile, coconut, and eucalyptus oils, offers a natural and effective way to alleviate scalp itchiness. By regularly applying this oil blend, you can enjoy the dual benefits of immediate itch relief and improved overall scalp health. Remember, consistency and attention to scalp care are key to maintaining a healthy, itch-free scalp.

Filed Under: Hair Care Tagged With: alleviate scalp itchiness, beauty tips, coconut oil for scalp, DIY scalp treatment, essential oil blend for scalp, essential oils for scalp, eucalyptus oil relief, German chamomile oil, hair care, itching scalp formula, lavender oil benefits, moisturizing scalp oil, natural scalp remedy, relieve itchy scalp, scalp care routine, scalp health improvement, scalp massage techniques

  • « Go to Previous Page
  • Page 1
  • Page 2
  • Page 3
  • Page 4
  • Interim pages omitted …
  • Page 56
  • Go to Next Page »

Primary Sidebar

Looking for something?

Connect with us online

  • Email
  • Facebook

Popular Posts!

Neem and Tea Tree Oils: Potent Fungal Fighters for Scalp Health

Discover the Timeless Beauty Secret of Green Tea

Tea bags for the Eye care

Natural Face Pack Using Papaya

Revitalizing Scalp Treatment with Essential Oils

Categories

  • Hair Care
  • Health and Wellness
  • Skin Care

Tags

beauty benefits beauty tips Chemical-Free Hair Care coconut oil curd curry leaves dark circles DIY Hair Care egg exfoliation eye care glowing skin hair care Hair Care Routine hair care tips hair growth Hair health Hair Health Improvement hair loss Hair Nourishment Hair Strengthening health and wellness honey hydration lemon lemon juice milk natural beauty natural conditioner natural face mask Natural hair care Natural Hair Growth Natural Hair Remedies natural ingredients natural remedies Natural remedy natural skincare olive oil radiant complexion radiant skin scalp health Scalp Nourishment skin care skincare skincare routine

© 2026 · Sharvayoni · Privacy Policy · Disclaimer