• Skip to main content
  • Skip to primary sidebar
  • HOME
  • SKIN CARE
  • HAIR CARE
  • HEALTH AND WELLNESS
  • CONTACT US

Sharvayoni

Unearth Nature's Magic - Your Path to Herbal Radiance and Wellnes

Hair shine enhancement

After Wash White Vinegar Rinse: A Crucial Step for Scalp Health

May 11, 2024 by sharvayonibeauty Leave a Comment

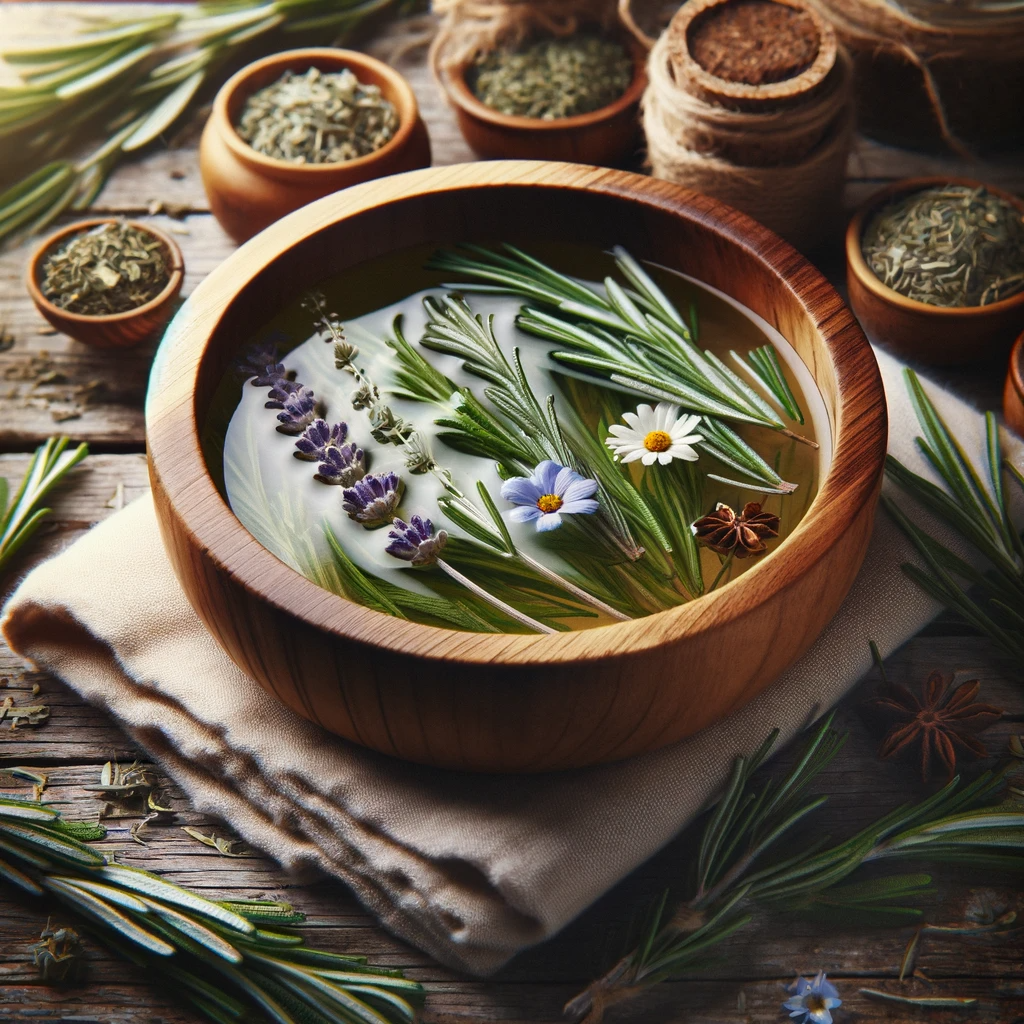
Complementing a pre-wash white vinegar tonic, an after-wash white vinegar rinse is a vital step in a comprehensive scalp care routine. This simple yet effective method can enhance the health of your hair and scalp, particularly in combating dandruff. This article will guide you through preparing and using an after-wash vinegar rinse, highlighting its benefits and the best practices for its application.

The Role of Vinegar in Hair Care

White vinegar, known for its acetic acid content, can help in balancing the pH of the scalp, removing product buildup, and enhancing hair shine. When used in conjunction with a pre-wash tonic, it maximizes the treatment’s effectiveness.

Things Needed

  • 2 tablespoons of white vinegar.
  • 1 cup of pure water.

Steps to Prepare

  1. Mixing the Rinse: In a container, combine the white vinegar with a cup of water.

How to Apply

  • After shampooing and conditioning your hair, use the vinegar mixture as a final rinse.
  • Pour the mixture evenly over your scalp and hair.
  • Ensure that the rinse covers the entire scalp and hair length.
  • Do not rinse your hair again after applying the vinegar mixture.
  • Proceed to apply your usual hair moisturizer.

Benefits

  • Enhances Scalp Health: Helps in maintaining a healthy scalp environment, reducing dandruff.
  • Removes Residues: Effectively cleanses the hair of any remaining shampoo or conditioner residues.
  • Restores Hair Shine: Leaves hair looking shiny and feeling smooth.
  • Balances pH: Vinegar’s natural acidity helps balance the pH of your hair and scalp.

Precautions

  • Dilute the vinegar properly to avoid any potential scalp irritation.
  • Avoid using hot water immediately after the vinegar rinse to prevent hair damage.

Tips for Enhanced Effectiveness

  • Use cool or lukewarm water for the final rinse to seal the hair cuticles.
  • Consider using an organic, unpasteurized vinegar for more natural benefits.
  • Regularly trim your hair to prevent split ends, which can exacerbate scalp issues.

Additional Insights: Complete Scalp Care

Alongside the vinegar rinse, maintain a balanced diet, stay hydrated, and avoid excessive heat styling to promote overall scalp and hair health.

Conclusion

The after-wash white vinegar rinse is a straightforward and effective way to improve scalp health, particularly when used in combination with a pre-wash vinegar tonic. Regular use of this rinse can lead to a healthier scalp, reduced dandruff, and shinier hair. Consistency and proper care are key to reaping the full benefits of this natural hair care treatment.
Filed Under: Hair Care Tagged With: after-wash vinegar rinse, balancing scalp pH, beauty tips, DIY Hair Rinse, effective scalp treatment, eliminating hair residues, hair care, Hair Care Routine, hair moisturizing methods, Hair shine enhancement, maintaining healthy hair, natural dandruff remedy, Organic Hair Treatment, scalp care tips, scalp health improvement, vinegar for hair, white vinegar benefits

Shea Butter Moisturizer: A Natural Way to Nourish Your Hair

May 4, 2024 by sharvayonibeauty Leave a Comment

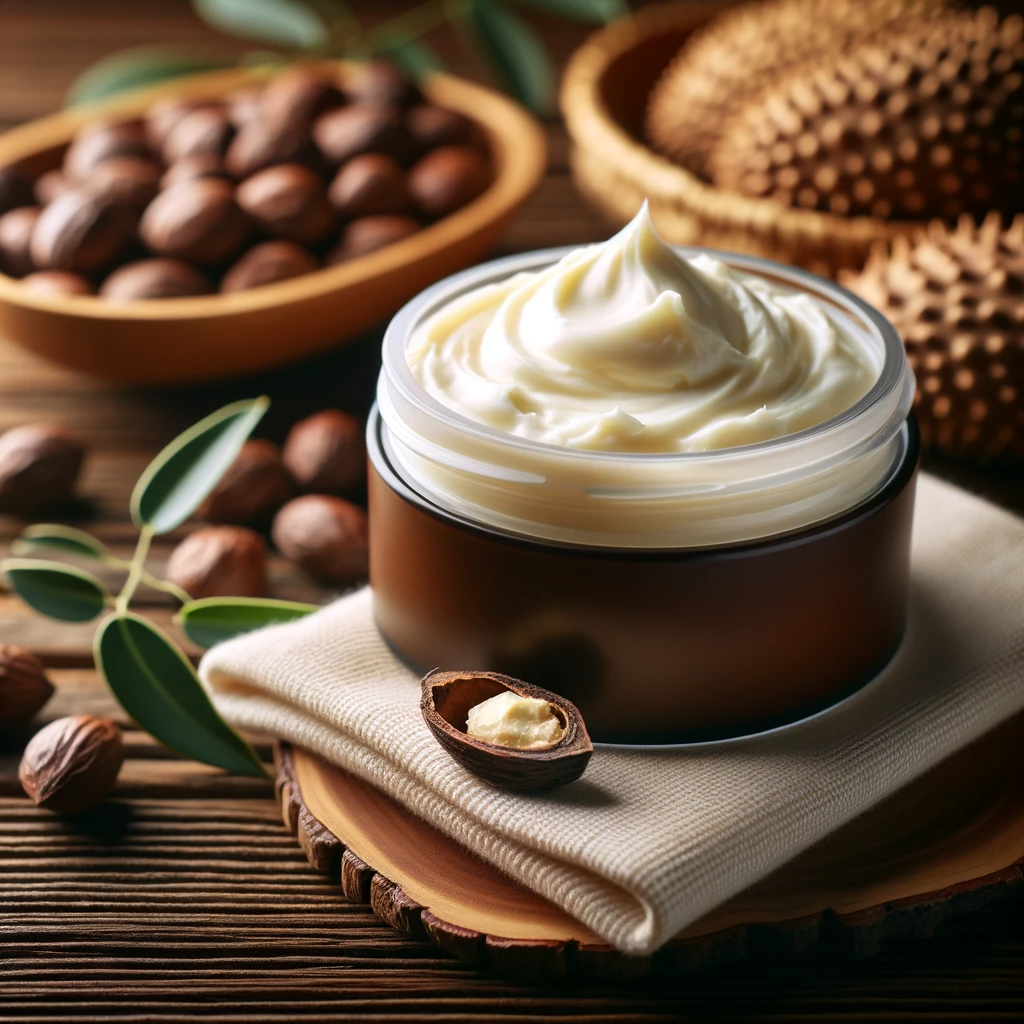
In the world of natural hair care, shea butter stands out as a versatile and beneficial ingredient. Known for its moisturizing properties, shea butter is an excellent choice for those seeking a natural method to keep their hair healthy and hydrated. This article will guide you through creating a shea butter moisturizer, enriched with aloe vera and olive oil, suitable for use as a cream or a leave-in conditioner.

The Benefits of Shea Butter in Hair Care

Shea butter is rich in vitamins and fatty acids, making it incredibly nourishing for hair. It helps control hair strands, protect against breakage, heat, dryness, and sun damage, and adds shine and moisture.

Things Needed

  • ½ cup of Aloe Vera gel (blended).
  • ¼ cup of raw Shea Butter.
  • ¼ cup of extra virgin olive oil.

Steps to Prepare

  1. Melting Shea Butter: Melt the Shea butter in the top of a double boiler until it becomes smooth.
  2. Combining Ingredients: Remove from heat, add the Aloe Vera gel and olive oil, and stir well.
  3. Storing: Transfer the mixture into a jar for easy use.

How to Apply

  • Apply the shea butter mixture to your hair as you would with any moisturizer or leave-in conditioner.
  • Focus on the ends of your hair, which are more prone to dryness and damage.
  • This cream does not leave hair greasy or oily, thanks to the inclusion of Aloe Vera gel.

Customizing the Cream

  • For a thicker consistency, reduce the amount of olive oil.
  • For a lighter texture, increase the amount of olive oil or replace it with other oils like Argan or Macadamia oil.

Benefits

  • Moisturizes Hair: Shea butter deeply nourishes and hydrates hair.
  • Adds Shine: Leaves hair shiny and lustrous.
  • Protects Hair: Shields hair from environmental damage and breakage.
  • Versatile Use: Can be used as a cream or leave-in conditioner.

Precautions

  • Perform a patch test to ensure you are not allergic to any of the ingredients.
  • Be cautious with the temperature when melting Shea butter to avoid burns.

Tips for Enhanced Effectiveness

  • Use organic, unrefined Shea butter for maximum benefits.
  • Apply the cream to damp hair for better absorption.
  • Store the cream in a cool, dry place to maintain its consistency.

Additional Insights: Holistic Hair Care

Incorporating natural ingredients like Shea butter into your hair care routine complements other hair health practices, such as a balanced diet and gentle hair styling.

Conclusion

Shea butter moisturizer, combined with Aloe Vera and olive oil, offers a natural and effective solution for maintaining healthy, hydrated hair. By customizing the consistency and ingredients according to your hair type and preference, you can enjoy the full benefits of this natural hair care treatment. Regular use will lead to stronger, shinier, and more nourished hair.
Filed Under: Hair Care Tagged With: Aloe Vera benefits, beauty tips, DIY Hair Treatment, hair care, hair care tips, Hair hydration, Hair Nourishment, Hair shine enhancement, Healthy Hair Solutions, Leave-in Conditioner, moisturizing hair cream, Natural hair care, Natural Hair Remedies, Olive Oil for Hair, preventing hair breakage, Shea Butter for Hair, shea butter moisturizer

Calendula and Coconut Oil Hair Treatment: A Natural Remedy for Hair Revitalization

January 30, 2024 by sharvayonibeauty Leave a Comment

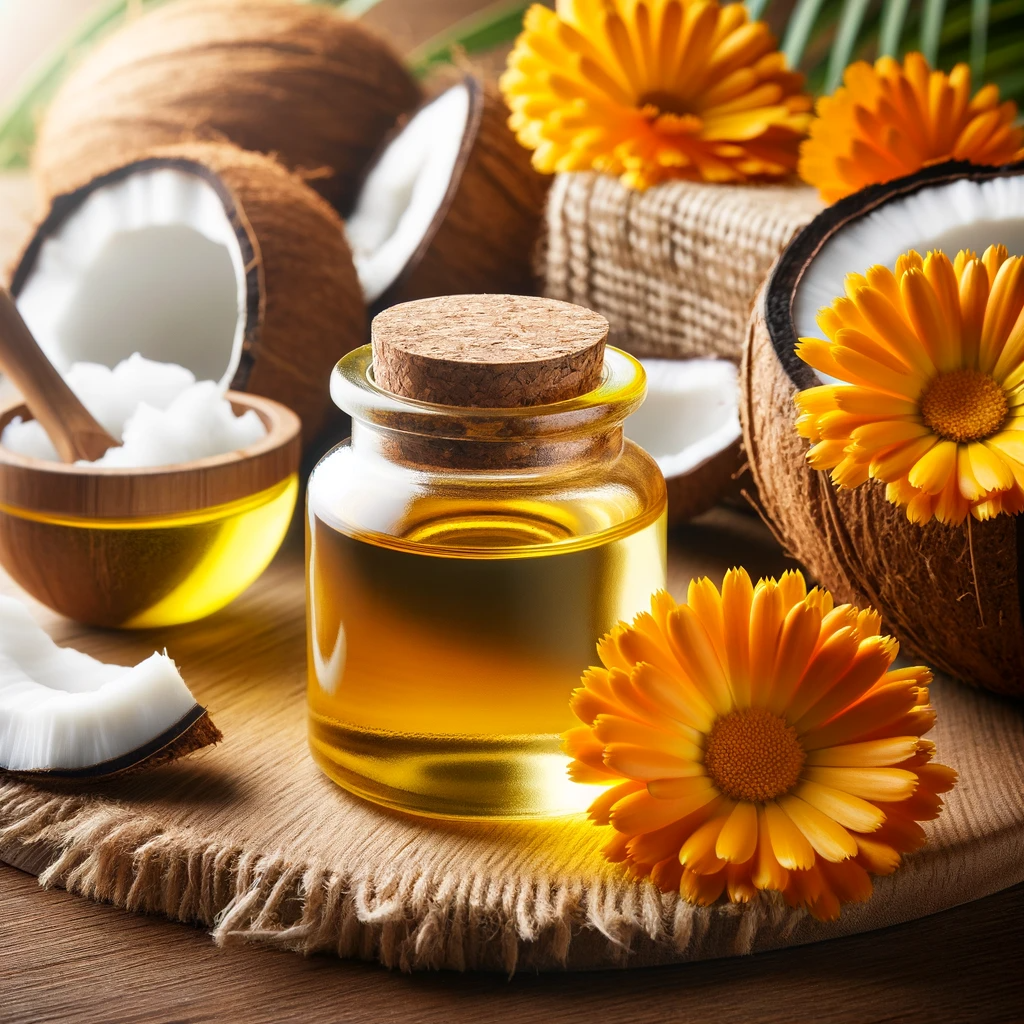
In the pursuit of healthy, radiant hair, natural oils play a pivotal role. This hair treatment recipe combines calendula oil and coconut oil, both renowned for their nourishing properties. Suitable for both damaged and normal hair, this treatment helps to repair, moisturize, and enhance hair’s natural shine. The simplicity of the ingredients makes it an accessible and effective solution for those looking to improve their hair’s health naturally.

Things Needed

Before you start, ensure you have the following items:

  1. Calendula Oil: 1 teaspoon, known for its healing properties.
  2. Coconut Oil: 1 tablespoon, for deep hydration.
  3. Small Mixing Bowl: To combine the oils.
  4. Double Boiler: For gentle heating of the oil mixture.
  5. Towel: To cover hair during treatment.
  6. Shampoo and Conditioner: For washing hair post-treatment.

Steps to Prepare

Creating this calendula and coconut oil hair treatment involves a few simple steps:

  1. Mix Oils: In the small mixing bowl, combine 1 teaspoon of calendula oil with 1 tablespoon of coconut oil.
  2. Melt the Mixture: Transfer the oil mixture to a double boiler. Heat the mixture over medium-low heat until the coconut oil has melted completely.
  3. Cool the Mixture: Once melted, remove the mixture from heat and allow it to cool slightly. Ensure it’s warm but not too hot to apply to your scalp.
  4. Apply to Hair: Gently apply the warm oil mixture to your hair, making sure to cover from roots to tips.
  5. Cover with a Towel: Wrap your hair with a towel and let the treatment sit for about 5 minutes. This allows the oils to penetrate deeply into the hair follicles and scalp.
  6. Rinse Thoroughly: Wash off the treatment with warm water, then shampoo and condition as usual.
  7. Dry Gently: Pat your hair dry with a towel.

Benefits

The calendula and coconut oil hair treatment offers several benefits:

  1. Restores Moisture: Coconut oil deeply moisturizes the hair, making it ideal for dry or damaged hair.
  2. Promotes Scalp Health: Calendula oil is beneficial for scalp health, soothing irritation and promoting healing.
  3. Strengthens Hair: Regular use of this treatment can strengthen hair follicles, reducing breakage and promoting healthier growth.
  4. Enhances Shine: This natural oil combination adds a beautiful shine to your hair.
  5. Simple and Natural: The treatment uses just two natural ingredients, free from any chemicals or additives.
  6. Versatile Use: Suitable for both damaged and normal hair, this treatment can be used as part of any hair care routine.
  7. Cost-Effective: Using simple ingredients, this treatment is an affordable alternative to commercial hair products.
  8. Eco-Friendly: Natural, biodegradable ingredients make this treatment environmentally friendly.

Conclusion

Incorporating this calendula and coconut oil hair treatment into your routine is an excellent way to naturally nourish and rejuvenate your hair. Its healing and moisturizing properties make it a potent remedy for damaged hair while being gentle enough for regular maintenance. Simple to prepare and apply, this treatment is a testament to the power of natural ingredients in achieving healthy, radiant hair.

Filed Under: Hair Care Tagged With: beauty tips, Calendula Oil Hair Treatment, Coconut Oil for Hair, DIY Hair Repair, Easy Hair Treatments, Eco-Friendly Hair Solutions, hair care, Hair Health Improvement, Hair shine enhancement, Moisturizing Hair Remedies, Natural hair care, Scalp Nourishment

Cinnamon and Honey Hair Mask: A Natural Shine Enhancer

January 27, 2024 by sharvayonibeauty Leave a Comment

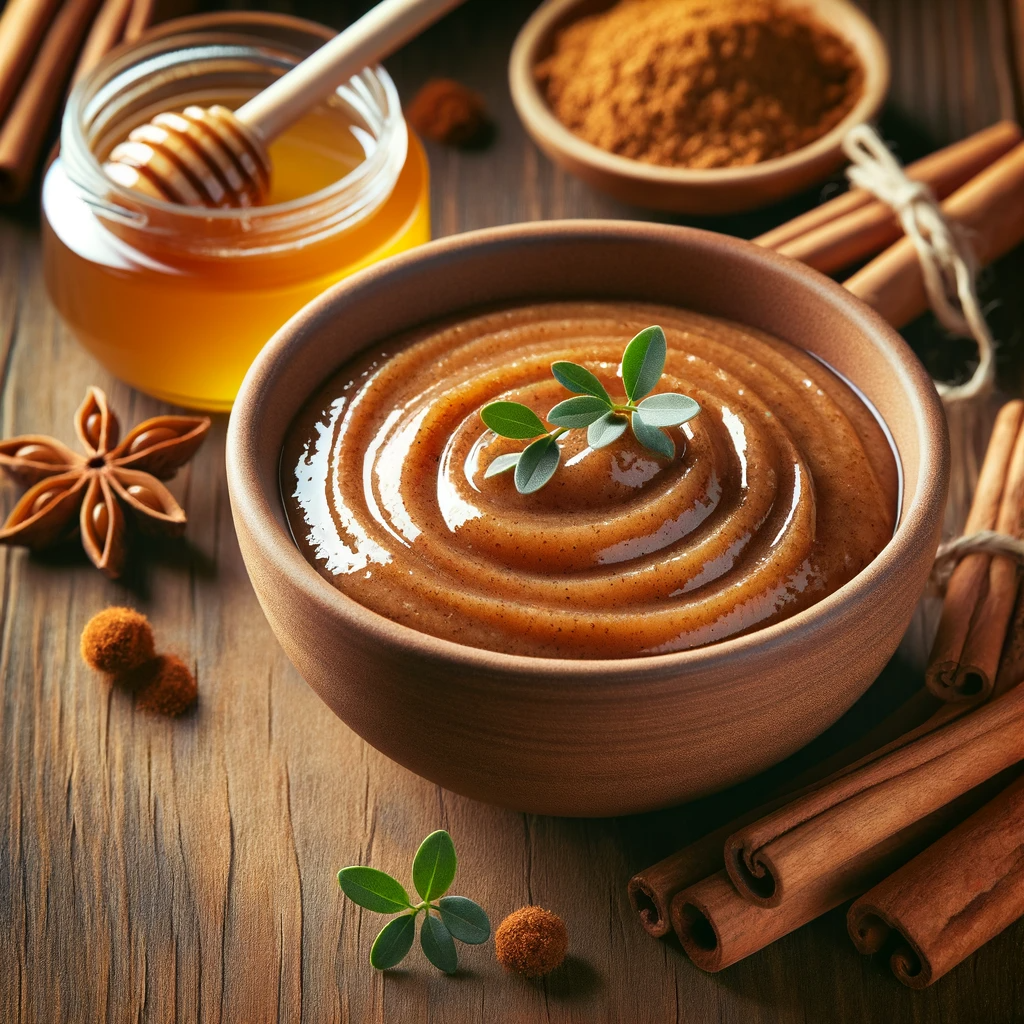
In the world of natural hair care, simple ingredients often hold the key to unlocking the lustrous potential of your locks. This homemade hair mask, featuring a blend of cinnamon, mayonnaise, honey, eggs, and milk, is designed to hydrate and add shine to your hair. Each ingredient plays a crucial role in nourishing the hair, making this mask an ideal treatment for those seeking a natural way to enhance the health and appearance of their hair.

Things Needed

Before you begin, gather the following materials for your hair mask:

  1. Cinnamon: Known for its stimulating properties.
  2. Mayonnaise: Provides moisture and shine.
  3. Honey: A natural humectant that retains moisture.
  4. Eggs: Rich in protein, aiding in hair strength.
  5. Milk: Adds additional hydration.
  6. Small Mixing Bowl: To blend the ingredients.
  7. Pot: For warming the mixture.
  8. Whisk or Spoon: For stirring the ingredients.
  9. Shower Cap or Plastic Wrap: To cover hair during treatment.
  10. Shampoo and Conditioner: For washing off the mask.
  11. Towel: To pat your hair dry.

Steps to Prepare

Creating this hair mask is a straightforward process:

  1. Combine Ingredients: In the mixing bowl, add a suitable amount of cinnamon (a teaspoon is a good starting point), a couple of tablespoons of mayonnaise, a tablespoon of honey, two beaten eggs, and a few drops of milk.
  2. Mix Well: Stir the mixture until all ingredients are well combined. Aim for a smooth, consistent texture.
  3. Warm the Mixture: Transfer the mixture into a pot and warm it slightly over medium-low heat. Do not overheat; just enough to make the application comfortable.
  4. Apply to Hair: Apply the warm mixture to your hair, ensuring that you cover it from roots to ends. For the best results, focus on applying it evenly throughout your hair.
  5. Cover Your Hair: Place a shower cap or plastic wrap over your hair to lock in the moisture and warmth, enhancing the mask’s effectiveness.
  6. Leave-In Time: Let the mask sit in your hair for 30 to 60 minutes. The longer it stays, the more time the ingredients have to nourish your hair.
  7. Rinse and Wash: After the treatment, rinse your hair thoroughly with warm water, then shampoo and condition as usual.
  8. Dry Your Hair: Gently pat your hair dry with a towel.

Benefits

The cinnamon and honey hair mask offers numerous benefits:

  1. Moisturizing: Mayonnaise and milk provide deep hydration, combating dryness and frizz.
  2. Strengthens Hair: The protein in eggs helps strengthen hair strands, reducing breakage.
  3. Enhances Shine: Honey and cinnamon add a natural sheen to your hair.
  4. Scalp Health: Cinnamon can stimulate the scalp, promoting healthy hair growth.
  5. Natural and Safe: Using kitchen ingredients ensures a chemical-free treatment, suitable for all hair types.
  6. Cost-Effective: This homemade treatment is a budget-friendly alternative to expensive salon treatments.
  7. Eco-Friendly: Natural ingredients reduce the environmental impact compared to many commercial hair products.

Conclusion

This cinnamon and honey hair mask is an excellent way to naturally nourish and rejuvenate your hair. Whether your hair is dry, damaged, or just in need of some extra shine, this homemade mask is a perfect solution to bring out the best in your locks. Regular use can lead to stronger, healthier, and more radiant hair, making it a worthwhile addition to your hair care routine.

Filed Under: Hair Care Tagged With: beauty tips, Cinnamon Hair Treatment, DIY Hair Mask, Eco-Friendly Hair Solutions, Egg Protein for Hair, hair care, Hair shine enhancement, Homemade Hair Care, Honey for Hair, Mayonnaise Hair Mask, Milk in Hair Products, Natural Hair Hydration

Herbal Hair Rinse for Healthy Scalp and Shiny Hair

January 24, 2024 by sharvayonibeauty Leave a Comment

In the realm of natural hair care, herbal hair rinses have gained popularity for their ability to restore the natural balance of the scalp and enhance hair health. This easy-to-make herbal rinse is designed to balance your scalp’s pH, reduce product buildup, and improve hair shine and manageability. Depending on your hair type, whether it’s normal, dry, thinning, oily, or dandruff-prone, specific herbs can be used to target these concerns effectively.

Importance of Herbal Rinse

Herbal rinses offer several benefits, including:

  1. Anti-Inflammatory Properties: Helps to fight against and heal scalp inflammation.
  2. Healing from Chemical Treatments: Aids in recovering from skin problems caused by chemical and synthetic hair treatments.
  3. Dandruff Treatment: Acts as a natural remedy for dandruff.
  4. Oil Control: Helps in reducing excess grease in hair.

Things Needed

To prepare this herbal hair rinse, you will need:

  1. Herbs: Depending on your hair type (Chamomile and Lavender for normal-dry hair; Peppermint and Rosemary for thinning, oily hair, or dandruff).
  2. Distilled Water: 2 cups, for brewing the herbs.
  3. Dark Glass Container: To store the herbal rinse.
  4. Pot: For boiling the herbal infusion.
  5. Mesh Strainer or Cheesecloth: For straining the herbs.
  6. Mixing Bowl: To combine herbs and water.

Steps to Prepare

Creating your herbal hair rinse involves a few simple steps:

  1. Herb Selection: Choose and combine 3 tablespoons each of the appropriate herbs in a mixing bowl.
  2. Brew the Herbs: Pour 2 cups of distilled water over the herbs. Transfer this mixture to a pot and bring to a boil over medium-high heat.
  3. Steep the Herbs: Once boiled, remove the pot from the heat and set it aside for 60 minutes, allowing the herbs to release their flavors and benefits.
  4. Strain the Infusion: Use a mesh strainer or cheesecloth to strain the liquid, removing all the herb particles.
  5. Transfer to Container: Pour the strained herbal rinse into a dark glass bottle for storage.
  6. Application: Gently rub the rinse into your hair and scalp with your hands during your shower routine.
  7. Rinse Out: After massaging it into your scalp and hair, wash it out and pat your hair dry.

Benefits

This herbal hair rinse provides various benefits:

  1. pH Balance: Restores the natural pH balance of your scalp, promoting overall scalp health.
  2. Reduces Buildup: Helps remove buildup from hair care products, leaving hair clean and refreshed.
  3. Enhances Shine: Natural herbs impart a natural shine to your hair.
  4. Improves Manageability: Regular use makes hair more manageable and easier to style.
  5. Natural Remedy for Scalp Issues: Herbs like rosemary and peppermint are effective in treating dandruff and scalp inflammation.
  6. Cost-Effective: Making your own hair rinse is more economical than purchasing commercial products.
  7. Chemical-Free: Free from harmful chemicals found in many hair care products.

Conclusion

Incorporating a herbal hair rinse into your hair care routine is an effective way to harness the benefits of nature for your hair. Not only does it improve the health of your scalp and hair, but it also leaves your hair looking shiny and feeling soft. The simplicity and effectiveness of this natural remedy make it an excellent choice for anyone looking to switch to a more natural hair care regimen.

Filed Under: Hair Care Tagged With: beauty tips, Chamomile for Hair, dandruff treatment, DIY Herbal Hair Rinse, Eco-Friendly Hair Care, hair care, Hair shine enhancement, Homemade Hair Products, Lavender Hair Benefits, Natural hair care, Rosemary for Scalp Health, Scalp pH Balance

  • Page 1
  • Page 2
  • Go to Next Page »

Primary Sidebar

Looking for something?

Connect with us online

  • Email
  • Facebook

Popular Posts!

Get rid of pimples using Nutmeg

Wrinkle-Free Skin: Embrace Youthful Radiance with Curry Leaves, Multani Mitti, and Rose Water

Coconut Oil Lice Prevention & Cure: The Ultimate Leave-In Conditioner

Rejuvenating Strawberry and Milk Facial Mask for Youthful Skin

skin-care-Slider1

Natural Radiance: Homemade Face Masks for Glowing and Hydrated Skin

Categories

  • Hair Care
  • Health and Wellness
  • Skin Care

Tags

beauty benefits beauty tips Chemical-Free Hair Care coconut oil curd curry leaves dark circles DIY Hair Care egg exfoliation eye care glowing skin hair care Hair Care Routine hair care tips hair growth Hair health Hair Health Improvement hair loss Hair Nourishment Hair Strengthening health and wellness honey hydration lemon lemon juice milk natural beauty natural conditioner natural face mask Natural hair care Natural Hair Growth Natural Hair Remedies natural ingredients natural remedies Natural remedy natural skincare olive oil radiant complexion radiant skin scalp health Scalp Nourishment skin care skincare skincare routine

© 2025 · Sharvayoni · Privacy Policy · Disclaimer