• Skip to main content
  • Skip to primary sidebar
  • HOME
  • SKIN CARE
  • HAIR CARE
  • HEALTH AND WELLNESS
  • CONTACT US

Sharvayoni

Unearth Nature's Magic - Your Path to Herbal Radiance and Wellnes

Vitamin E for Hair

Ultimate Nourishing Hair Oil Blend: A Natural Recipe for Healthy Hair

February 16, 2024 by sharvayonibeauty Leave a Comment

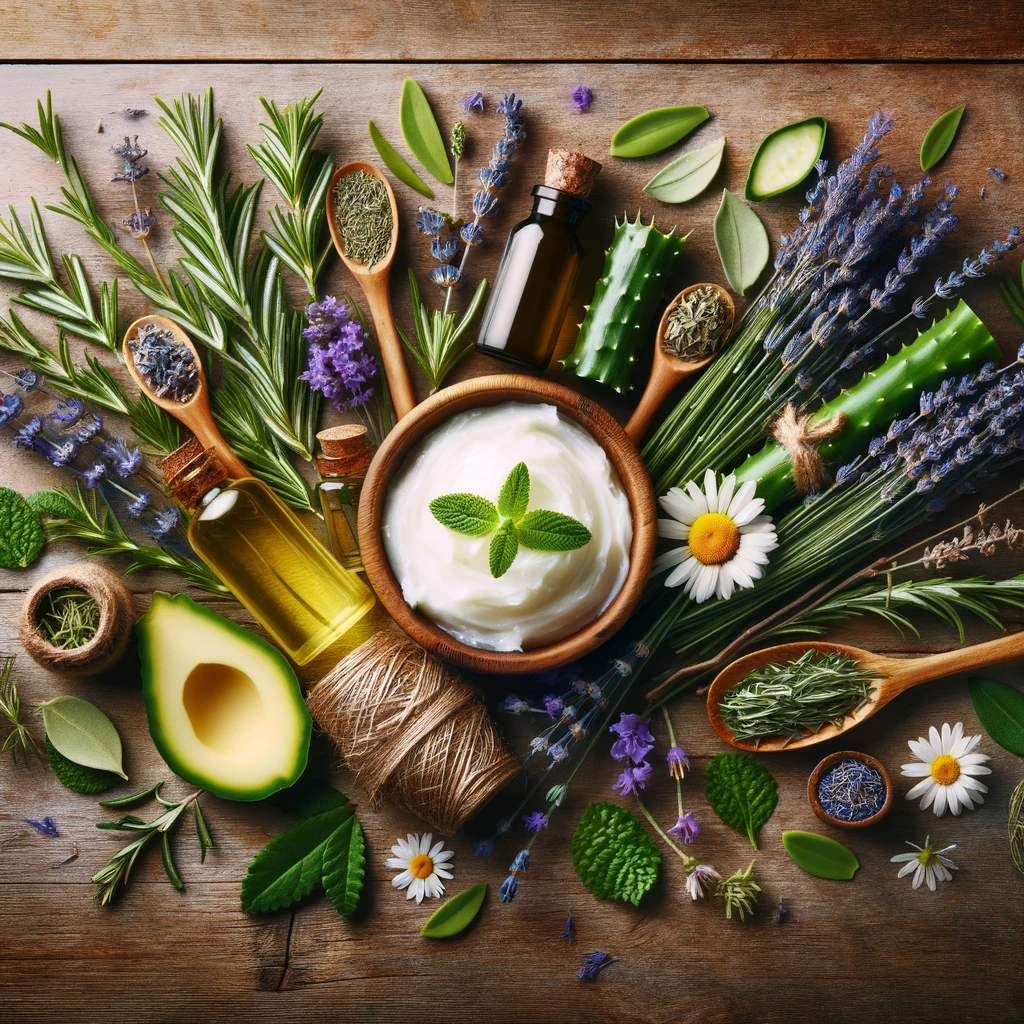
In the world of natural hair care, oil blends are celebrated for their ability to deeply nourish and rejuvenate hair. This Ultimate Nourishing Hair Oil Blend, featuring castor oil, coconut oil, jojoba oil, vitamin E oil, and peppermint oil, is designed to provide your hair with essential nutrients and hydration. The optional addition of olive oil adds an extra layer of moisture. This blend is perfect for anyone looking to improve their hair’s health naturally.

Things Needed

To prepare this enriching hair oil blend, gather the following ingredients:

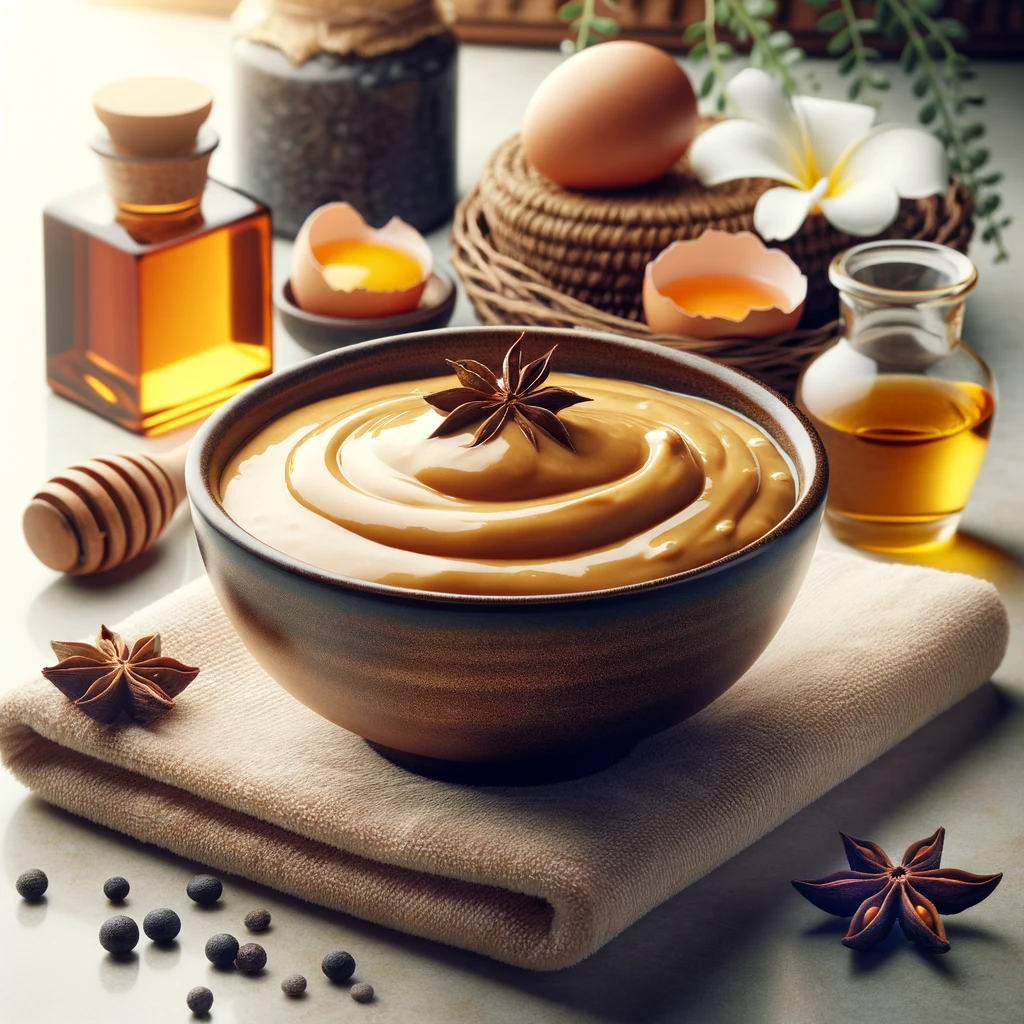
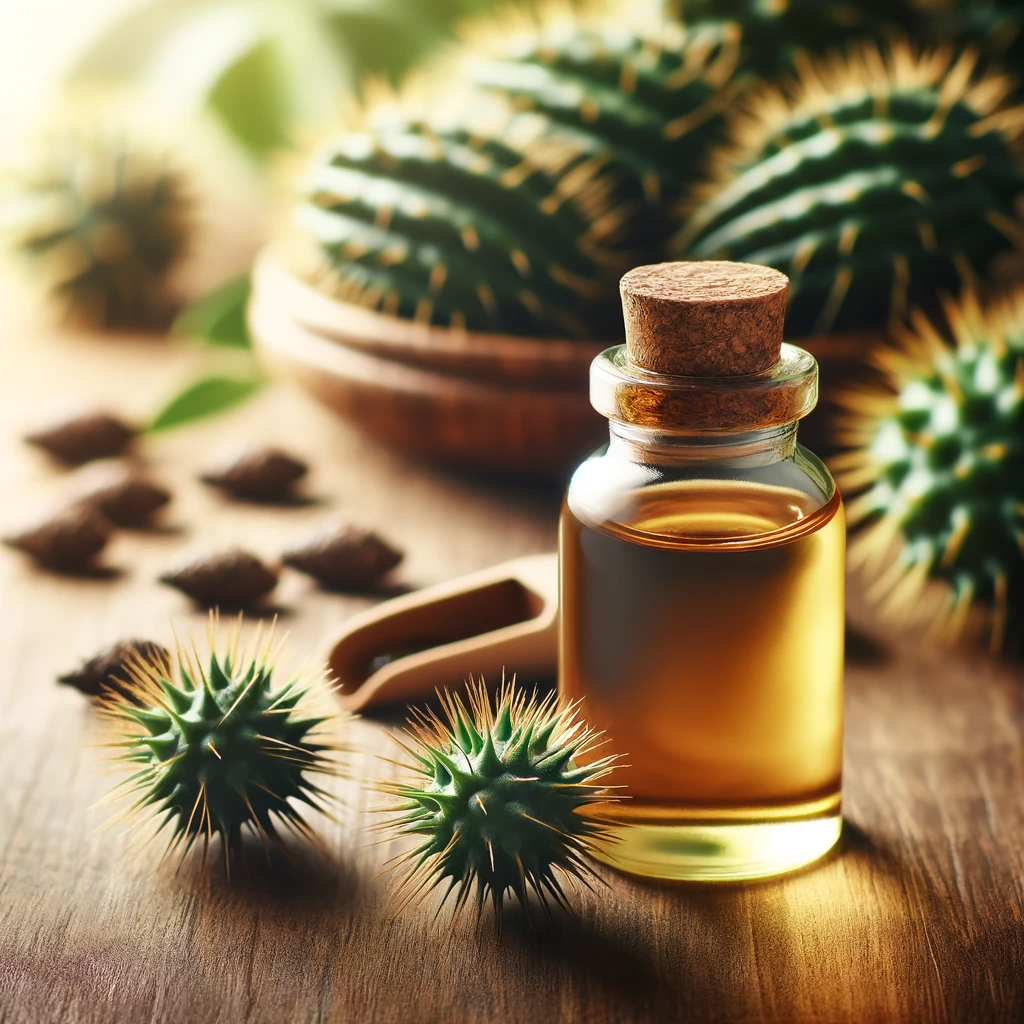
  • 1 tablespoon of Castor Oil: Known for promoting hair growth and thickness.
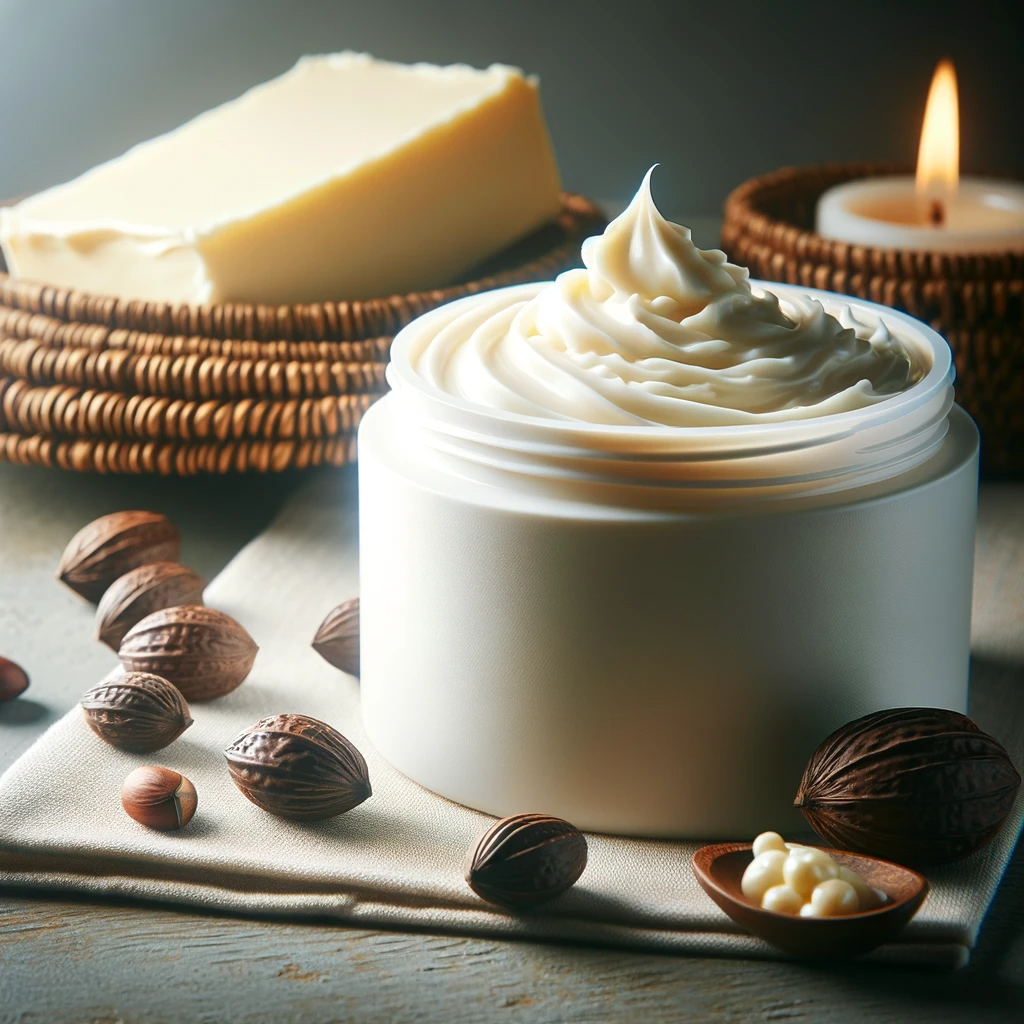
  • 2 tablespoons of Coconut Oil: Deeply conditions and moisturizes hair.
  • 1 tablespoon of Jojoba Oil: Mimics the scalp’s natural oils and hydrates hair.
  • 2 drops of Vitamin E Oil: Acts as an antioxidant and supports hair health.
  • 1 teaspoon of Peppermint Oil: Stimulates the scalp and promotes hair growth.
  • Olive Oil (Optional): Adds extra moisture and shine.
  • Small Bowl: For mixing the oils.
  • Double Boiler: To gently melt the oils.
  • Plastic Cap: For covering hair during treatment.

Steps to Prepare

1. In a small bowl, combine 1 tablespoon of castor oil, 2 tablespoons of coconut oil, 1 tablespoon of jojoba oil, 2 drops of vitamin E oil, and 1 teaspoon of peppermint oil. Include olive oil if desired.

2. Stir the oils until they are well combined.

3. Transfer the oil mixture into a double boiler and gently heat over low heat until completely melted.

4. Allow the oils to cool slightly. They should be warm but not too hot to touch.

5. Apply the warm oil blend to sectioned hair, starting from the ends and working your way up to the roots and scalp.

6. Cover your hair with a plastic cap and leave the oil in for 10-15 minutes, allowing it to deeply penetrate and nourish the hair.

7. Follow up with your regular hair conditioning routine.

Benefits

This Ultimate Nourishing Hair Oil Blend offers a multitude of benefits for your hair:

  • Promotes Hair Growth: Castor and peppermint oils stimulate the scalp, encouraging hair growth.
  • Moisturizes and Conditions: Coconut, jojoba, and olive oils deeply moisturize and condition the hair, leaving it soft and shiny.
  • Strengthens Hair: Vitamin E oil helps to strengthen hair follicles and prevent breakage.
  • Scalp Health: This blend helps in balancing scalp oils and reducing dandruff.

Conclusion

Creating your own hair oil blend is a rewarding way to take care of your hair’s health. This Ultimate Nourishing Hair Oil Blend is not just a mixture of oils; it’s a concoction of nature’s best ingredients for hair. Regular use of this blend can result in stronger, healthier, and more vibrant hair. Embrace this natural solution and give your hair the care it deserves.

Filed Under: Hair Care Tagged With: beauty tips, Castor Oil for Hair, Coconut Oil Hair Treatment, DIY Hair Oil, hair care, hair growth, Hair Moisturization, Hair Strengthening, Jojoba Oil Benefits, Natural hair care, Olive Oil in Hair Care, Peppermint Oil Scalp Health, Scalp Nourishment, Vitamin E for Hair

Shea Butter Hair Cream: A Natural Path to Luscious Locks

February 6, 2024 by sharvayonibeauty Leave a Comment

In the quest for healthy, vibrant hair, natural remedies have surged in popularity. Shea butter, known for its deep moisturizing properties, lies at the heart of this DIY hair cream recipe. Enhanced with a blend of oils like olive, almond, Jamaican black castor, tea tree, coconut, and vitamin E, this homemade cream offers a rich, nourishing experience for your hair. It’s an ideal solution for anyone seeking a natural alternative to commercial hair care products.

Things Needed

The creation of this hair cream requires simple, yet effective ingredients:

  • Shea Butter: Acts as the base of the cream, providing deep moisture and protection.
  • 1 tbsp Olive Oil: Nourishes the scalp and hair, adding shine.
  • 2 tsps Almond Oil: Enhances hair strength and adds silkiness.
  • 1 tsp Jamaican Black Castor Oil: Promotes hair growth and thickness.
  • 1 tsp Tea Tree Oil: Known for its antiseptic properties, it helps maintain a healthy scalp.
  • 1 tbsp Coconut Oil: Deeply conditions and moisturizes hair.
  • 1 tsp Vitamin E Oil: Strengthens hair and promotes a healthy scalp.
  • Double Boiler: For melting shea butter.
  • Egg Beater or Whisk: To blend the ingredients smoothly.

Steps to Prepare

1. Place shea butter in a double boiler over medium-low heat.

2. Allow the shea butter to melt completely, ensuring it doesn’t overheat.

3. Once melted, remove the shea butter from the heat.

4. Gradually measure in the olive oil, coconut oil, almond oil, Jamaican black castor oil, vitamin E oil, and tea tree oil into the melted shea butter.

5. Stir the mixture well until all the oils are thoroughly combined. For a smoother consistency, you can use an egg beater or a whisk to mix.

Note: The mixture should be homogenous and creamy in texture.

Benefits

This Shea Butter Hair Cream offers numerous benefits for your hair:

  • Shea Butter: Provides intense moisture, making it excellent for dry or damaged hair.
  • Olive and Almond Oils: Work together to nourish the hair, adding softness and shine.
  • Jamaican Black Castor and Coconut Oils: Promote hair growth and strengthen hair follicles.
  • Tea Tree Oil: Helps in maintaining a healthy, dandruff-free scalp.
  • Vitamin E Oil: Acts as an antioxidant, protecting the hair from environmental stressors.

Regular use of this cream can lead to healthier, stronger, and more lustrous hair. It’s a simple, natural way to pamper your hair with the care it deserves.

Conclusion

This DIY Shea Butter Hair Cream stands out as an effective, natural hair care solution. By combining the nourishing powers of shea butter and various beneficial oils, this homemade cream offers a rich treatment for your hair. Easy to prepare and delightful to use, it’s a perfect addition to your hair care regimen, promising to leave your hair feeling revitalized and looking its best.

Filed Under: Hair Care Tagged With: Almond Oil Benefits, beauty tips, Coconut Oil Hair Care, DIY Hair Cream, hair care, Homemade Hair Products, Jamaican Black Castor Oil, Natural hair care, Olive Oil Hair Treatment, Shea Butter for Hair, Tea Tree Oil for Scalp, Vitamin E for Hair

Nourishing Hair Mask for Radiant Locks: A DIY Guide

February 2, 2024 by sharvayonibeauty Leave a Comment

In the realm of hair care, the pursuit of silky, healthy locks is often laden with expensive treatments and products. However, the secret to achieving this can often be found in your own kitchen. This DIY hair mask recipe, tailored for 12 inches long hair or shorter, utilizes simple yet effective ingredients to revitalize your hair. It’s perfect for those seeking a natural, cost-effective solution to hair care.

Things Needed

The ingredients for this nourishing hair mask are easily accessible and might already be in your pantry:

  • 1 tbsp Mayonnaise: Acts as a deep conditioner, adding shine and moisture to your hair.
  • 1 Egg, Beaten: Rich in protein, helps in repairing and strengthening hair.
  • 1 tsp Cold Pressed Castor Oil: Promotes hair growth and adds volume.
  • 1-2 tsps Olive Oil: Known for its moisturizing properties.
  • 1 Drop Vitamin E Oil: Nourishes the scalp and prevents hair breakage.
  • 1 tbsp Rinse-out Conditioner (Optional): Adds extra conditioning if needed.
  • Small Mixing Bowl: For preparing the mask.
  • Plastic Cap: To cover your hair during the treatment.

Note: Adjust the quantities proportionally if you have longer hair.

Steps to Prepare

1. In a small mixing bowl, combine 1 tablespoon of mayonnaise, 1 beaten egg, 1 teaspoon of cold-pressed castor oil, 1 to 2 teaspoons of olive oil, and 1 drop of vitamin E oil.

2. Stir the mixture thoroughly until all ingredients are well combined.

3. Before applying the mask, ensure that your hair is washed and clean.

4. Apply the mixture to damp hair. Massage it thoroughly into every part of your hair and scalp for maximum penetration.

5. Cover your hair with a plastic cap to lock in the moisture and nutrients.

6. Leave the mask on for about 20-30 minutes, allowing the ingredients to deeply condition your hair.

Tip: When rinsing out the mask, use a rinse-out conditioner for added softness and manageability.

Benefits

This homemade hair mask offers multiple benefits:

  • Mayonnaise: Provides deep conditioning and adds a natural shine.
  • Egg: Rich in proteins and nutrients, it aids in hair repair and strength.
  • Castor Oil: Stimulates hair growth and adds volume.
  • Olive Oil: Moisturizes the scalp and hair, preventing dryness.
  • Vitamin E Oil: Strengthens the hair follicles and promotes a healthy scalp.

Regular use of this mask can lead to softer, stronger, and more lustrous hair. It’s a simple and effective way to treat your hair with the care it deserves, using ingredients from your kitchen.

Filed Under: Hair Care Tagged With: beauty tips, Castor Oil for Hair Growth, Cost-Effective Hair Solutions, DIY Hair Mask, Egg for Hair Strength, hair care, Homemade Hair Treatments, Mayonnaise Hair Mask, Natural hair care, Natural Hair Conditioners, Olive Oil Hair Benefits, Vitamin E for Hair

Homemade Herbal Hair Conditioner: A Customized Treat for Your Locks

January 22, 2024 by sharvayonibeauty Leave a Comment

Taking care of your hair with natural, homemade products is not only eco-friendly but also ensures that you are using ingredients that are best suited for your hair type. This homemade herbal hair conditioner recipe is designed to be adaptable for different hair types, using specific carrier oils and essential oils that cater to your hair’s unique needs. The combination of emulsifying wax, vegetable glycerin, and vitamin E creates a nourishing base, while the herbal infusion adds a personalized touch to this hair care essential.

Things Needed

Before you begin, gather the following materials for your conditioner:

  1. Herbal Infusion or Distilled Water: ½ cup, customized to your hair type.
  2. Carrier Oil: 1 tsp, selected based on your hair type (refer to the provided table).
  3. Emulsifying Wax: 1 tbsp (8g), to bind oil and water.
  4. Essential Oils: Tailored for your hair type.
  5. Vitamin E: ½ teaspoon, as a natural antioxidant.
  6. Pure Grape Seed Extract (GSE): 5 drops, for preservation.
  7. Vegetable Glycerin: 1 tsp, for added moisture.
  8. Small Bowl: For mixing ingredients.
  9. Glass Jar: To melt the mixture.
  10. Pot: For a water bath to melt the wax.
  11. Whisk: For stirring.
  12. Dark Bottle (8 oz): For storing the conditioner.
  13. Measuring Tools: For precise ingredient portions.

Steps to Prepare

Follow these steps to create your conditioner:

  1. Combine Base Ingredients: In a small bowl, mix together glycerin, emulsifying wax, and your chosen carrier oil.
  2. Melt the Mixture: Place the glass jar with the mixture into a pot partly filled with water. Melt the mixture over low heat, stirring occasionally.
  3. Add Vitamin E: Once the wax is completely melted, remove from heat. Stir in the vitamin E.
  4. Warm the Herbal Infusion: In a separate pot or in a microwave, warm your herbal infusion or distilled water until lukewarm. This step is crucial for achieving the right consistency in your conditioner.
  5. Combine with Wax Mixture: Slowly pour the lukewarm herbal infusion into the wax mixture, continuously stirring with a whisk. Aim for a thick, smooth, and creamy consistency.
  6. Cool the Mixture: Set the mixture aside to cool. It will thicken as it cools.
  7. Add GSE and Essential Oils: Once the mixture is cool, stir in the pure GSE and your blend of essential oils.
  8. Transfer to Bottle: Pour the conditioner into an 8 oz dark bottle. Do not cover immediately.
  9. Shake During Cooling: As the mixture cools, occasionally shake the bottle to prevent ingredient separation.
  10. Store Properly: Keep the conditioner in a dark, dry, cool place.

Benefits

This homemade herbal hair conditioner offers various benefits:

  1. Customized Care: Tailoring the conditioner to your hair type ensures that your hair receives the specific nourishment it needs.
  2. Moisturizing: Vegetable glycerin and carrier oils provide deep hydration, leaving your hair soft and smooth.
  3. Strengthening: Vitamin E and essential oils contribute to hair strength and health.
  4. Natural Preservatives: Grape seed extract extends the shelf life of your conditioner naturally.
  5. Chemical-Free: Free from synthetic chemicals, this conditioner is gentle on your hair and scalp.
  6. Eco-Friendly: Homemade conditioners reduce plastic waste and are more environmentally sustainable.

Note

  • If your hair feels greasy after using the conditioner, reduce the amount of carrier oil or opt for a lighter oil like grapeseed oil.
  • Remember to shake the bottle during cooling to prevent separation.
  • The conditioner should be stored in a cool, dark place to preserve its freshness.

Conclusion

Crafting your own herbal hair conditioner is a rewarding way to take control of your hair care routine. This personalized approach ensures that your hair gets the specific treatment it needs, using natural, nourishing ingredients. Embrace this homemade conditioner and enjoy healthier, more vibrant hair.

Filed Under: Hair Care Tagged With: beauty tips, Carrier Oils for Hair, Customizable Conditioner, DIY Hair Conditioner, Emulsifying Wax in Hair Products, Essential Oils for Hair, Grape Seed Extract, hair care, Homemade Herbal Conditioner, Moisturizing Hair Conditioner, Natural hair care, Vitamin E for Hair

Primary Sidebar

Looking for something?

Connect with us online

  • Email
  • Facebook

Popular Posts!

Time-Tested Remedies for Dealing with Unexpected Pimples: Your Guide to Clear Skin

Egg and Mayonnaise Hair Treatment: A Natural Deep Conditioning Therapy

Homemade Herbal Hair Conditioner: A Customized Treat for Your Locks

Natural Oatmeal and Lavender Hair Cleanser: A Gentle, Soothing Scalp Treatment

How to Naturally Care for Your Skin: Unlocking the Secrets of a Brighter Complexion

Categories

  • Hair Care
  • Health and Wellness
  • Skin Care

Tags

beauty benefits beauty tips Chemical-Free Hair Care coconut oil curd curry leaves dark circles DIY Hair Care egg exfoliation eye care glowing skin hair care Hair Care Routine hair care tips hair growth Hair health Hair Health Improvement hair loss Hair Nourishment Hair Strengthening health and wellness honey hydration lemon lemon juice milk natural beauty natural conditioner natural face mask Natural hair care Natural Hair Growth Natural Hair Remedies natural ingredients natural remedies Natural remedy natural skincare olive oil radiant complexion radiant skin scalp health Scalp Nourishment skin care skincare skincare routine

© 2026 · Sharvayoni · Privacy Policy · Disclaimer