• Skip to main content
  • Skip to primary sidebar
  • HOME
  • SKIN CARE
  • HAIR CARE
  • HEALTH AND WELLNESS
  • CONTACT US

Sharvayoni

Unearth Nature's Magic - Your Path to Herbal Radiance and Wellnes

hair care

Coconut Oil Lice Prevention & Cure: The Ultimate Leave-In Conditioner

March 27, 2024 by sharvayonibeauty Leave a Comment

Lice infestations can be a common and frustrating problem, especially among children. Dealing with these tiny parasites can be both time-consuming and uncomfortable. Fortunately, nature has provided us with a powerful ally in the form of coconut oil. In this article, we’ll explore how you can use coconut oil, along with a few other essential ingredients, to create a highly effective leave-in conditioner that not only helps prevent lice but also works as a natural cure. Say goodbye to lice-related worries and hello to healthier, lice-free hair!

Things Needed

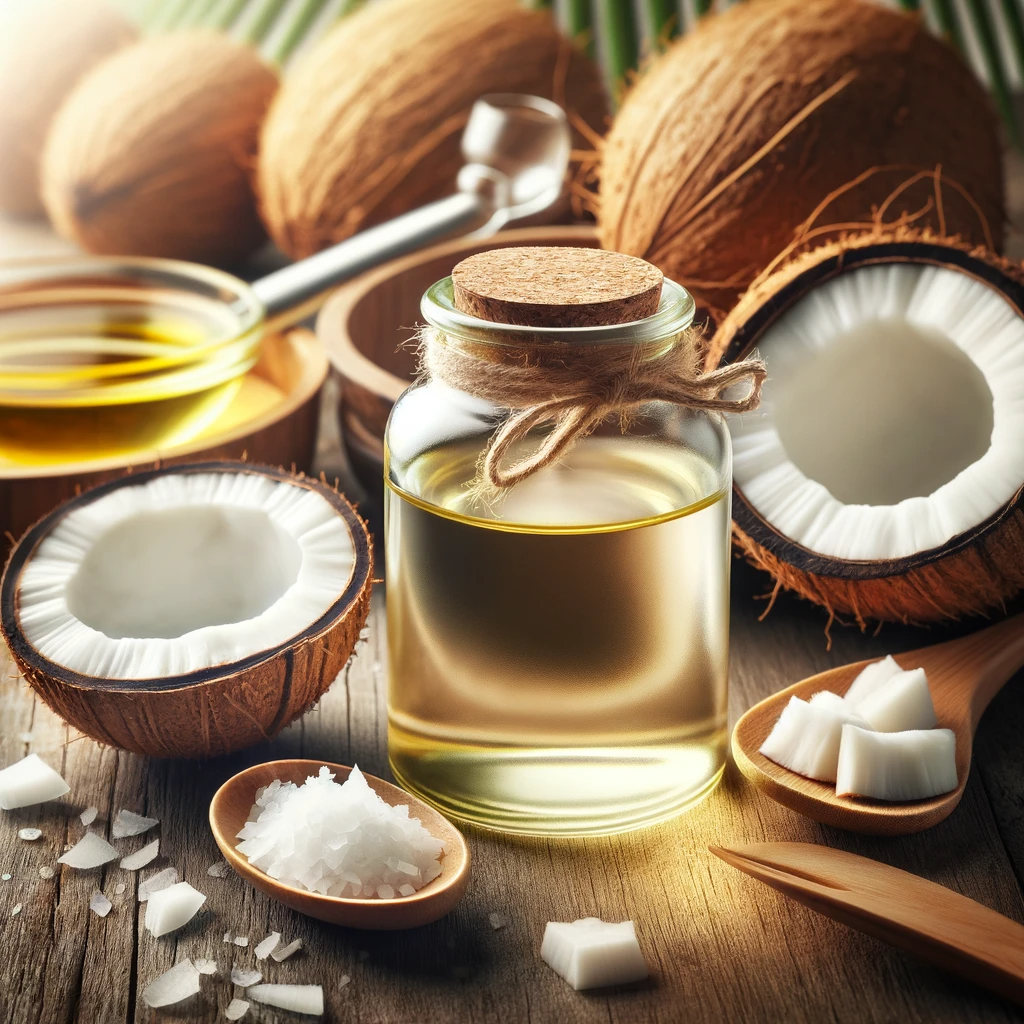
Before we delve into the process of making and using this coconut oil-based leave-in conditioner, let’s gather all the necessary items you’ll need:

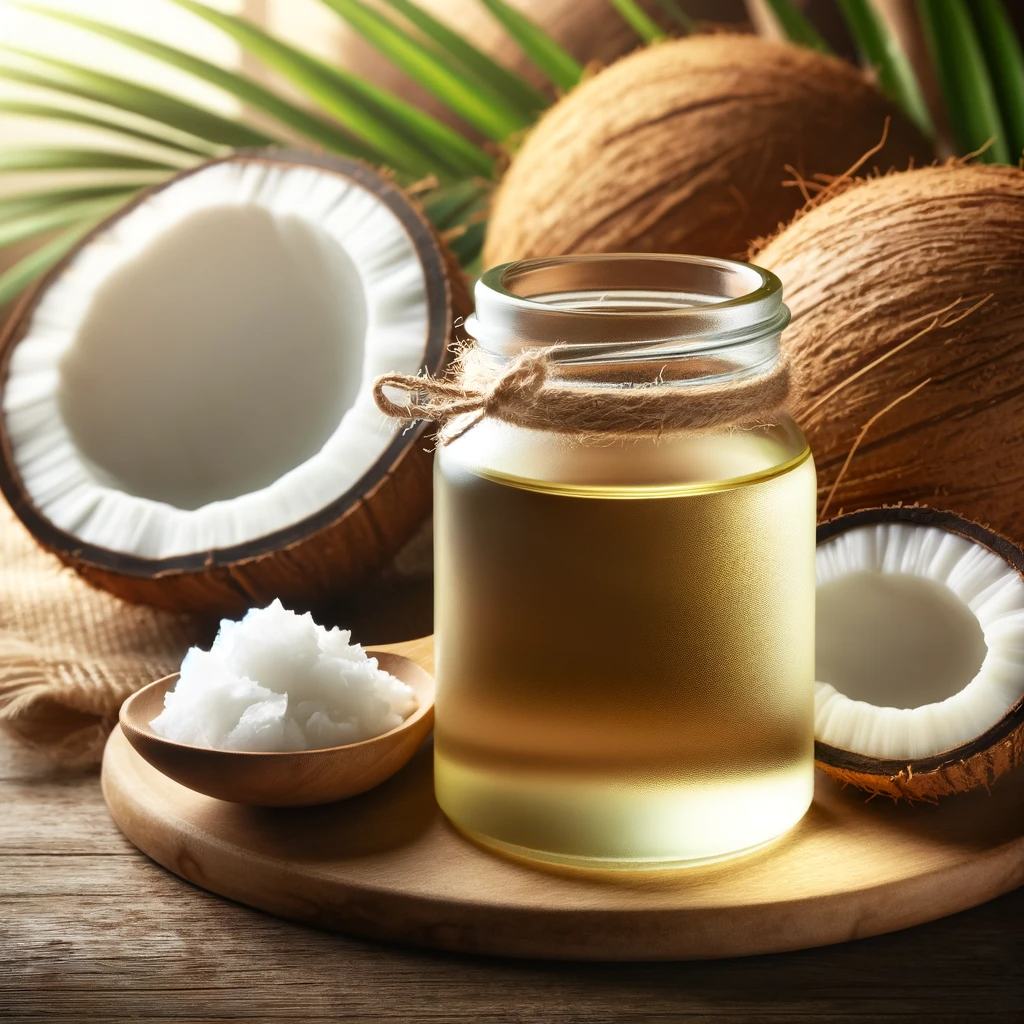
  1. Coconut Oil: You’ll require 3 tablespoons of coconut oil. Ensure it’s pure, unrefined coconut oil for the best results.
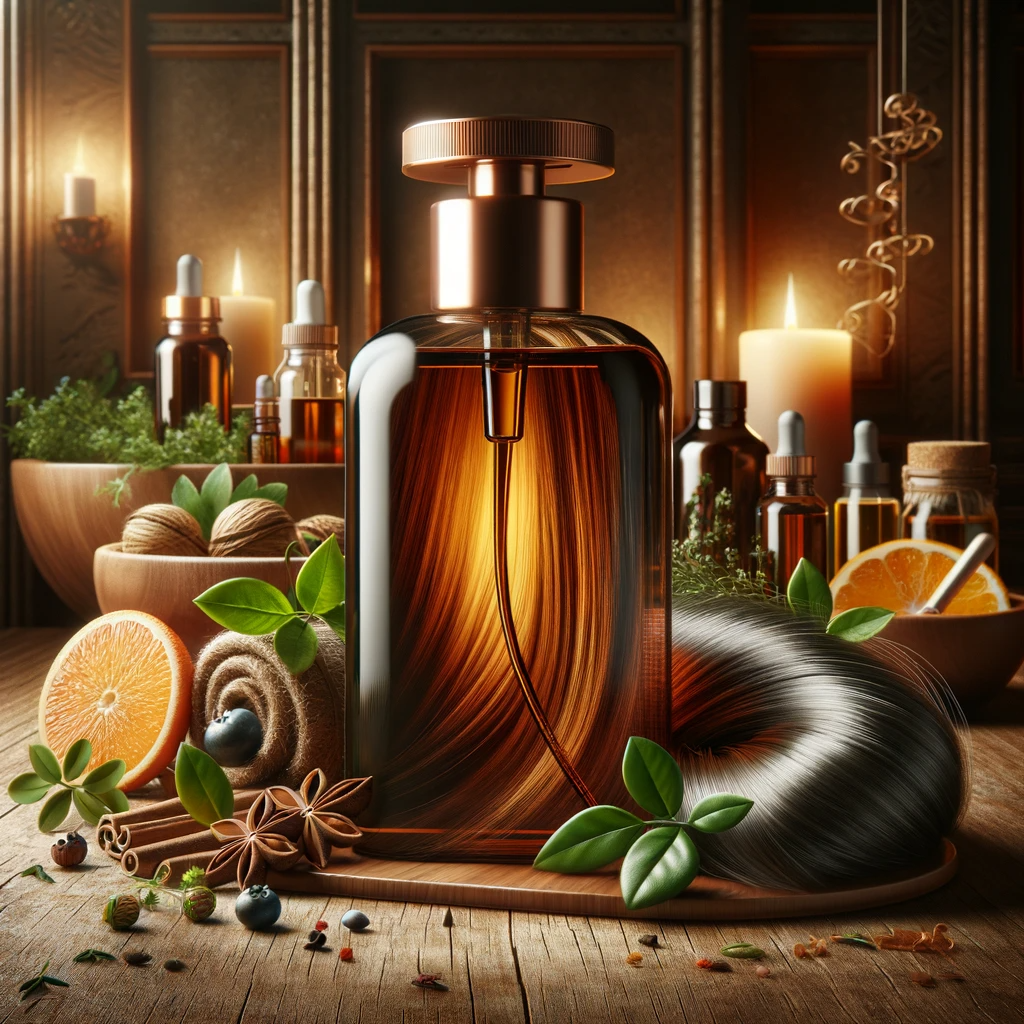
  2. Ylang Ylang Oil: 1 teaspoon of ylang-ylang oil, known for its pleasant fragrance and potential lice-repelling properties.
  3. Tea Tree Oil: 1 teaspoon of tea tree oil, which is widely recognized for its antimicrobial and insect-repelling qualities.
  4. Anise Oil: 1 teaspoon of anise oil, which has been used traditionally for lice prevention.
  5. Distilled Water: 1 cup of distilled water, ensuring purity.
  6. Apple Cider Vinegar: 2 cups of apple cider vinegar, known for its ability to help dissolve the sticky substance that lice eggs use to attach to hair.

Now that you have all the ingredients ready, let’s move on to the steps to prepare and apply this lice prevention and cure leave-in conditioner.

Steps to Prepare

Follow these simple steps to create and apply the coconut oil-based leave-in conditioner:

Step 1: Mixing the Ingredients

In a small mixing bowl, combine the first four ingredients: coconut oil, ylang-ylang oil, tea tree oil, and anise oil. Blend them together thoroughly to create a well-mixed solution.

Step 2: Application

Massage the oil mixture generously over your entire scalp and hair area. Ensure that you cover all parts of your head, from the scalp down to the tips of your hair.

Step 3: Combing

Using a fine-toothed comb or your fingers, work the oil through your hair. This step helps to ensure that the conditioner is distributed evenly and reaches all parts of your hair.

Step 4: Wait

Leave the conditioner on your hair for approximately 120 minutes. To maximize the effectiveness, cover your hair with a plastic cap.

Tip: Heat Application

To enhance the conditioner’s effectiveness, consider using a hair dryer or exposing your hair to direct sunlight for some heat during this waiting period.

Step 5: Combing Again

After the waiting time has passed, use a fine-toothed comb to comb through your hair. This will help remove any dead lice or eggs.

Step 6: Rinse and Pat Dry

Wash your hair thoroughly, ensuring that all the conditioner is rinsed out. Afterward, gently pat your hair dry with a clean towel.

Step 7: Vinegar Spray

Combine the distilled water and apple cider vinegar in a spray bottle. Shake vigorously to mix the solution.

Step 8: Apply Vinegar Spray

Apply the vinegar spray to your hair, gently rubbing it in. This helps to dissolve the glue that lice eggs use to attach to your hair.

Step 9: Final Rinse and Comb

Rinse your hair once more and use a fine-toothed comb to ensure that all lice and eggs have been removed.

Step 10: Apply Light Coconut Oil

To moisturize your hair, apply a light layer of coconut oil. Cover your hair with a plastic cap and style as desired.

Tip: Leave-In Treatment

For ongoing lice prevention, you can leave the coconut oil in your hair until your next hair wash.

Benefits

Using this coconut oil-based leave-in conditioner offers several benefits for lice prevention and hair health:

1. Natural Lice Prevention

Coconut oil, ylang-ylang oil, tea tree oil, and anise oil have all been associated with properties that help repel lice naturally. This leave-in conditioner provides an effective preventive barrier.

2. Lice Cure

In addition to prevention, this treatment can help eliminate existing lice and their eggs, making it a natural and non-toxic alternative to chemical treatments.

3. Hair Health

Coconut oil is an excellent moisturizer for hair, leaving it soft and nourished. The additional ingredients provide antimicrobial and soothing benefits for your scalp.

4. Cost-Effective

Compared to commercial lice treatments, this homemade conditioner is cost-effective and uses natural ingredients without harsh chemicals.

Conclusion

Tackling lice infestations doesn’t have to involve harsh chemicals or expensive treatments. With the power of coconut oil and a few other natural ingredients, you can create a leave-in conditioner that not only helps prevent lice but also acts as a lice cure. By following the simple steps outlined in this article, you can enjoy lice-free hair while maintaining the health and vitality of your locks. Say goodbye to lice-related worries and hello to a more natural and effective solution for lice prevention and treatment!

Filed Under: Hair Care Tagged With: anise oil, apple cider vinegar, beauty tips, coconut oil, DIY haircare, hair care, Hair health, Leave-in Conditioner, lice cure, lice prevention, lice treatment, Natural remedy, tea tree oil, ylang ylang oil

Coconut Oil Frizz Tame: Your Ultimate Guide to Smooth, Lustrous Hair

March 26, 2024 by sharvayonibeauty Leave a Comment

Frizzy hair can be a frustrating and challenging issue to deal with, especially on those days when you want your locks to look sleek and polished. The good news is that you don’t need to invest in expensive hair products or salon treatments to tame your unruly strands. One simple and natural solution that has been used for centuries is coconut oil. Coconut oil is not only an excellent moisturizer for your hair but also a fantastic frizz tamer. In this article, we will walk you through the steps to prepare and apply coconut oil to get rid of frizz and enjoy smoother, shinier hair.

Things Needed

Before we dive into the process of taming frizz with coconut oil, let’s gather all the essential items you’ll need:

  1. Coconut Oil: You’ll require about 1/4 to 1 teaspoon of coconut oil, depending on the length of your hair. Make sure to use pure, unrefined coconut oil for the best results.
  2. A Small Bowl: To warm the coconut oil.
  3. Your Hands: You’ll be applying the coconut oil using your hands, so make sure they are clean.
  4. A Hair Dryer: To blow dry your hair after applying the coconut oil.

Now that you have everything ready, let’s proceed with the steps to prepare and apply coconut oil for frizz control.

Steps to Prepare

Follow these simple steps to prepare and use coconut oil to tame frizz:

Step 1: Warm the Coconut Oil

Start by scooping out the required amount of coconut oil (1/4 to 1 teaspoon) and place it in a small bowl. To make the oil easier to work with, warm it slightly. You can do this by microwaving the oil for a few seconds or by placing the bowl in a bowl of hot water until it liquefies.

Step 2: Application

Now, pour the warmed coconut oil into the palm of your hands. Rub your hands together to evenly distribute the oil.

Step 3: Apply to Your Hair

Gently apply the coconut oil to your hair, starting from the ends and working your way up towards the roots. Make sure to coat all your hair strands evenly. If you have particularly frizzy areas, pay extra attention to them.

Step 4: Blow Dry

After you’ve applied the coconut oil, use a hair dryer on a low heat setting to blow dry your hair. This will help the oil penetrate your hair shafts and lock in the moisture. Continue blow drying until your hair is completely dry.

Tip: Detangler and Sunscreen

Coconut oil not only tames frizz but also works as an excellent detangler. If you have short and thin hair, use a smaller amount of coconut oil to prevent your hair from feeling greasy. Additionally, you can leave the oil on your hair as a natural sunscreen to protect it from the sun’s harmful rays.

Benefits

Using coconut oil for frizz control offers a range of benefits for your hair:

1. Natural Moisturization

Coconut oil is a natural emollient that penetrates deep into the hair shafts, providing intense moisture. It helps to hydrate and nourish your hair, reducing frizz and leaving it soft and manageable.

2. Frizz Taming

The rich fatty acids present in coconut oil help to smooth the hair’s cuticle, preventing moisture from entering and causing frizz. This results in smoother, sleeker hair.

3. Strengthens Hair

Coconut oil contains proteins that can strengthen your hair, reducing breakage and split ends. This not only improves the overall health of your hair but also contributes to a frizz-free appearance.

4. Natural Shine

Coconut oil adds a natural shine to your hair, making it look lustrous and healthy. Say goodbye to dull, lifeless locks.

5. Versatility

Apart from taming frizz, coconut oil has numerous other benefits for your hair, including promoting hair growth, preventing dandruff, and protecting against environmental damage.

Conclusion

Coconut oil is a natural and effective solution for taming frizz and achieving smooth, beautiful hair. With just a few simple steps, you can incorporate this wonder ingredient into your hair care routine and enjoy the benefits of moisturized, frizz-free hair. So, the next time you find yourself battling with frizzy locks, reach for that jar of coconut oil and let its natural magic work wonders on your hair. Say hello to a frizz-free and fabulous mane!

Filed Under: Hair Care Tagged With: beauty, beauty tips, coconut oil, Frizz Control, frizz-free hair, hair care, Hair health, Hair Moisturization, hair tips, haircare routine, Natural remedy

Chamomint Hair Styling Gel: A Natural DIY Solution

March 25, 2024 by sharvayonibeauty Leave a Comment

In the world of natural hair care, finding the perfect styling product that is both effective and chemical-free can be a challenge. However, there’s a delightful solution that combines the soothing qualities of chamomile and mint with the styling prowess of xanthan gum. This homemade Chamomint Hair Styling Gel offers a gentle yet effective alternative for those seeking a natural way to style and nourish their hair.

Ingredients

Before diving into the preparation steps, gather the following ingredients:

  • 1 tablespoon lemon juice
  • 1/2 teaspoon xanthan gum powder
  • 1 tablespoon or 2 teabags of chamomile
  • 1 cup water
  • 1/2 tablespoon or 1 teabag of mint
  • 1/3 cup aloe vera juice
  • 1 teaspoon maple syrup

Steps to Prepare

Follow these steps to craft your own Chamomint Hair Styling Gel:

1. Begin by bringing a cup of water to a boil.

2. Once the water reaches a boil, add the chamomile and mint to infuse the boiling water.

3. Allow the tea to sit and cool to room temperature, giving it time to release the herbal flavors into the liquid.

4. After cooling, strain the tea using a mesh strainer, tea strainer, or cheesecloth, removing the chamomile and mint, and discarding the teabags.

5. In a separate container, combine the lemon juice, xanthan gum powder, aloe vera juice, and maple syrup with the herbal tea.

6. Whisk all the ingredients together thoroughly.

7. Let the mixture rest for a minute; during this time, the xanthan gum will gradually thicken the gel.

Note: If the desired degree of thickness has not been achieved, consider adding a little more xanthan gum. Conversely, if the gel becomes too thick, you can thin it out by adding a touch more water.

Benefits

Using Chamomint Hair Styling Gel offers several advantages:

  • Natural Ingredients: This gel is made from all-natural ingredients, avoiding the harsh chemicals found in many commercial hair styling products.
  • Soothing Properties: Chamomile and mint provide a calming effect on the scalp and hair.
  • Customizable Thickness: You have control over the gel’s thickness by adjusting the amount of xanthan gum and water to your preference.
  • Moisturizing: Aloe vera juice and maple syrup help retain moisture in your hair.
  • Chemical-Free Styling: Achieve your desired hairstyle without subjecting your hair to harmful chemicals.

Conclusion

With the Chamomint Hair Styling Gel, you can enjoy a natural and chemical-free way to style your hair while benefiting from the soothing qualities of chamomile and mint. This DIY solution allows you to take control of your hair care routine and tailor it to your specific needs. Say goodbye to commercial styling products loaded with chemicals and hello to a gentler, more nourishing option for your hair. Your locks will thank you for it!

Filed Under: Hair Care Tagged With: beauty tips, chamomile, Chamomint Hair Styling Gel, chemical-free hair products, DIY hair products, hair care, hair styling, homemade hair gel, mint, moisturizing hair gel, Natural hair care, soothing hair gel, xanthan gum

Styling Cream Moisturizer: Your Hair’s New Best Friend

March 24, 2024 by sharvayonibeauty Leave a Comment

Achieving the perfect hairstyle often requires the use of styling products, but many of these products on the market are loaded with chemicals that can leave your hair dry and damaged. What if there was a way to style your hair while also nourishing it with natural ingredients? Enter the Styling Cream Moisturizer, a versatile hair care product that combines the benefits of a moisturizing conditioner, aloe vera gel, and other natural goodies to help you achieve stunning styles while keeping your hair healthy. In this article, we’ll guide you through the process of making your own Styling Cream Moisturizer and uncover the many benefits it offers.

Things Needed

Before you embark on creating your Styling Cream Moisturizer, let’s gather all the necessary ingredients:

  • 6 tablespoons of your favorite moisturizing conditioner
  • 12 tablespoons of aloe vera gel
  • 2 pinches of cinnamon
  • ½ teaspoon of your preferred oil (extra virgin olive oil – EVOO – is an excellent choice)
  • 2 teaspoons of blue agave nectar
  • Tea tree or jasmine essential oils (for fragrance, optional)

Steps to Prepare

Creating your Styling Cream Moisturizer is a straightforward process. Follow these steps to make your hair’s new best friend:

1. In a small bowl, combine 6 tablespoons of your favorite moisturizing conditioner, 12 tablespoons of aloe vera gel, 2 pinches of cinnamon, ½ teaspoon of your preferred oil (EVOO is recommended), and 2 teaspoons of blue agave nectar.

2. Stir the mixture thoroughly until all the ingredients are well combined and you achieve a thick consistency.

Tip: The end result should be lighter than a traditional hair gel but thicker than an average styling cream.

3. Once you’ve achieved the desired consistency, transfer the mixture into a clean glass jar for storage.

Benefits

The Styling Cream Moisturizer offers numerous benefits for your hair care routine:

  • Chemical-Free Styling: Unlike many commercial styling products, this moisturizer is made from natural ingredients, reducing the risk of exposure to harmful chemicals.
  • Moisturizing Properties: With aloe vera gel and moisturizing conditioner as key components, this cream hydrates your hair, preventing dryness and frizz.
  • Styling Versatility: Use this moisturizer to create various hairstyles, from sleek and sophisticated to voluminous and textured.
  • Nutrient-Rich Ingredients: Ingredients like EVOO and blue agave nectar provide essential nutrients and promote hair health.
  • Customizable Fragrance: If desired, add tea tree or jasmine essential oils for a delightful fragrance that suits your preferences.

Conclusion

The Styling Cream Moisturizer is a game-changer in the world of hair care. It not only helps you achieve your desired hairstyles but also nourishes your hair with natural, wholesome ingredients. By making this moisturizer at home, you gain control over what you apply to your hair, eliminating the need for chemical-laden styling products. Say goodbye to dry and damaged hair and hello to beautiful, healthy locks that can be styled with ease. Your hair deserves the best, and with Styling Cream Moisturizer, it’s only a jar away from perfection.

Filed Under: Hair Care Tagged With: aloe vera, beauty tips, Chemical-Free Hair Care, DIY hair products, EVOO, hair care, Hair hydration, hair styling, healthy hair, homemade hair cream, moisturizing conditioner, Natural hair care, Styling Cream Moisturizer

Matilda’s Organic Curls Cream: A Natural Hair Care Elixir

March 23, 2024 by sharvayonibeauty Leave a Comment

In the pursuit of luscious, healthy curls, many people are turning to natural, organic solutions to enhance and style their hair. Matilda’s Organic Curls Cream is a delightful concoction designed to cater to those seeking an all-natural hair care option. Crafted with a blend of nourishing ingredients, this cream is here to transform your hair care routine and unleash the beauty of your curls.

Things Needed

Before we embark on the journey of creating Matilda’s Organic Curls Cream, let’s gather the essential ingredients:

  • 1 jar or tube of Non-Flaking Gel or Aloe
  • 1 tablespoon of your choice of oil (avocado oil, coconut oil, olive oil, mango butter, or jojoba oil)
  • 2 tablespoons of pure shea butter

Steps to Prepare

Creating this organic curls cream is a breeze. Follow these simple steps to concoct your personalized hair elixir:

1. Begin by combining the non-flaking gel or aloe, your chosen oil (avocado, coconut, olive, mango butter, or jojoba), and pure shea butter in a bowl or container.

2. Mix the ingredients well until they blend into a smooth and consistent cream.

3. Prepare your hair by washing it thoroughly.

4. Using your hands, gently massage the cream into your scalp and throughout your hair, ensuring an even distribution.

5. Grab a wide-toothed brush and use it to comb your hair, helping to form beautiful curl definitions.

6. After you’ve applied the cream and brushed your hair, give it a little shake for that extra flair.

With these simple steps, you’ve created Matilda’s Organic Curls Cream, a natural elixir to enhance your curls and keep your hair looking fabulous.

Benefits

Matilda’s Organic Curls Cream offers a range of benefits for your hair care routine:

  • Natural Ingredients: This cream is crafted with organic components, eliminating the need for harsh chemicals often found in commercial hair products.
  • Nourishing Oils: The inclusion of nourishing oils like avocado, coconut, olive, mango butter, or jojoba oil adds moisture and promotes hair health.
  • Shea Butter: Pure shea butter is known for its moisturizing properties and helps to prevent dryness, making your curls appear more vibrant and defined.
  • No Flaking: The non-flaking gel or aloe ensures that your curls stay in place without the annoyance of flaking or residue.
  • Easy Application: Applying this cream is a straightforward process, requiring no special tools or techniques.

Conclusion

Matilda’s Organic Curls Cream is a fantastic addition to the world of natural hair care. By choosing to create this cream yourself, you not only enjoy the benefits of organic, nourishing ingredients but also gain control over what goes into your hair care routine. Say goodbye to chemicals and hello to beautiful, well-defined curls. This cream is a testament to the wonders of nature and the simplicity of self-care. Treat your hair to Matilda’s Organic Curls Cream and let your curls shine with radiance and health.

Filed Under: Hair Care Tagged With: avocado oil, beauty tips, Chemical-Free Hair Care, coconut oil, curl definition, curly hair, DIY hair products, hair care, healthy curls, Jojoba oil, mango butter, Natural hair care, nourishing hair cream, olive oil, organic curls cream, shea butter

  • « Go to Previous Page
  • Page 1
  • Interim pages omitted …
  • Page 11
  • Page 12
  • Page 13
  • Page 14
  • Page 15
  • Interim pages omitted …
  • Page 56
  • Go to Next Page »

Primary Sidebar

Looking for something?

Connect with us online

  • Email
  • Facebook

Popular Posts!

Cassava

Harnessing the Beauty Benefits of Cassava: Reveal Radiant Skin Naturally

Say Goodbye to Dark Circles with Cucumber: A Natural Remedy

Castor Oil for the puffed eyes

Get rosy lips with butter

How To Treat Paronychia at Home

Categories

  • Hair Care
  • Health and Wellness
  • Skin Care

Tags

beauty benefits beauty tips Chemical-Free Hair Care coconut oil curd curry leaves dark circles DIY Hair Care egg exfoliation eye care glowing skin hair care Hair Care Routine hair care tips hair growth Hair health Hair Health Improvement hair loss Hair Nourishment Hair Strengthening health and wellness honey hydration lemon lemon juice milk natural beauty natural conditioner natural face mask Natural hair care Natural Hair Growth Natural Hair Remedies natural ingredients natural remedies Natural remedy natural skincare olive oil radiant complexion radiant skin scalp health Scalp Nourishment skin care skincare skincare routine

© 2026 · Sharvayoni · Privacy Policy · Disclaimer