• Skip to main content
  • Skip to primary sidebar
  • HOME
  • SKIN CARE
  • HAIR CARE
  • HEALTH AND WELLNESS
  • CONTACT US

Sharvayoni

Unearth Nature's Magic - Your Path to Herbal Radiance and Wellnes

Natural remedy

Treating Cuts, Burns, or Skin Problems with Curry Leaves

January 7, 2024 by sharvayonibeauty Leave a Comment

Dealing with cuts, burns, or various skin problems can be both painful and concerning. While there are numerous over-the-counter remedies available, nature provides us with simple and effective solutions. In this article, we will explore the use of curry leaves as a natural remedy for treating cuts, burns, or skin issues. Discover how the antibacterial and anti-inflammatory properties of curry leaves can aid in healing and preventing the spread of skin problems.

Things Needed

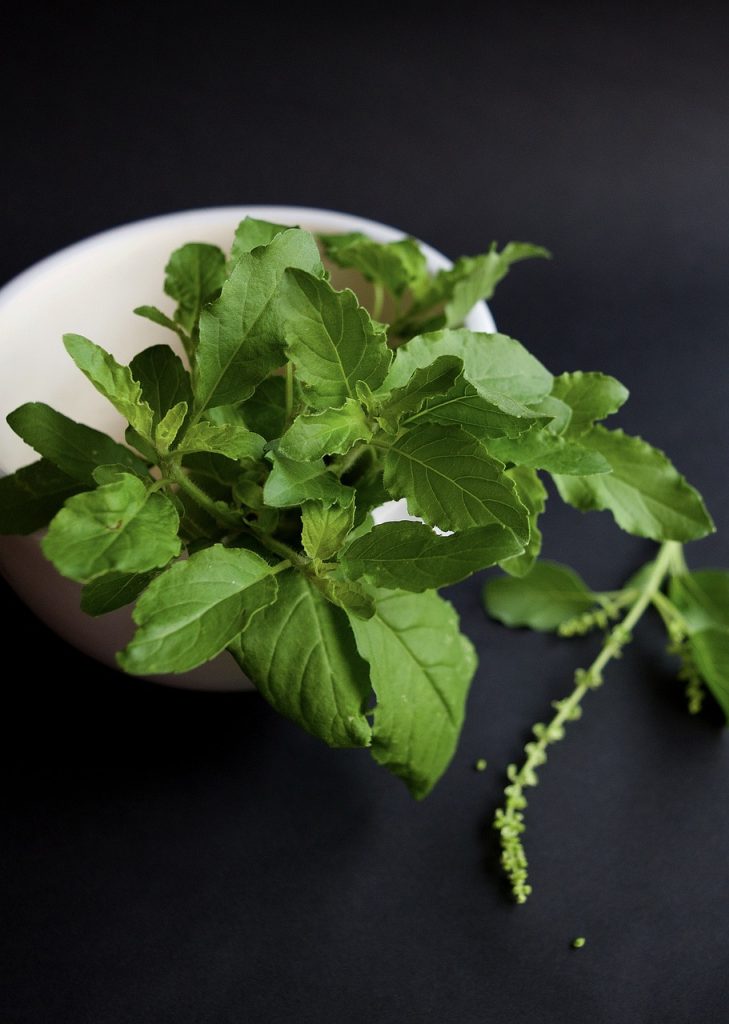
To create the Curry Leaves Healing Paste, you will only need one ingredient:

  • One cup of fresh curry leaves

Steps to Prepare

Preparing the Curry Leaves Healing Paste is a straightforward process. Follow these simple steps to harness the natural healing power of curry leaves:

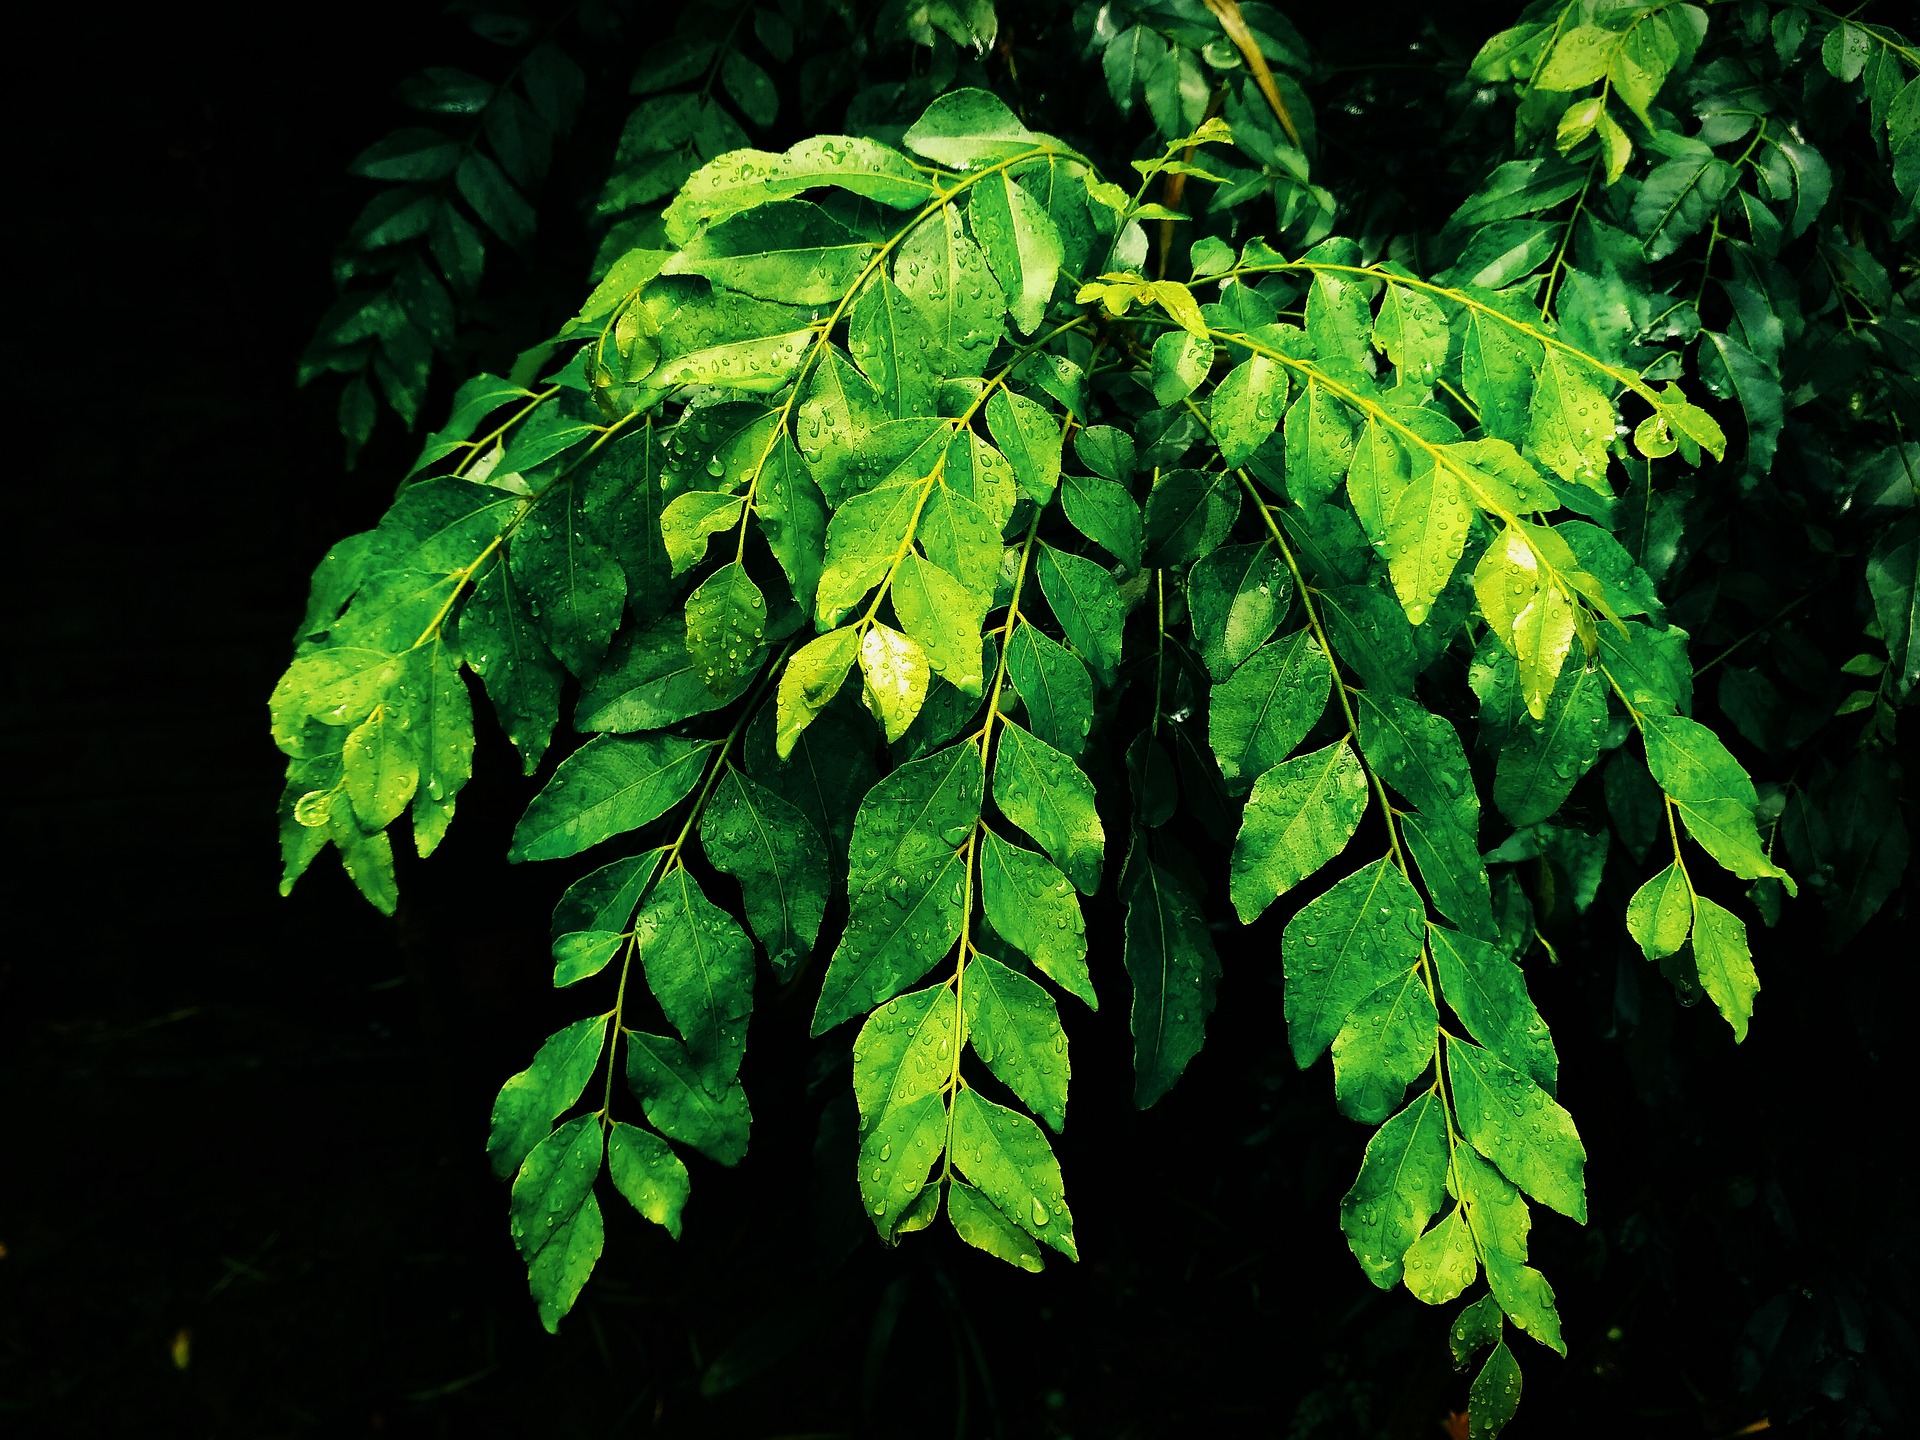
1. Start by gathering fresh curry leaves. Ensure that they are clean and free from any dirt or impurities.

2. Smash the curry leaves to create a smooth and consistent paste. You can use a mortar and pestle or any suitable method for this.

3. Once you have obtained a paste-like consistency, you are ready to apply it to the affected parts of your skin.

4. Gently apply the curry leaves paste to the cuts, burns, or skin problems. Be thorough but gentle in your application to avoid further irritation.

5. Allow the paste to sit on the affected areas for a reasonable amount of time. This will vary depending on the severity of the issue, but leaving it for at least 10-15 minutes is typically effective.

6. After the designated time has passed, gently rinse off the paste with lukewarm water. It’s advisable to avoid using soap or harsh cleansers to prevent further irritation.

Benefits

The Curry Leaves Healing Paste offers several benefits for addressing cuts, burns, and skin problems:

  • Antibacterial Properties: Curry leaves contain natural antibacterial properties that can help prevent infection in cuts and burns, promoting faster healing.
  • Anti-Inflammatory Effects: The anti-inflammatory properties of curry leaves can reduce swelling and discomfort associated with skin problems.
  • Preventative Action: Applying this paste not only aids in healing but also helps prevent the issue from spreading or worsening.
  • Natural and Chemical-Free: This remedy relies on a single natural ingredient, making it a gentle and chemical-free solution for skin issues.

Conclusion

Treating cuts, burns, or skin problems with curry leaves is a time-tested natural remedy that harnesses the antibacterial and anti-inflammatory properties of this incredible herb. Nature provides us with simple yet effective solutions for our skincare needs, and curry leaves are no exception. By incorporating the Curry Leaves Healing Paste into your skincare routine when needed, you can promote faster healing and prevent the spread of skin problems. Embrace the power of nature and keep this gentle and chemical-free remedy in your toolkit for addressing common skin issues.

Filed Under: Skin Care Tagged With: anti-inflammatory, antibacterial properties, beauty tips, chemical-free skincare, curry leaves, Cuts and burns, DIY skincare, faster healing, healing paste, Natural remedy, skin care, skin care routine, skin problems

Bengal Gram Flour (Besan) and Milk Face Mask: A Natural Path to Glowing Skin

July 27, 2023 by sharvayonibeauty Leave a Comment

Glowing Skin

In the quest for flawless and radiant skin, the beauty industry is flooded with various skincare products. However, the secret to achieving healthy and glowing skin lies in natural ingredients. Bengal gram flour (Besan) and milk face mask is a tried and tested remedy that has been used for generations to attain smooth and glowing skin. This powerful combination of Besan and milk offers a multitude of skin benefits, making it a go-to solution for many skincare enthusiasts. In this comprehensive guide, we will explore the wonders of this face mask and how you can incorporate it into your skincare routine for a luminous complexion.

Why Bengal Gram Flour and Milk?

Before diving into the preparation and application of the Bengal gram flour and milk face mask, it is essential to understand the benefits of these two key ingredients:

  1. Bengal Gram Flour (Besan):

Bengal gram flour, commonly known as Besan in India, is a versatile and age-old beauty remedy. This fine flour is derived from ground chickpeas and is a staple in Indian kitchens. Its numerous benefits for the skin have made it a beloved ingredient in various face masks. Some of the key advantages of Besan for the skin include:

  • Exfoliation: The gentle exfoliating properties of Besan help remove dead skin cells, dirt, and impurities, unclogging pores and promoting a clearer complexion.
  • Oil Control: Besan acts as a natural absorbent, reducing excess oil production and combating greasiness, making it an ideal choice for individuals with oily skin.
  • Skin Brightening: It contains enzymes that aid in brightening the skin and improving overall complexion, giving it a radiant glow.
  • Anti-Inflammatory: Besan possesses anti-inflammatory properties that help soothe and calm irritated skin, reducing redness and inflammation.
  1. Milk:

Milk has been cherished as a skincare elixir since ancient times. The natural goodness of milk offers a wide array of benefits for the skin, making it a perfect complement to Besan in the face mask. Some of the skin benefits of milk are as follows:

  • Hydration: Milk is an excellent natural moisturizer that nourishes and hydrates the skin, keeping it supple and soft.
  • Skin Soothing: The proteins and amino acids in milk soothe and heal the skin, providing relief from irritation and redness.
  • Anti-Aging: The lactic acid in milk gently exfoliates the skin, reducing the appearance of fine lines and promoting a youthful complexion.
  • Skin Tone Improvement: Regular application of milk can help even out the skin tone and fade dark spots and blemishes, giving a more uniform complexion.

Preparation of Bengal Gram Flour and Milk Face Mask

Now that we are acquainted with the benefits of Bengal gram flour and milk, let’s explore how to create the perfect face mask for your skin:

  1. Gather the Ingredients:

To make the Bengal gram flour and milk face mask, you will need the following:

  • Two tablespoons of Bengal gram flour (Besan)
  • One tablespoon of turmeric powder (optional, for added skin brightening effects)
  • Two tablespoons of raw milk
  • A small bowl for mixing
  • A spoon for stirring
  1. Mix the Ingredients:

In a mixing bowl, combine the Bengal gram flour, turmeric powder (if using), and raw milk. Stir the mixture well until you achieve a smooth and consistent paste. If the paste appears too dry, you can add a few drops of milk or honey to achieve the desired consistency.

  1. Application:

Before applying the face mask, cleanse your face thoroughly to remove any dirt or makeup. For better results, consider exfoliating your skin gently to unclog pores and enhance the mask’s effectiveness. Once your face is clean and exfoliated, proceed with the following steps:

  • Apply the face mask evenly all over your face and neck using your fingers or a soft brush. Avoid the delicate area around the eyes and lips.
  • Allow the mask to sit on your skin for approximately 15 to 20 minutes. During this time, the potent combination of Bengal gram flour and milk will work its magic, providing your skin with essential nutrients and benefits.
  • As the mask dries, you may feel a slight tightening sensation, indicating that the mask is working to absorb excess oil and impurities from your skin.
  • After the recommended time has elapsed, rinse off the face mask with lukewarm water. Using lukewarm water will help to open up your pores, making it easier to remove the mask effectively.
  • Finish by splashing your face with cold water. This will help to close your pores and seal in the goodness of the mask.
  1. Moisturize:

Following the application of the face mask, it is crucial to moisturize your skin to retain its moisture and keep it hydrated. Choose a light, non-comedogenic moisturizer suitable for your skin type to lock in the benefits of the mask.

Incorporating Bengal Gram Flour and Milk Face Mask into Your Skincare Routine

To maximize the benefits of the Bengal gram flour and milk face mask, it is essential to incorporate it into your regular skincare routine. Follow these tips to make the most of this natural remedy:

  • Frequency: Depending on your skin type and concerns, you can use this face mask two to three times a week. For oily or acne-prone skin, consider applying the mask more frequently to manage excess oil and prevent breakouts.
  • Patch Test: Before applying the mask to your entire face, perform a patch test on a small area of your skin to check for any adverse reactions or allergies.
  • Consistency: Like all skincare routines, consistency is key. Regular and continued use of the Bengal gram flour and milk face mask will yield visible improvements in your skin’s texture and appearance over time.
  • Sun Protection: After using the face mask, ensure you apply sunscreen with adequate sun protection factor (SPF) before stepping out. Sunscreen will shield your skin from harmful UV rays and prevent further skin damage.

Conclusion

The Bengal gram flour and milk face mask is a time-tested natural remedy that holds the power to transform your skin. With its exfoliating, oil-controlling, and brightening properties, Besan offers remarkable benefits, while milk soothes, hydrates, and nourishes the skin. By integrating this easy-to-make face mask into your skincare routine, you can achieve radiant, supple, and healthy-looking skin. Embrace the wonders of nature and experience the magic of this age-old beauty secret for yourself. Start your journey to glowing skin today!

Filed Under: Skin Care Tagged With: beauty tips, Bengal gram flour, Besan, brightening properties, exfoliation, face mask, glowing skin, milk, Natural remedy, oil control, skin care, skincare routine

Rose Water and Sandalwood Powder Face Mask for Fairer Skin

July 27, 2023 by sharvayonibeauty Leave a Comment

Achieving a fairer and radiant skin tone is a common desire for many individuals. While there are numerous skincare products available in the market, natural remedies have been proven to be effective and safe. One such powerful combination is the rose water and sandalwood powder face mask. This simple and affordable remedy can provide impressive results in a short span of time. In this post, we will explore the benefits of this face mask and how to use it for glowing and fairer skin.

Benefits of Rose Water and Sandalwood Powder for Skin

Before diving into the face mask recipe, let’s understand the individual benefits of rose water and sandalwood powder for the skin:

  1. Rose Water:
    • Hydrates and refreshes the skin.
    • Acts as a natural toner, maintaining the skin’s pH balance.
    • Soothes irritated and inflamed skin, reducing redness.
    • Possesses anti-inflammatory and antioxidant properties that combat free radicals.
    • Helps to tighten pores, reducing the chances of acne and blackheads.
    • Enhances skin complexion and promotes a natural glow.
  2. Sandalwood Powder:
    • Has cooling properties, making it perfect for soothing sunburns and skin rashes.
    • Acts as an excellent exfoliant, removing dead skin cells and impurities.
    • Reduces blemishes, acne scars, and pigmentation.
    • Provides relief from skin itching and irritation.
    • Delivers anti-aging benefits by minimizing fine lines and wrinkles.
    • Imparts a natural radiance and glow to the skin.

Preparation of Rose Water and Sandalwood Powder Face Mask

Now that we are aware of the fantastic benefits of both rose water and sandalwood powder, let’s learn how to create and use this powerful face mask.

Ingredients:

  • 1 teaspoon Sandalwood Powder
  • 1 teaspoon Turmeric Powder
  • Few drops of Rose Water

Instructions:

  1. In a small bowl, combine one teaspoon of sandalwood powder with one teaspoon of turmeric powder.
  2. Add a few drops of rose water to the mixture and mix well to form a smooth paste.
  3. Ensure that the paste has a spreadable consistency.

Application of the Face Mask:

  1. Start with a freshly cleansed face to allow better absorption of the mask’s benefits.
  2. Using clean fingers or a soft brush, apply the face mask evenly on your face and neck. Avoid the delicate area around the eyes.
  3. Relax and let the mask sit for about 15 minutes. You may feel a cooling sensation due to the soothing properties of sandalwood and rose water.
  4. Once the mask is dry, but not overly so, wash it off gently with lukewarm water. Avoid using hot water, as it may strip the skin of its natural oils.
  5. Pat your face dry with a soft towel and follow up with your favorite moisturizer to lock in the skin’s hydration.

Frequency: For best results, use this rose water and sandalwood powder face mask every alternate day. Consistent use will lead to visible improvements in your skin tone and overall complexion.

Safety Precautions:

  • Conduct a patch test before applying the mask all over your face, especially if you have sensitive skin or allergies to any of the ingredients.
  • Turmeric may stain the skin slightly, but this will fade within a few hours. To avoid staining, you can reduce the amount of turmeric or use Kasturi turmeric, which is non-staining.
  • If you experience any irritation or discomfort during or after using the mask, discontinue use and consult a dermatologist.

Conclusion:

Embrace the natural goodness of rose water and sandalwood powder with this DIY face mask. The combination of these two potent ingredients will leave your skin feeling refreshed, nourished, and with a radiant glow. Remember to maintain consistency with the application, and in no time, you will notice the transformation of your skin to a fairer and more youthful appearance. Enjoy the benefits of this age-old remedy for beautiful, glowing skin!

Filed Under: Skin Care Tagged With: beauty, beauty tips, complexion, DIY, face mask, fairer skin, glowing skin, Natural remedy, radiant skin, rose water, sandalwood powder, skin care, skincare

How to Get Rid of Pimples Naturally: Harnessing the Power of Mint and Tulasi (Basil)

June 20, 2023 by sharvayonibeauty Leave a Comment

Pimples are a common skin concern that can be frustrating to deal with. While many people resort to using harsh chemicals and products to combat pimples, nature has provided us with effective ingredients to fight off acne and achieve even-toned skin. In this post, we will explore the beauty benefits of mint and tulasi (basil) and learn how to prepare a natural remedy using these ingredients to effectively treat pimples without leaving any marks on the skin.

Beauty Benefits of Mint

Mint is more than just a refreshing herb for culinary purposes. It is packed with essential nutrients and properties that make it an ideal choice for removing pimples and promoting healthy skin.

Contains Vitamin A and Salicylic Acid:

Mint contains Vitamin A and salicylic acid, both of which are known for their anti-acne properties. Vitamin A helps in reducing excess oil production and preventing clogged pores, while salicylic acid exfoliates the skin, unclogs pores, and reduces inflammation associated with pimples.

Anti-Bacterial Property:

The anti-bacterial property of mint helps in keeping acne-causing bacteria at bay, reducing the chances of new breakouts.

Promotes Healthy and Glowing Skin:

Mint leaves are rich in antioxidants that help in fighting free radicals and preventing damage to the skin. Regular use of mint can promote a healthy and glowing complexion.

Beauty Benefits of Tulasi (Basil)

Tulasi, also known as basil, is considered a sacred herb in many cultures. Apart from its spiritual significance, tulasi offers numerous beauty benefits for the skin.

Gives Beautiful Glowing Skin:

Tulasi leaves contain essential oils and antioxidants that nourish the skin, leaving it radiant and glowing.

Anti-Fungal and Anti-Bacterial Properties:

Tulasi has natural anti-fungal and anti-bacterial properties that help in treating and preventing acne. It effectively kills acne-causing bacteria and reduces inflammation, promoting clearer skin.

Clears Scars:

Tulasi has the ability to lighten scars and blemishes, giving you a more even skin tone.

Treats Acne and Cures Rashes:

The anti-inflammatory properties of tulasi make it an excellent natural remedy for treating acne and soothing irritated skin. It helps in reducing redness, swelling, and discomfort associated with acne breakouts.

How to Prepare the Mint and Tulasi (Basil) Face Pack

Now that we understand the beauty benefits of mint and tulasi, let’s learn how to prepare a natural face pack using these ingredients to effectively combat pimples.

Step 1: Take 5-6 tulasi (basil) leaves and mint leaves.

Step 2: Grind the leaves into a paste by adding a small amount of water.

Step 3: Add one teaspoon of fresh turmeric powder to the paste.

Step 4: Mix in one tablespoon of gram flour (also known as besan) to form a smooth and consistent paste.

Application and Usage

Apply the prepared mixture evenly on your face, focusing on the areas affected by pimples. Gently massage the pack onto your skin, allowing the natural ingredients to penetrate and work their magic.

Leave the pack on your face for 15 to 20 minutes to allow the nutrients and properties of mint and tulasi to effectively treat the pimples.

After the recommended time, wash off the pack with cold water. Cold water helps in closing the pores and reducing inflammation.

For best results, apply this pack daily for a week. You will begin to notice a marvelous change in your skin as the pimples and their marks gradually fade away, leaving you with a clearer and healthier complexion.

Conclusion

Pimples can be a nuisance, but with the power of nature, we can effectively treat them without resorting to harsh chemicals. Mint and tulasi (basil) are natural ingredients that offer a wide range of beauty benefits, including the ability to fight pimples, clear scars, and promote healthy and glowing skin. By preparing and using a simple face pack with these ingredients, you can bid farewell to pimples and achieve a more even-toned and radiant complexion. Embrace the natural goodness of mint and tulasi and say hello to pimple-free, beautiful skin.

Video on Detailed Explanation:

Filed Under: Skin Care Tagged With: acne, basil, beauty benefits, glowing skin, homemade face pack, mint, Natural remedy, pimples, skin care, tulasi

Brighten Your Smile Naturally: Apple Cider Vinegar for Teeth Whitening

June 14, 2023 by sharvayonibeauty Leave a Comment

When it comes to oral health and a radiant smile, we often seek solutions that are both effective and natural. One such remedy gaining popularity is apple cider vinegar. Known for its numerous health benefits, apple cider vinegar also holds promise as a teeth whitening agent. In this article, we will delve into the topic of using apple cider vinegar for teeth whitening and explore its potential as a natural alternative to traditional teeth whitening methods.

Understanding Apple Cider Vinegar: A Natural Teeth Whitening Solution

Apple cider vinegar is a type of vinegar made from fermented apple juice. It contains acetic acid, which possesses natural bleaching properties that can help remove stains from teeth and promote a brighter smile. Additionally, apple cider vinegar is known for its antibacterial properties, which can contribute to maintaining good oral hygiene.

The Teeth Whitening Benefits of Apple Cider Vinegar

When used correctly and in moderation, apple cider vinegar can offer several benefits for teeth whitening:

Stain Removal:

The acidic nature of apple cider vinegar helps break down surface stains on the teeth caused by substances like coffee, tea, and tobacco. By applying apple cider vinegar directly to your teeth, you can target these stains and gradually diminish their appearance.

b) Natural Bleaching Action:

The acetic acid in apple cider vinegar has natural bleaching properties that can help lighten the color of your teeth. Regular use of apple cider vinegar as a teeth whitening treatment may result in a gradual improvement in the brightness of your smile.

Proper Application of Apple Cider Vinegar for Teeth Whitening

While apple cider vinegar can be an effective teeth whitening remedy, it is important to use it correctly to ensure safety and achieve optimal results. Here’s a step-by-step guide on how to use apple cider vinegar for teeth whitening:

Step 1: Dilute the Vinegar

Mix equal parts of apple cider vinegar and water to create a diluted solution. This helps minimize the acidity and reduces the risk of damaging tooth enamel.

Step 2: Apply with Caution

Dip a soft-bristled toothbrush or a cotton swab into the diluted apple cider vinegar solution. Gently rub the solution onto your teeth, focusing on areas with stains or discoloration. Avoid excessive scrubbing or applying too much pressure to prevent enamel erosion.

Step 3: Rinse Thoroughly

After applying the apple cider vinegar, rinse your mouth thoroughly with water to remove any residue. It is essential to rinse adequately to avoid prolonged exposure of teeth to the acidic properties of vinegar.

Step 4: Follow with Regular Oral Care

Brush your teeth with a fluoride toothpaste as usual to remove any remaining vinegar and maintain oral hygiene. Additionally, flossing and using mouthwash are recommended for a comprehensive oral care routine.

Precautions and Considerations

While apple cider vinegar can be beneficial for teeth whitening, it is crucial to be aware of certain precautions and considerations:

Moderation is Key:

Due to its acidic nature, excessive and prolonged use of apple cider vinegar can erode tooth enamel. It is advisable to limit the use of apple cider vinegar for teeth whitening to a few times per week and always follow the recommended dilution ratios.

Sensitivity Concerns:

Some individuals may experience tooth sensitivity or irritation when using apple cider vinegar. If you have sensitive teeth or a history of dental issues, it is advisable to consult with a dentist before incorporating apple cider vinegar into your oral care routine.

Regular Dental Check-ups:

While apple cider vinegar can help improve the appearance of your teeth, it is important to maintain regular dental check-ups and professional cleanings to ensure overall oral health.

Conclusion:

Apple cider vinegar offers a natural and cost-effective solution for teeth whitening. By understanding its benefits, using it responsibly, and following proper oral care practices, you can harness the potential of apple cider vinegar to brighten your smile. Remember, consistency is key, and always prioritize your dental health alongside any natural remedies you choose to incorporate into your routine.

Filed Under: Skin Care Tagged With: age spot remedies, apple cider vinegar, blemish treatment, Natural remedy, natural skincare remedies, scar reduction, skin care, stretch mark reduction, teeth whitening

  • « Go to Previous Page
  • Page 1
  • Page 2
  • Page 3
  • Page 4
  • Interim pages omitted …
  • Page 7
  • Go to Next Page »

Primary Sidebar

Looking for something?

Connect with us online

  • Email
  • Facebook

Popular Posts!

Reduce Pores and Acne Scars with Cucumber

Coffee and Honey: A Natural Remedy for Dark Circles

Essential Nutrients and Natural Remedies for Healthy and Beautiful Hair

Rose petals to get pink lips

Time-Tested Remedies for Dealing with Unexpected Pimples: Your Guide to Clear Skin

Categories

  • Hair Care
  • Health and Wellness
  • Skin Care

Tags

beauty benefits beauty tips Chemical-Free Hair Care coconut oil curd curry leaves dark circles DIY Hair Care egg exfoliation eye care glowing skin hair care Hair Care Routine hair care tips hair growth Hair health Hair Health Improvement hair loss Hair Nourishment Hair Strengthening health and wellness honey hydration lemon lemon juice milk natural beauty natural conditioner natural face mask Natural hair care Natural Hair Growth Natural Hair Remedies natural ingredients natural remedies Natural remedy natural skincare olive oil radiant complexion radiant skin scalp health Scalp Nourishment skin care skincare skincare routine

© 2025 · Sharvayoni · Privacy Policy · Disclaimer