• Skip to main content
  • Skip to primary sidebar
  • HOME
  • SKIN CARE
  • HAIR CARE
  • HEALTH AND WELLNESS
  • CONTACT US

Sharvayoni

Unearth Nature's Magic - Your Path to Herbal Radiance and Wellnes

DIY hair products

DIY Leave-in Conditioner: Nourish Your Hair Naturally

March 20, 2024 by sharvayonibeauty Leave a Comment

Maintaining healthy and vibrant hair is a goal shared by many. However, the battle against hair loss, dandruff, dryness, and an itchy scalp can be challenging. What if you could create a leave-in conditioner at home that not only fights these common hair issues but also promotes hair growth? This DIY Leave-in Conditioner is the answer to your hair care prayers. Packed with natural ingredients like lime juice, aloe, coconut milk, and essential oils, this conditioner provides your hair with the love and nourishment it deserves. In this article, we’ll guide you through creating this miraculous conditioner, detailing the ingredients, steps, and the numerous benefits it brings to your hair.

Things Needed

Before we embark on the journey of creating your DIY Leave-in Conditioner, let’s gather all the necessary ingredients:

  • 10 small squirts of Lime Juice
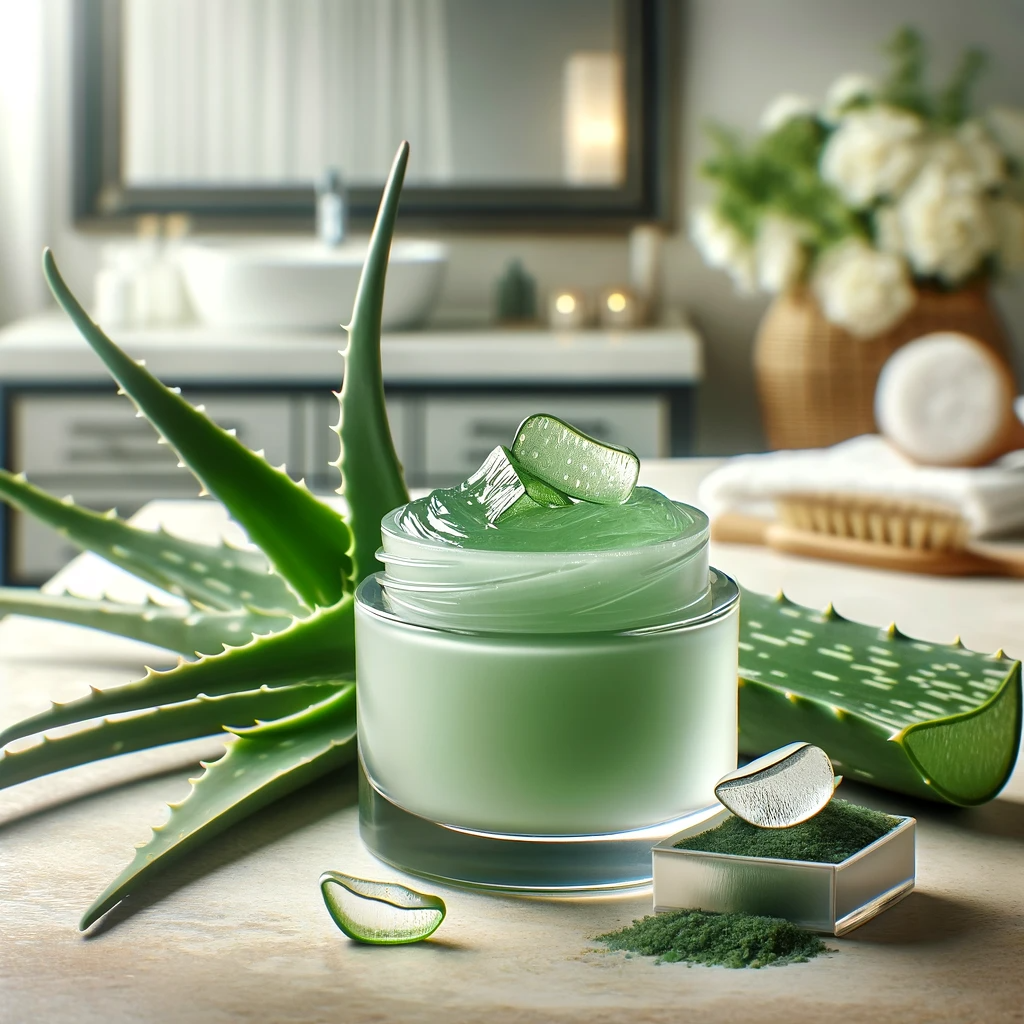
  • ½ cup of Aloe Juice and gel
  • 1 cup distilled water
  • Milk/Water from 1 coconut
  • 1 tablespoon of melted Shea butter
  • 1 tablespoon of melted Coconut Oil
  • 1 teaspoon of Olive oil
  • ½ teaspoon of Thyme oil
  • 1 teaspoon of Rosemary oil
  • Small bowl for mixing
  • Spoon for stirring
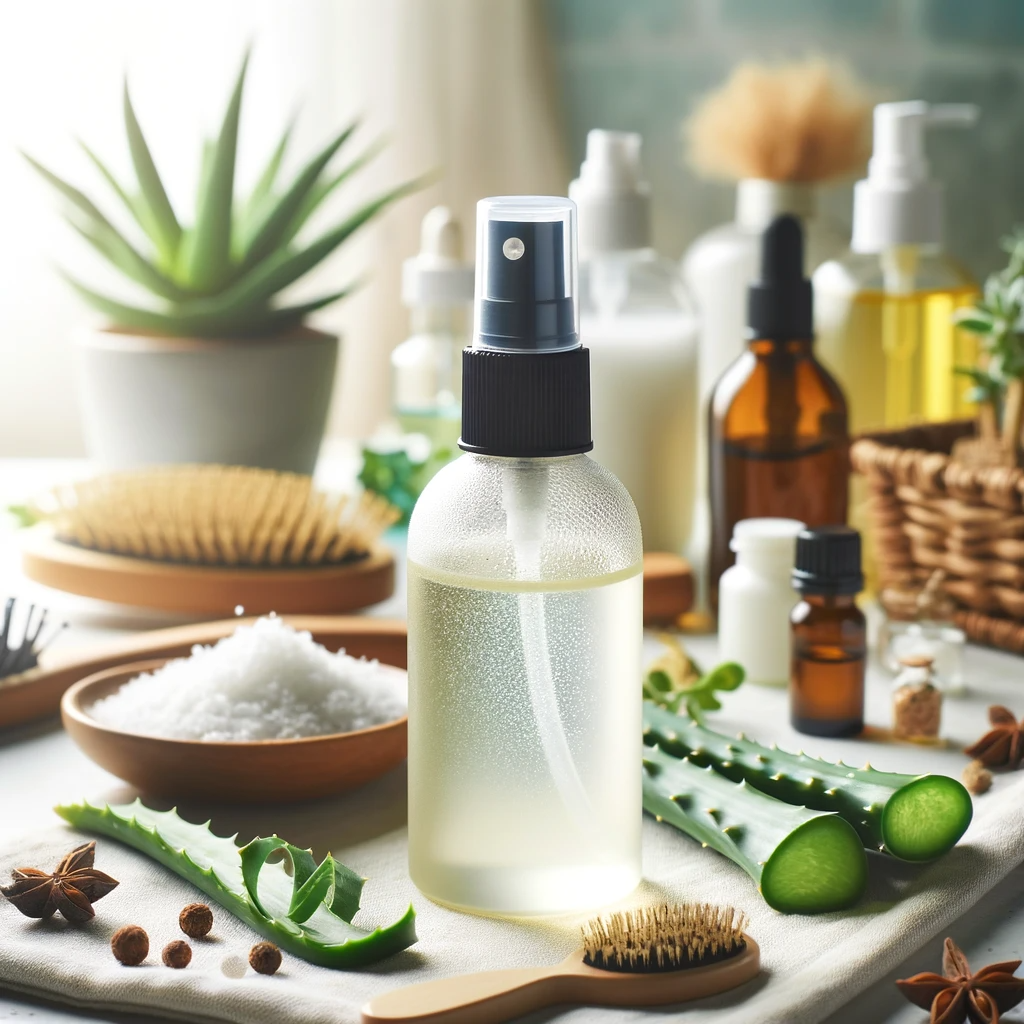
  • Spray bottle for storage

Steps to Prepare

Creating this nourishing leave-in conditioner is a straightforward process. Follow these steps to give your hair the care it deserves:

1. In a small bowl, combine 10 small squirts of lime juice, ½ cup of aloe juice and gel, 1 cup of distilled water, milk or water from 1 coconut, 1 tablespoon of melted shea butter, 1 tablespoon of melted coconut oil, 1 teaspoon of olive oil, ½ teaspoon of thyme oil, and 1 teaspoon of rosemary oil.

2. Mix the ingredients thoroughly until you achieve a smooth and consistent conditioner.

3. Once the conditioner is well mixed, transfer it into a clean spray bottle for easy application.

4. Apply the leave-in conditioner as you would a regular conditioner, ensuring your hair is well-covered.

Benefits

The DIY Leave-in Conditioner offers a multitude of benefits for your hair care routine:

  • Hair Loss Prevention: Ingredients like thyme and rosemary oil help prevent hair loss and promote healthy growth.
  • Dandruff Control: The natural components in this conditioner combat dandruff, leaving your scalp refreshed and flake-free.
  • Dryness Relief: Coconut milk, aloe, and essential oils provide essential moisture to combat dryness and an itchy scalp.
  • Hair Growth Promotion: The combination of natural ingredients promotes hair growth, giving your locks a lush and full appearance.
  • Nourishment: With shea butter, coconut oil, and olive oil, this conditioner provides vital nutrients to keep your hair healthy and strong.

Conclusion

The DIY Leave-in Conditioner is a true gem in the world of natural hair care. Not only does it address common hair concerns like dandruff, dryness, and hair loss, but it also promotes healthy hair growth. By creating this conditioner at home, you take control of what goes into your hair, eliminating the need for chemical-laden products. Say goodbye to hair issues and hello to the natural care and nourishment your hair deserves. Your hair will thank you for the love and attention it receives from this miraculous DIY conditioner.

Filed Under: Hair Care Tagged With: beauty tips, Chemical-Free Hair Care, dandruff control, DIY hair products, DIY Leave-in Conditioner, essential oils, hair care, hair conditioner, hair growth, Hair Loss Prevention, Hair Nourishment, healthy hair, homemade conditioner, Natural hair care

Protein Filled Mud Mask: Revive and Strengthen Your Hair Naturally

March 19, 2024 by sharvayonibeauty Leave a Comment

Achieving healthy, strong, and lustrous hair is a goal for many, but the effects of daily styling, exposure to environmental factors, and chemical treatments can take a toll on our locks. What if you could rejuvenate and fortify your hair using natural ingredients that have been trusted for centuries? The Protein Filled Mud Mask is here to bring your hair back to life, providing the elasticity and strength it deserves. This DIY hair mask combines the power of ayurvedic henna and nourishing ingredients like coconut oil, aloe vera juice, and more to promote hair growth and restore vitality. In this article, we will guide you through the creation of this miraculous mud mask, revealing the ingredients, steps, and the many benefits it offers to your hair.

Things Needed

Before we dive into creating the Protein Filled Mud Mask, let’s gather all the necessary ingredients:

  • 1 cup of aloe vera juice or coconut milk
  • 2 cups of Nupur henna mixture (includes Brahmi, hibiscus powder, shikakai, aloe vera, amla, bhringraj, neem, and jatamansi powders)
  • Your favorite moisture rinse-out conditioner
  • 1 large egg, beaten
  • 2 1/2 tablespoons of coconut oil
  • 4 tablespoons of agave nectar or honey
  • Bowl for mixing
  • Spoon for stirring
  • Plastic cap or wrap for covering hair

Steps to Prepare

Creating this protein-filled mud mask is a rewarding process that can transform your hair. Follow these steps to rejuvenate and strengthen your locks:

1. In a bowl, combine 2 cups of Nupur henna mixture with 1 cup of aloe vera juice or coconut milk.

2. Stir the mixture thoroughly until it is well combined, ensuring a smooth and consistent texture.

3. Measure in 2 1/2 tablespoons of coconut oil, 4 tablespoons of agave nectar or honey, and add the beaten egg to the mixture.

4. Stir the ingredients well to ensure even distribution, creating a rich, nourishing mask.

5. Apply the mud mask generously by massaging it into your hair ends, hair strands, hair roots, and scalp, ensuring full coverage.

6. Leave the mask on for a duration of 60 to 180 minutes, allowing the natural ingredients to work their magic.

7. To enhance the effectiveness of the mask, cover your hair with a plastic cap or wrap while the mask is in place.

8. After the desired duration, wash off the mud mask using water and a protein-free, moisture-rich conditioner.

Tip: You’ll be left with hair that feels vibrant and rejuvenated after this treatment.

Note: Avoid excessive bending or movements that may cause your hair to knot or tangle while the mud mask is still in place, as this can affect the overall effectiveness of the treatment.

Benefits

The Protein Filled Mud Mask offers a multitude of benefits for your hair care routine:

  • Hair Growth: Ayurvedic henna and nourishing ingredients stimulate hair growth, making your hair look lush and vibrant.
  • Strength and Elasticity: The mask fortifies your hair, providing strength and elasticity that help prevent breakage.
  • Natural Shine: Expect a radiant, healthy shine that adds vibrancy to your locks.
  • Moisturization: Ingredients like coconut oil, aloe vera juice, and agave nectar or honey provide essential moisture to combat dryness.
  • Hair Restoration: This mask can restore vitality to your hair, bringing it back to its former glory.

Conclusion

The Protein Filled Mud Mask is a natural miracle for your hair. Not only does it promote hair growth and strength, but it also restores vitality and shine. By creating this mask at home, you take control of what goes into your hair, avoiding the harsh chemicals commonly found in commercial products. Say goodbye to lackluster hair and hello to the nourishing care and rejuvenation offered by the Protein Filled Mud Mask. Your hair will thank you for the love and attention it receives from this amazing DIY treatment.

Filed Under: Hair Care Tagged With: ayurvedic henna, beauty tips, Chemical-Free Hair Care, DIY hair products, hair care, hair growth, Hair restoration, hair strength, hair treatment, Homemade hair mask, moisture-rich hair treatment, Natural hair care, natural shine, Protein Filled Mud Mask, vibrant hair

Aloe Pectin Hair Jelly: A Natural Styling Solution

March 7, 2024 by sharvayonibeauty Leave a Comment

In the realm of natural hair care, innovative solutions like Aloe Pectin Hair Jelly offer a refreshing alternative to commercial hair products. Combining the soothing properties of aloe vera juice with the thickening power of fruit pectin, this hair jelly is further enhanced with honey, agave nectar, EVOO (extra virgin olive oil), sweet almond oil, and essential oils. This mixture creates a versatile hair styling product that not only styles but also nourishes your hair.

Things Needed

To prepare this hair jelly, you will need:

  • 1 Cup Aloe Vera Juice: Soothes the scalp and hair.
  • 1 Packet Instant Fruit Pectin (approx. 1.60 oz.): Acts as a natural thickener.
  • ¼ Teaspoon Honey: Natural humectant to retain moisture.
  • ¼ Teaspoon Agave Nectar: Provides shine and smoothness.
  • 2 Teaspoons EVOO: Nourishes and strengthens hair.
  • 1 Teaspoon Sweet Almond Oil: Adds softness and promotes hair health.
  • 5-7 Drops of Essential Oils: For fragrance, optional.
  • Mixing Bowl: For combining ingredients.
  • Spoon or Whisk: To mix the ingredients.
  • Storage Container: To store the hair jelly.
  • Refrigerator: To keep the jelly fresh.

Steps to Prepare

1. Start by slowly adding the instant fruit pectin into a mixing bowl to prevent clumping.

2. Gradually stir in the aloe vera juice to the pectin until well mixed.

3. Add ¼ teaspoon each of honey and agave nectar to the mixture.

4. Pour in 2 teaspoons of EVOO and 1 teaspoon of sweet almond oil.

5. Stir the mixture thoroughly until all ingredients are well combined.

6. Add 5-7 drops of your favorite essential oils for fragrance, if desired, and mix again to ensure even distribution.

7. Transfer the aloe gel mixture into a storage container and cover it tightly.

8. Store the hair jelly in the refrigerator to maintain its freshness.

Benefits

The Aloe Pectin Hair Jelly offers several benefits:

  • Natural Styling: Provides a light hold without harsh chemicals found in many styling products.
  • Moisturizing: Aloe vera and honey hydrate the hair, preventing dryness.
  • Hair Nourishment: EVOO and sweet almond oil strengthen and nourish hair strands.
  • Scalp Health: Aloe vera juice soothes the scalp.
  • Customizable: Essential oils can be added for a personalized fragrance.

Conclusion

Creating your own Aloe Pectin Hair Jelly is a simple and effective way to embrace natural hair care. This homemade jelly not only helps in styling your hair but also contributes to its overall health. By using this natural styling product, you can avoid the harsh chemicals typically found in commercial hair products, providing a safer and healthier alternative for your hair and scalp.

Filed Under: Hair Care Tagged With: Aloe Pectin Hair Jelly, beauty tips, chemical-free hair products, DIY hair products, essential oils, hair care, Hair Nourishment, hair styling, hair tips, homemade hair gel, hydration, Natural hair care, scalp health

  • « Go to Previous Page
  • Page 1
  • Page 2

Primary Sidebar

Looking for something?

Connect with us online

  • Email
  • Facebook

Popular Posts!

Strengthen Your Hair Naturally using Egg and Milk

Indulge in the Timeless Beauty Secret: Milk for Radiant Skin

Herbal Hair Rinse for Healthy Scalp and Shiny Hair

Hair Care Magic: DIY Green Tea and Aloe Vera Hair Treatment

Achieving Strawberry Ginger Blonde: A Natural Hair Tonic Recipe

Categories

  • Hair Care
  • Health and Wellness
  • Skin Care

Tags

beauty benefits beauty tips Chemical-Free Hair Care coconut oil curd curry leaves dark circles DIY Hair Care egg exfoliation eye care glowing skin hair care Hair Care Routine hair care tips hair growth Hair health Hair Health Improvement hair loss Hair Nourishment Hair Strengthening health and wellness honey hydration lemon lemon juice milk natural beauty natural conditioner natural face mask Natural hair care Natural Hair Growth Natural Hair Remedies natural ingredients natural remedies Natural remedy natural skincare olive oil radiant complexion radiant skin scalp health Scalp Nourishment skin care skincare skincare routine

© 2026 · Sharvayoni · Privacy Policy · Disclaimer