Egg face packs have been cherished for centuries for their remarkable skin benefits. This simple yet potent remedy harnesses the power of natural ingredients to offer a plethora of advantages for your skin. If you’re looking to enhance your skin’s health, texture, and radiance, an egg face pack might be your perfect solution.
Crafting Your Egg Face Pack
Ingredients You’ll Need:
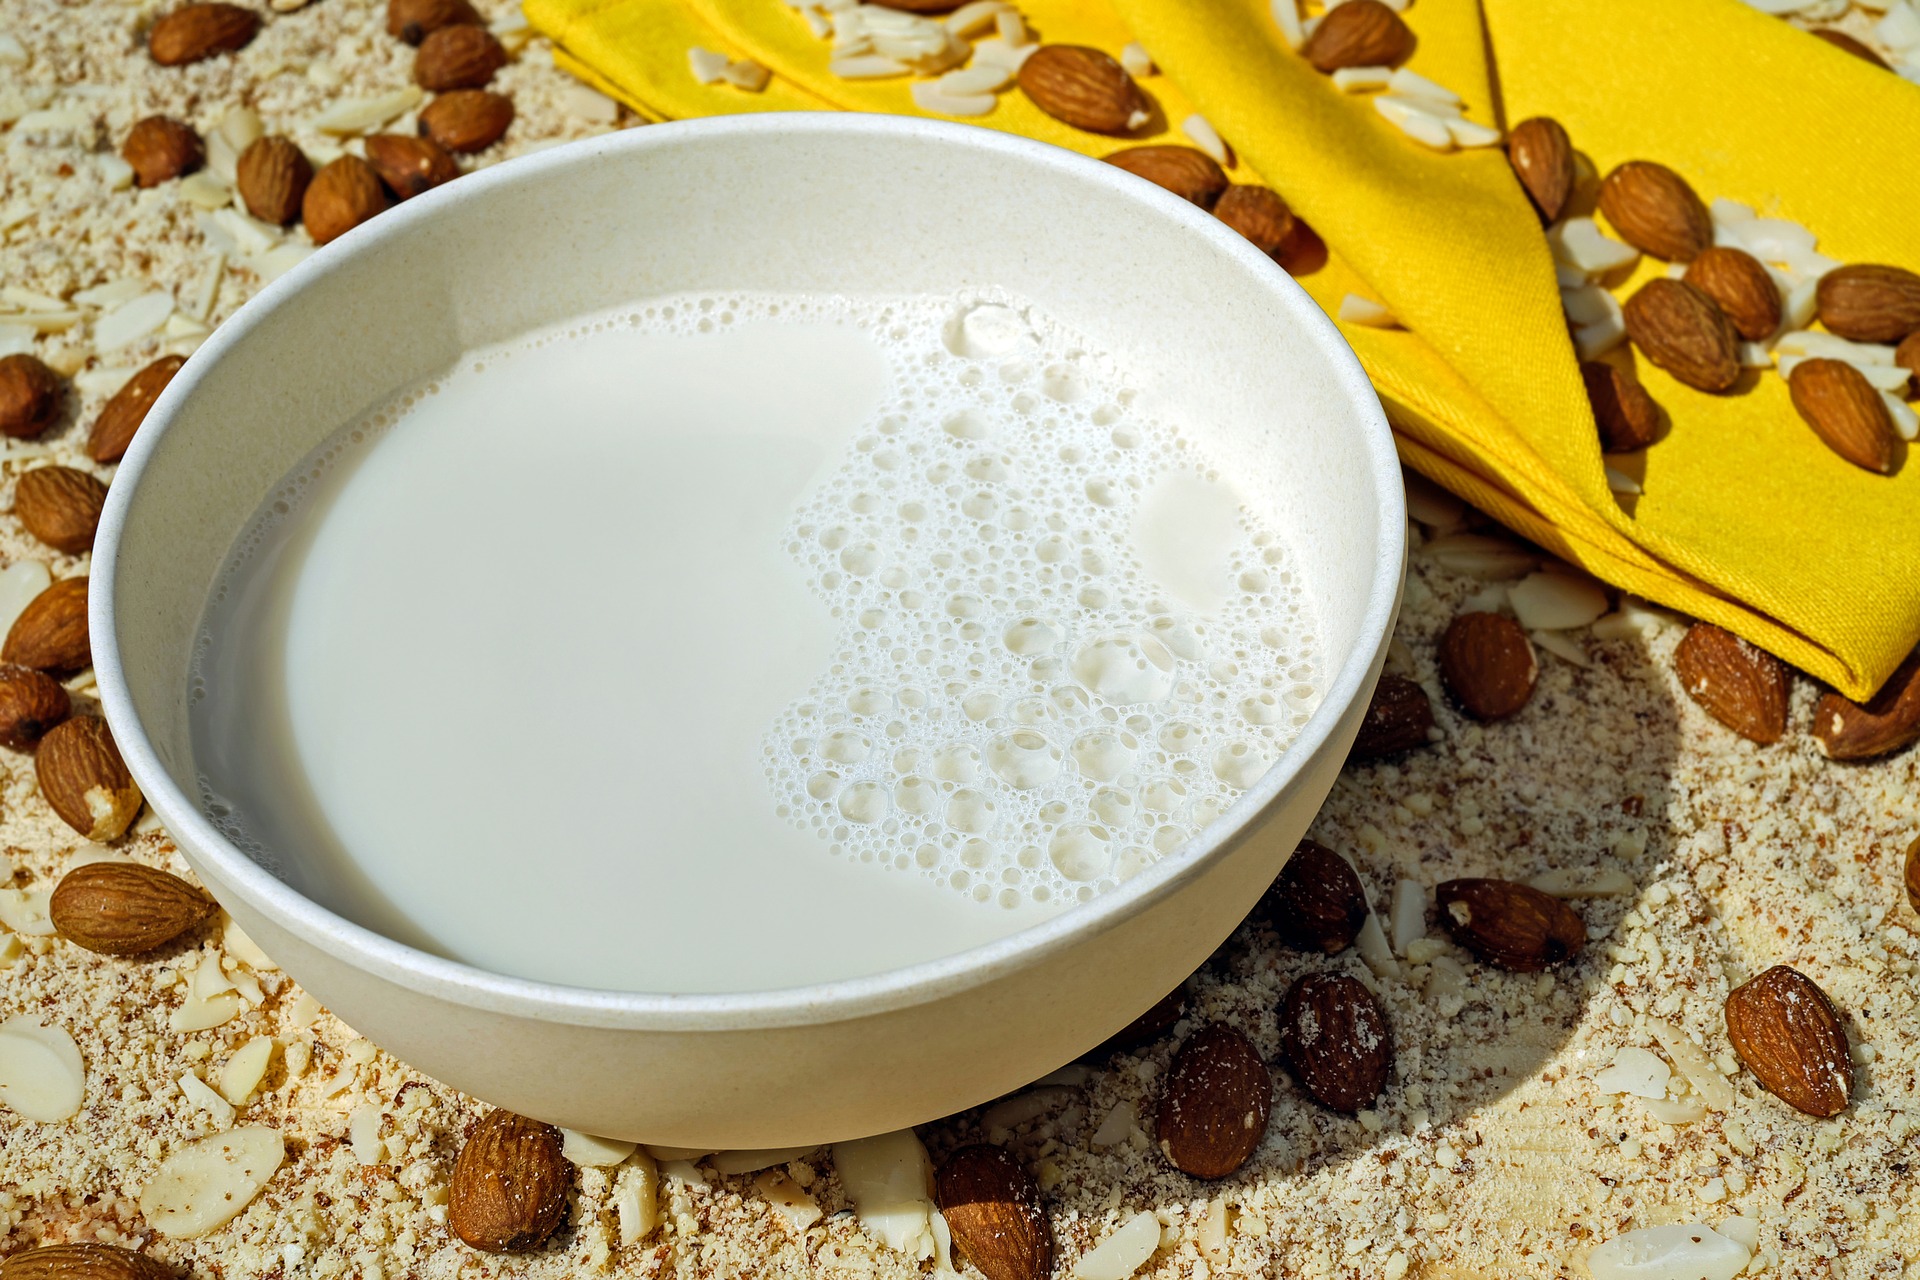
- 1 egg white
- 1 tablespoon of gram flour
- Few drops of lemon juice
Step-by-Step Guide:
- Preparing the Egg White: Start by carefully separating the egg white from the yolk. Place the egg white in a clean bowl and discard the yolk.
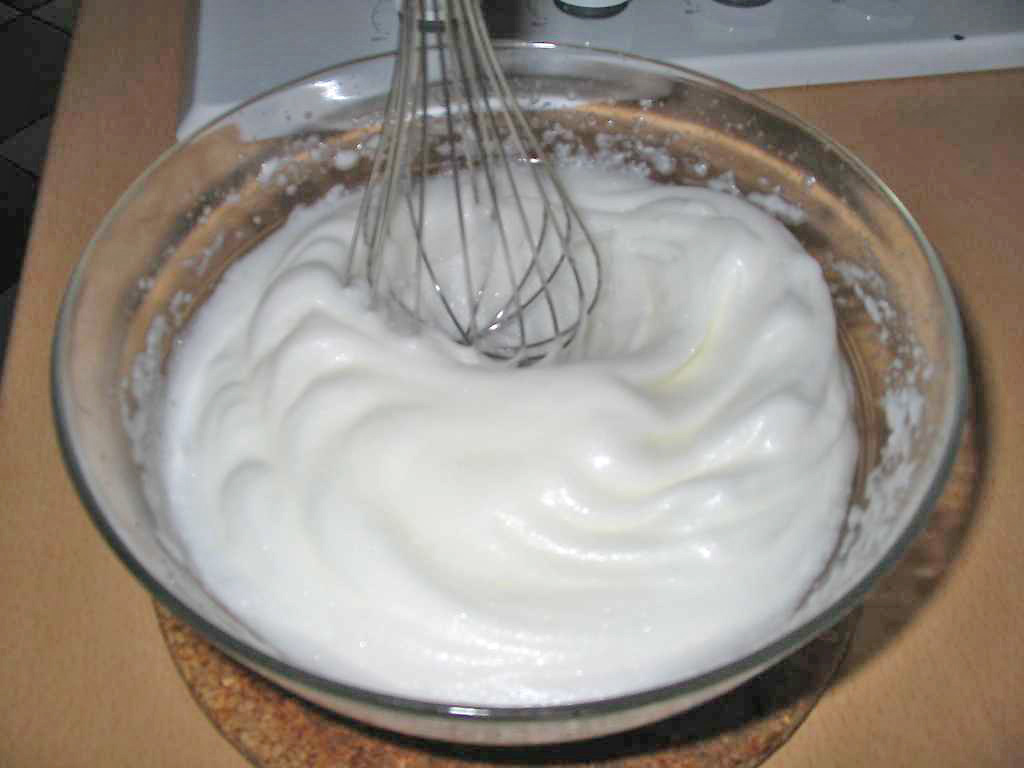
- Beating the Egg White: Using a fork or a whisk, beat the egg white vigorously until it becomes frothy and slightly thickened. This step ensures that the egg white is well-prepared for blending with the other ingredients.
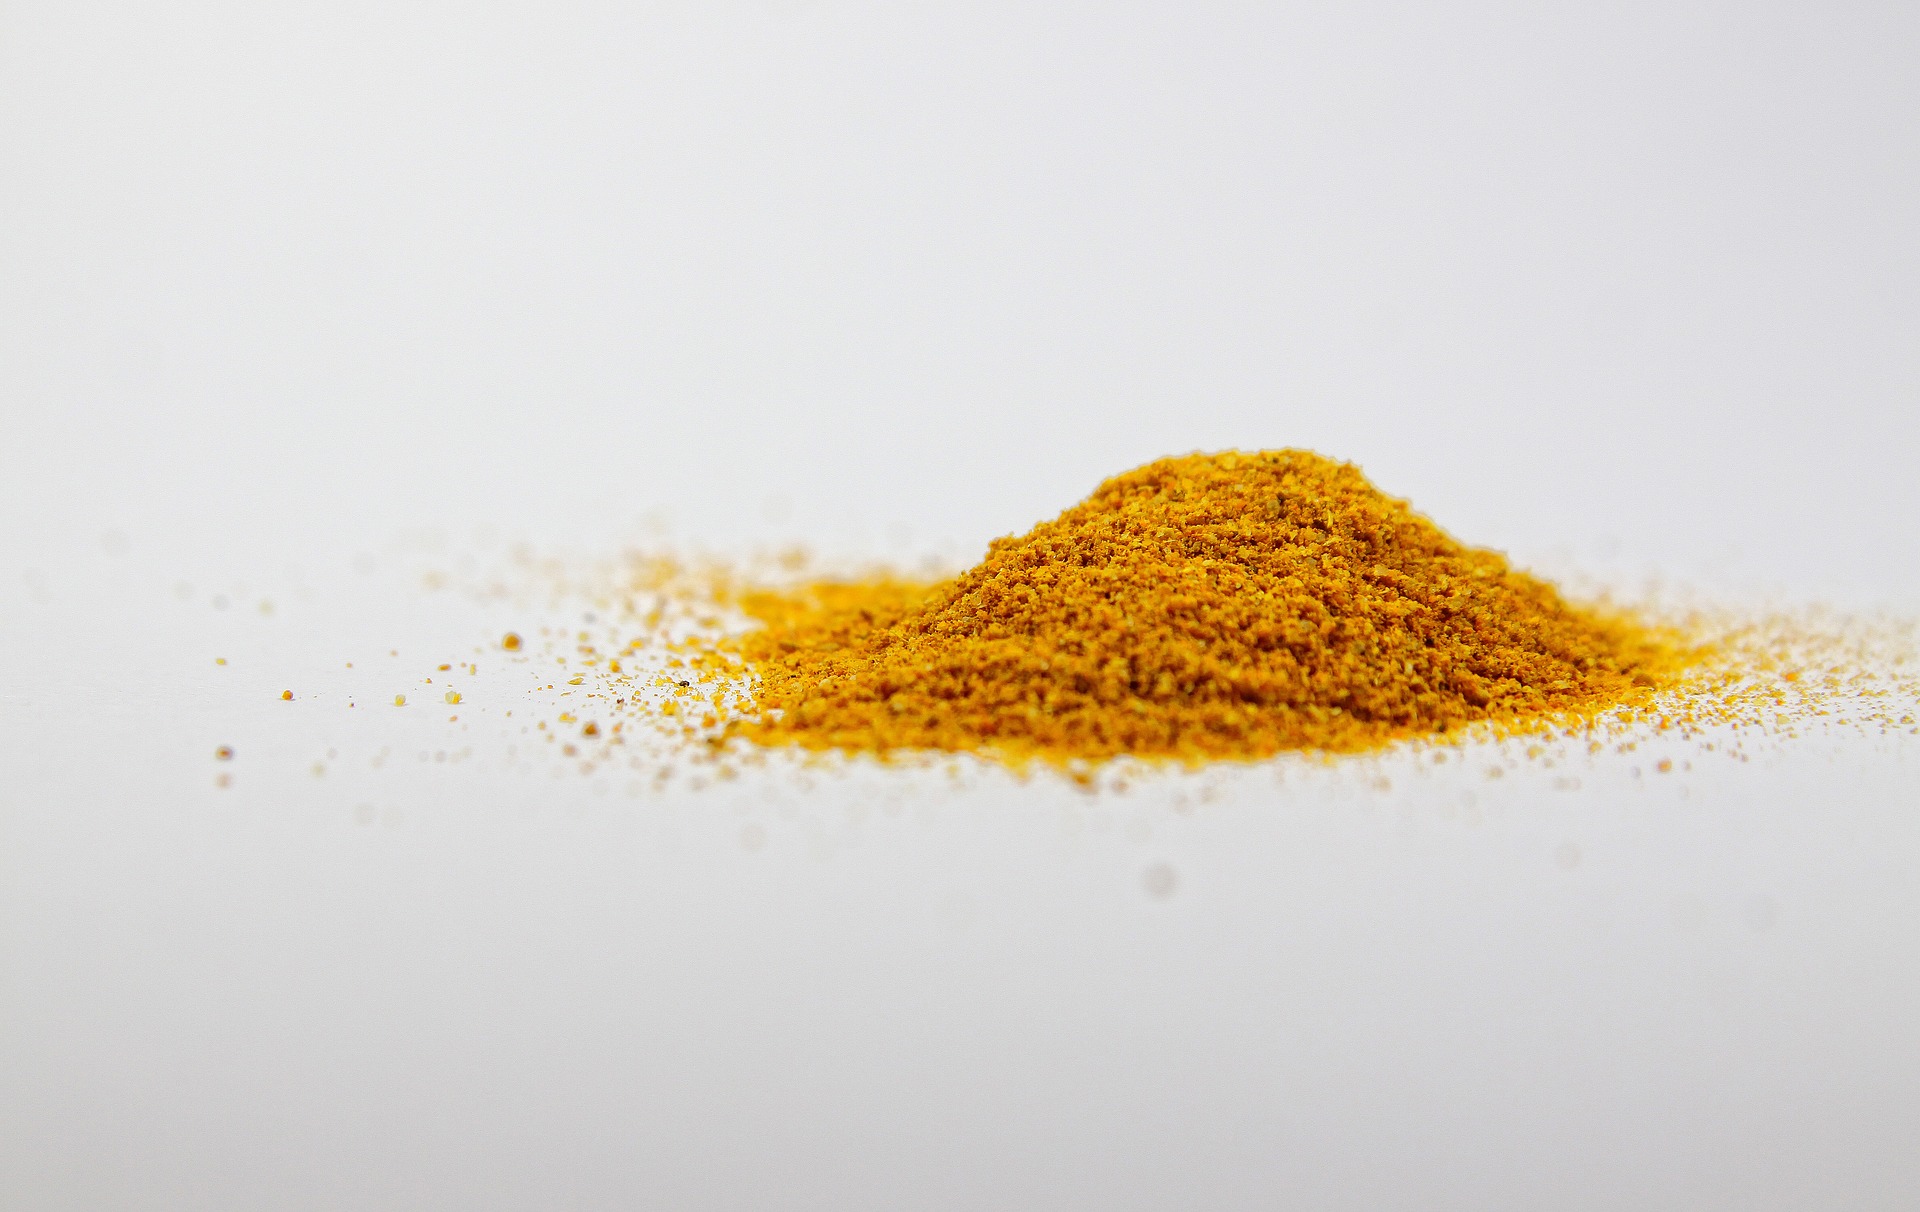
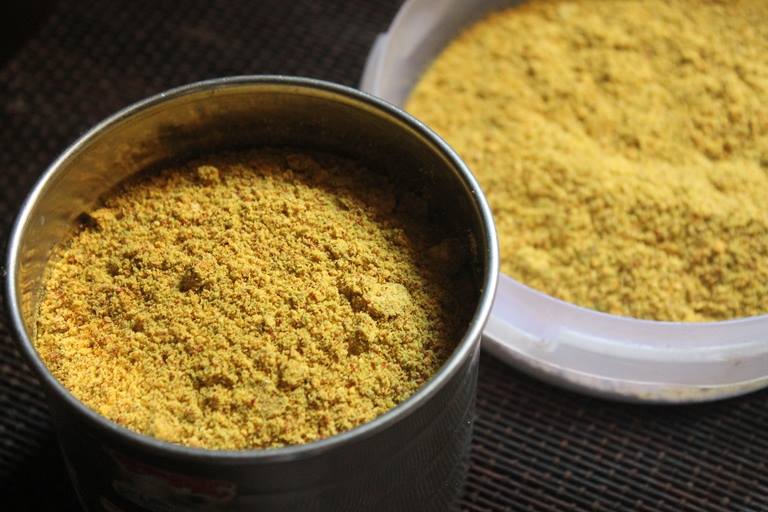
- Adding the Goodness: Incorporate 1 tablespoon of gram flour into the frothy egg white. This flour, also known as besan, not only serves as a binding agent but also brings its exfoliating and cleansing properties to the mix. Add a few drops of lemon juice to enhance the face pack’s brightening effects.
- Mixing the Ingredients: Blend the egg white, gram flour, and lemon juice thoroughly until you achieve a smooth and consistent paste. The mixture should be of medium consistency, allowing it to spread easily on your face.
- Application Process: With clean hands or a face pack applicator, gently apply the egg face pack to your freshly cleansed face. Take care to avoid the delicate areas around your eyes and lips.
- Waiting Game: Allow the face pack to dry naturally on your skin. This process typically takes around 10 to 15 minutes. As the pack dries, you’ll feel a tightening sensation on your skin.
- Rinsing Off: Once the egg face pack is dry and has worked its magic, it’s time to rinse it off. Begin by splashing your face with lukewarm water. This initial rinse helps loosen the pack and makes the removal process smoother.
- Final Rinse: Follow up with a final rinse using cool water. This not only ensures that all traces of the pack are removed but also helps close your pores, leaving your skin refreshed.
The Magic of Egg Face Pack Unleashed
Skin Tightening: One of the most noticeable effects of an egg face pack is its skin-tightening properties. As the egg white dries, it contracts, creating a temporary lift and firmness that contributes to a youthful appearance.
Oil Control: The addition of gram flour to the egg white helps absorb excess oil, making this face pack particularly beneficial for individuals with oily or combination skin. It leaves your skin feeling refreshed and mattified.
Exfoliation and Cleansing: Gram flour’s natural exfoliating properties gently slough away dead skin cells, unveiling a smoother and more refined complexion. This exfoliation also helps unclog pores, preventing breakouts and promoting clear skin.
Brightening and Even Tone: Lemon juice’s natural bleaching properties, when combined with the egg white, contribute to a more even skin tone. Over time, this face pack can help fade pigmentation, blemishes, and dark spots, revealing a brighter complexion.
Customizing the Egg Face Pack
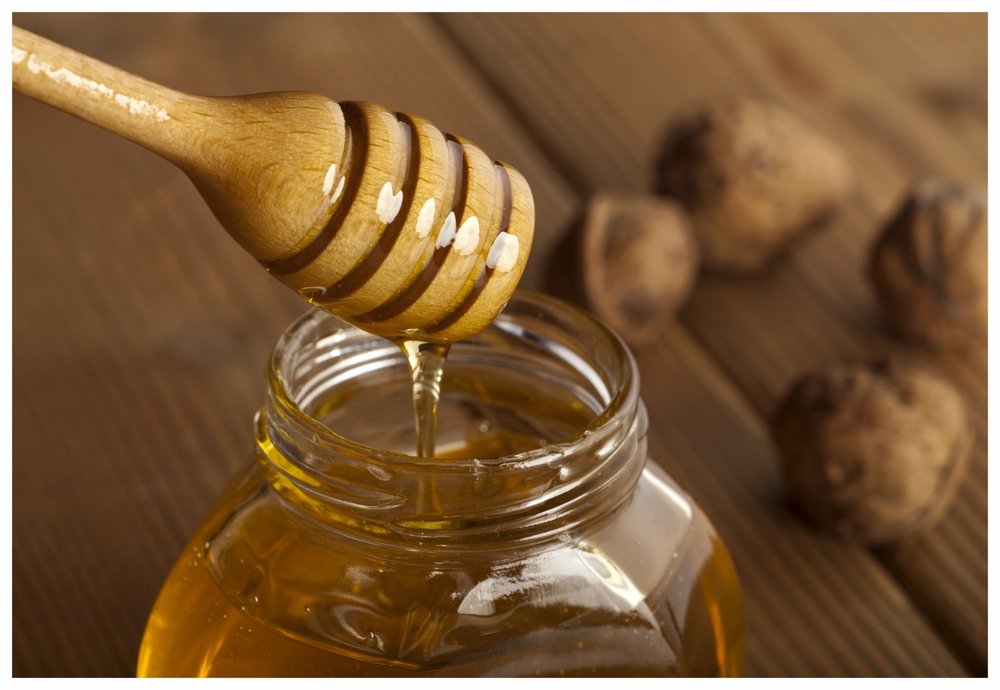
For Dry Skin: If you have dry skin, consider adding a teaspoon of honey to the face pack mixture. Honey brings its moisturizing and hydrating properties to the mix, ensuring that your skin remains nourished and supple.
Integrating Egg Face Pack into Your Routine
Usage Frequency: To experience the full benefits without overstimulating your skin, incorporate the egg face pack into your skincare routine 1 to 2 times a week. This frequency allows your skin to reap the rewards while avoiding overuse.
Patch Test: As a precaution, perform a patch test before applying the egg face pack to your entire face. This ensures that you’re not allergic to any of the ingredients and helps prevent adverse reactions.
Hydration is Key: After rinsing off the face pack, follow up with a lightweight moisturizer to lock in hydration. This step complements the skin-nourishing effects of the egg face pack.
Consistency Yields Results: While the immediate effects of the egg face pack are undeniable, lasting benefits emerge with consistent use over time. Incorporate this natural remedy into your routine and allow your skin to flourish.
Elevate Your Beauty Regimen with Egg Face Pack
Embrace the wholesome goodness of an egg face pack and unveil a revitalized and radiant complexion. With the perfect blend of egg white, gram flour, and lemon juice, this face pack addresses a spectrum of skin concerns, from tightening to brightening. Explore the transformative effects of this natural concoction and witness your skin’s journey towards enhanced beauty.