• Skip to main content
  • Skip to primary sidebar
  • HOME
  • SKIN CARE
  • HAIR CARE
  • HEALTH AND WELLNESS
  • CONTACT US

Sharvayoni

Unearth Nature's Magic - Your Path to Herbal Radiance and Wellnes

hair care

Nourishing Hair Mask for Radiant Locks: A DIY Guide

February 2, 2024 by sharvayonibeauty Leave a Comment

In the realm of hair care, the pursuit of silky, healthy locks is often laden with expensive treatments and products. However, the secret to achieving this can often be found in your own kitchen. This DIY hair mask recipe, tailored for 12 inches long hair or shorter, utilizes simple yet effective ingredients to revitalize your hair. It’s perfect for those seeking a natural, cost-effective solution to hair care.

Things Needed

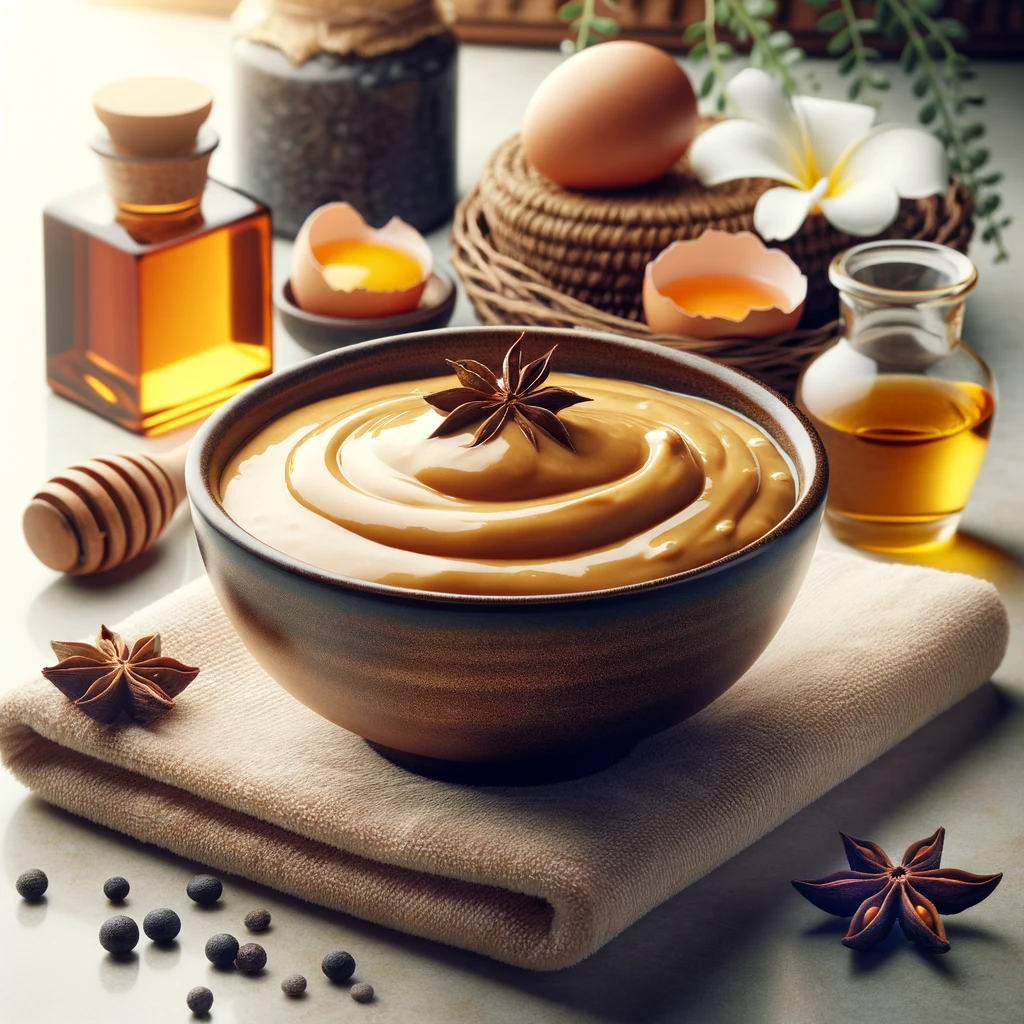
The ingredients for this nourishing hair mask are easily accessible and might already be in your pantry:

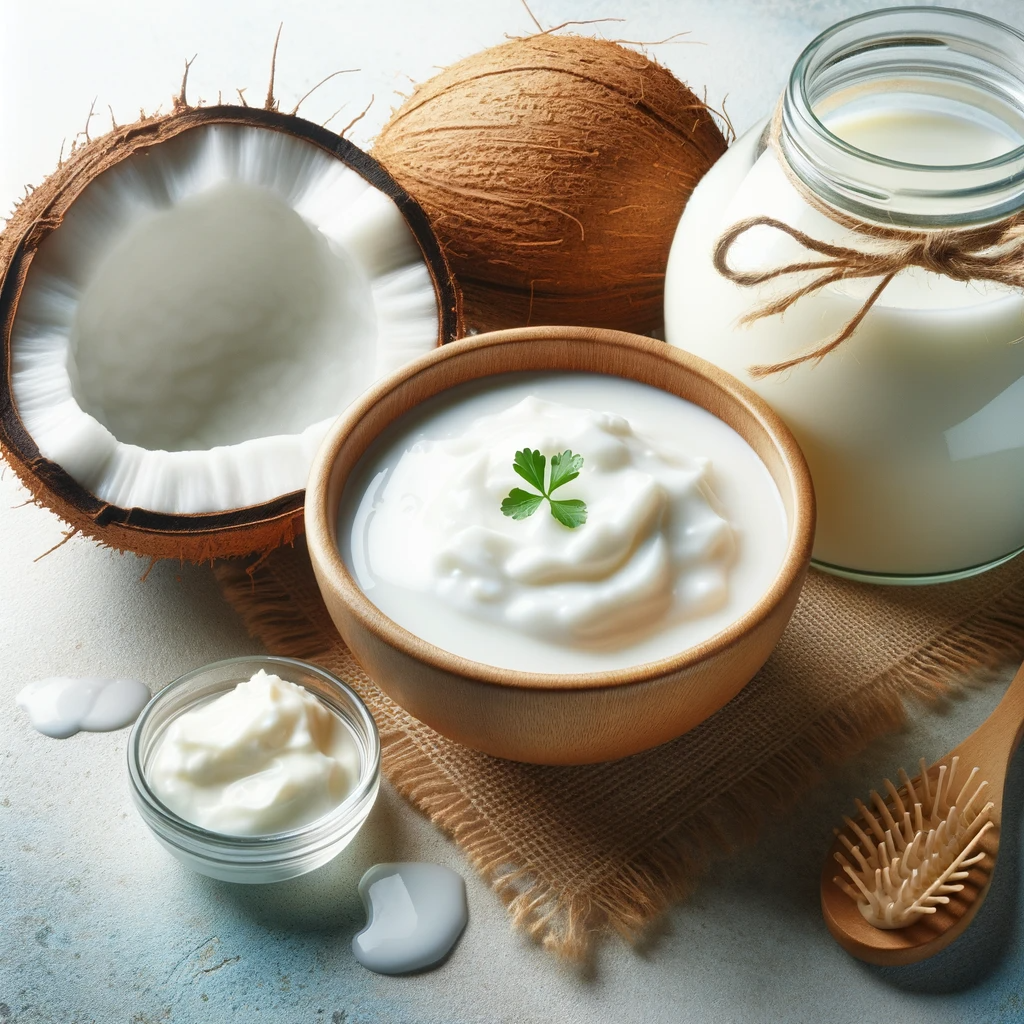
  • 1 tbsp Mayonnaise: Acts as a deep conditioner, adding shine and moisture to your hair.
  • 1 Egg, Beaten: Rich in protein, helps in repairing and strengthening hair.
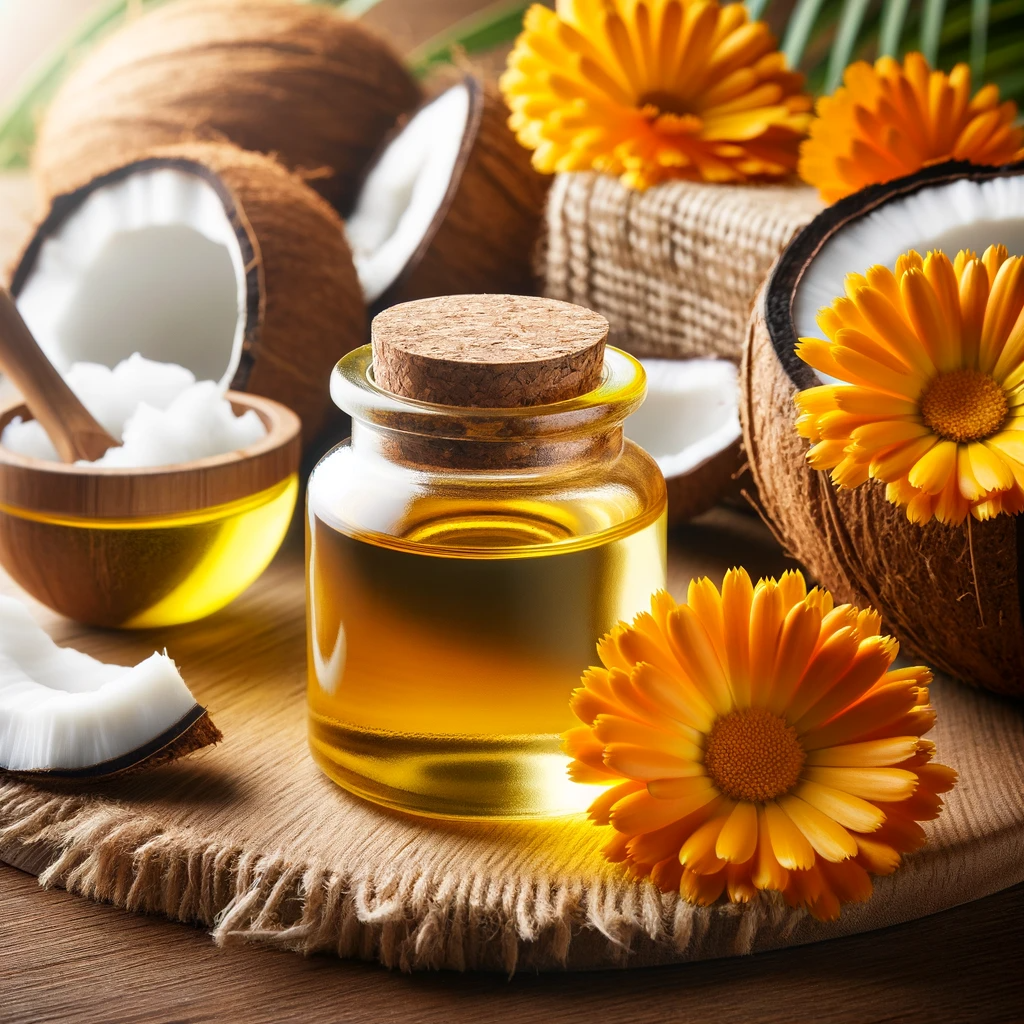
  • 1 tsp Cold Pressed Castor Oil: Promotes hair growth and adds volume.
  • 1-2 tsps Olive Oil: Known for its moisturizing properties.
  • 1 Drop Vitamin E Oil: Nourishes the scalp and prevents hair breakage.
  • 1 tbsp Rinse-out Conditioner (Optional): Adds extra conditioning if needed.
  • Small Mixing Bowl: For preparing the mask.
  • Plastic Cap: To cover your hair during the treatment.

Note: Adjust the quantities proportionally if you have longer hair.

Steps to Prepare

1. In a small mixing bowl, combine 1 tablespoon of mayonnaise, 1 beaten egg, 1 teaspoon of cold-pressed castor oil, 1 to 2 teaspoons of olive oil, and 1 drop of vitamin E oil.

2. Stir the mixture thoroughly until all ingredients are well combined.

3. Before applying the mask, ensure that your hair is washed and clean.

4. Apply the mixture to damp hair. Massage it thoroughly into every part of your hair and scalp for maximum penetration.

5. Cover your hair with a plastic cap to lock in the moisture and nutrients.

6. Leave the mask on for about 20-30 minutes, allowing the ingredients to deeply condition your hair.

Tip: When rinsing out the mask, use a rinse-out conditioner for added softness and manageability.

Benefits

This homemade hair mask offers multiple benefits:

  • Mayonnaise: Provides deep conditioning and adds a natural shine.
  • Egg: Rich in proteins and nutrients, it aids in hair repair and strength.
  • Castor Oil: Stimulates hair growth and adds volume.
  • Olive Oil: Moisturizes the scalp and hair, preventing dryness.
  • Vitamin E Oil: Strengthens the hair follicles and promotes a healthy scalp.

Regular use of this mask can lead to softer, stronger, and more lustrous hair. It’s a simple and effective way to treat your hair with the care it deserves, using ingredients from your kitchen.

Filed Under: Hair Care Tagged With: beauty tips, Castor Oil for Hair Growth, Cost-Effective Hair Solutions, DIY Hair Mask, Egg for Hair Strength, hair care, Homemade Hair Treatments, Mayonnaise Hair Mask, Natural hair care, Natural Hair Conditioners, Olive Oil Hair Benefits, Vitamin E for Hair

Hair Care Magic: DIY Green Tea and Aloe Vera Hair Treatment

February 1, 2024 by sharvayonibeauty Leave a Comment

In the quest for healthier, shinier hair, natural remedies have made a significant comeback. The DIY Green Tea and Aloe Vera Hair Treatment combines the best of nature’s offerings to rejuvenate your hair. This homemade concoction, leveraging the power of green tea, aloe vera, and essential oils, is not only cost-effective but also a chemical-free alternative to commercial hair care products.

Things Needed

To create this hair elixir, you need a few key ingredients, most of which may already be in your kitchen or easily available at your local store:

  • Aloe Vera Gel: Known for its soothing and moisturizing properties.
  • Green Tea: Rich in antioxidants, it helps in strengthening hair and stimulating growth.
  • Coconut Oil: Provides deep conditioning and promotes a healthy scalp.
  • Rosemary: Stimulates hair roots and increases circulation in the scalp.
  • Fresh Ginger: Known for its anti-inflammatory properties.
  • Your Favorite Essential Oil: Adds a pleasant fragrance and can have additional scalp and hair benefits depending on the oil chosen.
  • A saucepan, bowl, strainer, and spoon for preparation.

Steps to Prepare

1. Brew a hot cup of green tea.

2. Measure in coconut oil, rosemary, ginger, and aloe vera into the saucepan.

3. Stir the mixture together and return it to the heat.

4. Bring the concoction to a boil and let it simmer for about 5 minutes before removing it from the heat.

5. Set the mixture aside to cool down to a manageable temperature.

6. Strain out the tea bags, if any, and transfer the aloe vera liquid into a bowl.

7. Measure in your chosen essential oil and stir well to ensure it’s evenly distributed.

8. Apply the mixture to your hair, making sure to cover the ends well. Leave it on for 60 minutes.

9. Wash your hair with warm water and gently pat it dry.

Note: If coconut oil doesn’t suit your hair type, feel free to substitute it with another oil type that works better for you.

Benefits

This DIY hair treatment offers numerous benefits:

  • Green Tea: Its antioxidants can prevent hair loss and boost hair growth.
  • Aloe Vera: It acts as a natural conditioner, making your hair smooth and shiny.
  • Coconut Oil: Deeply penetrates hair follicles, promoting scalp health and adding luster to your hair.
  • Rosemary: Known to improve both hair thickness and hair growth.
  • Ginger: Its antiseptic properties help in dealing with dandruff.
  • Essential Oils: Depending on your choice, they can add a therapeutic scent and further enhance hair and scalp health.

Regular use of this treatment can lead to stronger, healthier, and more radiant hair. It’s a simple, natural way to give your hair the nourishment it deserves.

Filed Under: Hair Care Tagged With: Aloe Vera for Hair, beauty tips, Chemical-Free Hair Care, Coconut Oil Hair Benefits, DIY Hair Treatment, Essential Oils in Hair Care, Green Tea Hair Therapy, hair care, Homemade Hair Remedies, Natural hair care, Organic Hair Solutions, Rosemary for Hair Growth

Coconut Milk and Yogurt Hair Conditioner: A Natural Path to Silky Locks

January 31, 2024 by sharvayonibeauty Leave a Comment

In the quest for luscious, healthy hair, natural ingredients often prove to be the most effective. This homemade hair conditioner, crafted with coconut milk, olive oil, yogurt, and eggs, is a powerhouse of nutrients, offering deep conditioning benefits. Suitable for all hair types, this conditioner deeply moisturizes, strengthens, and revitalizes hair, making it an ideal choice for those seeking a natural alternative to commercial hair products.

Things Needed

Before you begin, ensure you have the following items:

  1. Coconut Milk: ½ cup, for hydration and nourishment.
  2. Olive Oil: 2 tablespoons, for moisturizing and strengthening.
  3. Yogurt: 1 to 2 cups, depending on desired thickness.
  4. Eggs: 2, beaten, for protein and shine.
  5. Small Mixing Bowl: To combine the ingredients.
  6. Whisk or Spoon: For stirring the mixture.
  7. Shower Cap or Plastic Cap: To cover hair during treatment.
  8. Shampoo and Conditioner: For washing off the conditioner.
  9. Towel: To dry hair.

Steps to Prepare

Creating this coconut milk and yogurt hair conditioner is a simple process:

  1. Mix Oil and Eggs: In the small mixing bowl, combine 2 tablespoons of olive oil with two beaten eggs. The oil and eggs form the base of your conditioner.
  2. Add Coconut Milk and Yogurt: Stir in ½ cup of coconut milk. Gradually add 1 to 2 cups of yogurt until you reach the desired level of conditioner’s thickness.
  3. Achieve Creamy Consistency: Whisk the mixture until it reaches a rich, creamy consistency. Ensure the ingredients are well combined.
  4. Apply to Hair: Apply the conditioner to your hair, focusing on covering each strand from roots to ends.
  5. Cover and Wait: Place a shower cap over your hair and leave the conditioner on for 30 to 60 minutes. This allows the nutrients to penetrate deeply.
  6. Rinse Thoroughly: Wash the conditioner out of your hair using shampoo, then follow up with your regular conditioner.
  7. Dry Gently: Pat your hair dry with a towel.

Benefits

This homemade hair conditioner offers numerous benefits:

  1. Deep Moisturization: Coconut milk and olive oil provide intense hydration, making it ideal for dry or brittle hair.
  2. Strengthens Hair: The protein in eggs helps strengthen hair strands, reducing breakage.
  3. Improves Hair Texture: Regular use leads to softer, more manageable hair.
  4. Scalp Health: Yogurt is beneficial for the scalp, helping to reduce dandruff and soothe irritation.
  5. Natural and Safe: Using kitchen ingredients ensures a chemical-free treatment, suitable for all hair types.
  6. Customizable: You can adjust the amount of yogurt to achieve the desired thickness and consistency.
  7. Cost-Effective: Making your own hair conditioner is more economical than purchasing high-end treatments.
  8. Eco-Friendly: Natural, biodegradable ingredients make this treatment environmentally friendly.

Conclusion

Incorporating this coconut milk and yogurt hair conditioner into your routine is an excellent way to naturally nourish and rejuvenate your hair. Its blend of natural ingredients ensures that your hair receives the moisture, nutrients, and care it deserves. Regular use of this conditioner can lead to healthier, stronger, and more vibrant hair, showcasing the beauty of natural hair care solutions.

Filed Under: Hair Care Tagged With: beauty tips, coconut milk, cost-effective, DIY, Eco-friendly, hair care, hair conditioner, Hair hydration, Healthy locks, Natural hair care, Strengthens hair, yogurt

Pre-wash White Vinegar Tonic for Scalp Health

January 30, 2024 by sharvayonibeauty Leave a Comment

A healthy scalp is the foundation for healthy hair. Issues like itchy scalp, dandruff, and fungal infections can be both uncomfortable and embarrassing. A natural solution to these problems is a pre-wash white vinegar tonic. This article will guide you through creating and using this simple yet effective tonic for maintaining scalp health.

Understanding Scalp Issues and Natural Remedies

Scalp problems like dandruff, itchiness, and fungal infections can be caused by various factors, including oil buildup, dry skin, and microbial growth. White vinegar, with its acidic nature and antimicrobial properties, can be an effective remedy.

Things Needed

  • ½ cup of white vinegar.
  • ½ cup of water.

Steps to Prepare

  1. Creating the Tonic: In a container, mix equal parts of white vinegar and water.

How to Apply

  • Pour the vinegar and water mixture directly onto your scalp.
  • Gently massage the tonic into your scalp to ensure it covers all areas.
  • Leave the tonic on your scalp overnight for optimal effectiveness.
  • The next day, wash your hair with an anti-dandruff shampoo.

Benefits

  • Combats Dandruff: Vinegar’s acidic nature helps balance the scalp’s pH, reducing dandruff.
  • Soothes Itchy Scalp: Provides relief from itchiness caused by dryness or fungal infections.
  • Antifungal Properties: Helps in treating and preventing fungal scalp infections.
  • Cleanses Scalp: Effectively removes product buildup and excess oil.

Precautions

  • Dilute the vinegar adequately to avoid scalp irritation.
  • Conduct a patch test to ensure you don’t have an allergic reaction to vinegar.
  • Avoid using on broken or irritated skin.

Tips for Enhanced Effectiveness

  • Use organic, unpasteurized white vinegar for more natural benefits.
  • Rinse your hair thoroughly after using the tonic to remove all traces of vinegar.
  • Follow up with a conditioner to restore moisture to your hair.

Additional Insights: Holistic Scalp Care

Incorporating a balanced diet and proper hair care routine complements the use of natural remedies like the white vinegar tonic.

Conclusion

The pre-wash white vinegar tonic is a straightforward, natural solution for common scalp issues like dandruff, itchiness, and fungal infections. By integrating this treatment into your regular hair care regimen, you can maintain a healthy, balanced scalp. Remember, consistent care and understanding the needs of your scalp are essential for achieving optimal scalp health.

Filed Under: Hair Care Tagged With: anti-dandruff shampoo, beauty tips, DIY Scalp Care, effective scalp treatment, fungal scalp infections, hair care, Hair Care Routine, itchy scalp treatment, natural dandruff remedy, Natural Hair Remedies, overnight scalp treatment, pre-wash vinegar tonic, scalp health, scalp massage techniques, soothing scalp tonic, vinegar for hair health, white vinegar benefits

Calendula and Coconut Oil Hair Treatment: A Natural Remedy for Hair Revitalization

January 30, 2024 by sharvayonibeauty Leave a Comment

In the pursuit of healthy, radiant hair, natural oils play a pivotal role. This hair treatment recipe combines calendula oil and coconut oil, both renowned for their nourishing properties. Suitable for both damaged and normal hair, this treatment helps to repair, moisturize, and enhance hair’s natural shine. The simplicity of the ingredients makes it an accessible and effective solution for those looking to improve their hair’s health naturally.

Things Needed

Before you start, ensure you have the following items:

  1. Calendula Oil: 1 teaspoon, known for its healing properties.
  2. Coconut Oil: 1 tablespoon, for deep hydration.
  3. Small Mixing Bowl: To combine the oils.
  4. Double Boiler: For gentle heating of the oil mixture.
  5. Towel: To cover hair during treatment.
  6. Shampoo and Conditioner: For washing hair post-treatment.

Steps to Prepare

Creating this calendula and coconut oil hair treatment involves a few simple steps:

  1. Mix Oils: In the small mixing bowl, combine 1 teaspoon of calendula oil with 1 tablespoon of coconut oil.
  2. Melt the Mixture: Transfer the oil mixture to a double boiler. Heat the mixture over medium-low heat until the coconut oil has melted completely.
  3. Cool the Mixture: Once melted, remove the mixture from heat and allow it to cool slightly. Ensure it’s warm but not too hot to apply to your scalp.
  4. Apply to Hair: Gently apply the warm oil mixture to your hair, making sure to cover from roots to tips.
  5. Cover with a Towel: Wrap your hair with a towel and let the treatment sit for about 5 minutes. This allows the oils to penetrate deeply into the hair follicles and scalp.
  6. Rinse Thoroughly: Wash off the treatment with warm water, then shampoo and condition as usual.
  7. Dry Gently: Pat your hair dry with a towel.

Benefits

The calendula and coconut oil hair treatment offers several benefits:

  1. Restores Moisture: Coconut oil deeply moisturizes the hair, making it ideal for dry or damaged hair.
  2. Promotes Scalp Health: Calendula oil is beneficial for scalp health, soothing irritation and promoting healing.
  3. Strengthens Hair: Regular use of this treatment can strengthen hair follicles, reducing breakage and promoting healthier growth.
  4. Enhances Shine: This natural oil combination adds a beautiful shine to your hair.
  5. Simple and Natural: The treatment uses just two natural ingredients, free from any chemicals or additives.
  6. Versatile Use: Suitable for both damaged and normal hair, this treatment can be used as part of any hair care routine.
  7. Cost-Effective: Using simple ingredients, this treatment is an affordable alternative to commercial hair products.
  8. Eco-Friendly: Natural, biodegradable ingredients make this treatment environmentally friendly.

Conclusion

Incorporating this calendula and coconut oil hair treatment into your routine is an excellent way to naturally nourish and rejuvenate your hair. Its healing and moisturizing properties make it a potent remedy for damaged hair while being gentle enough for regular maintenance. Simple to prepare and apply, this treatment is a testament to the power of natural ingredients in achieving healthy, radiant hair.

Filed Under: Hair Care Tagged With: beauty tips, Calendula Oil Hair Treatment, Coconut Oil for Hair, DIY Hair Repair, Easy Hair Treatments, Eco-Friendly Hair Solutions, hair care, Hair Health Improvement, Hair shine enhancement, Moisturizing Hair Remedies, Natural hair care, Scalp Nourishment

  • « Go to Previous Page
  • Page 1
  • Interim pages omitted …
  • Page 21
  • Page 22
  • Page 23
  • Page 24
  • Page 25
  • Interim pages omitted …
  • Page 56
  • Go to Next Page »

Primary Sidebar

Looking for something?

Connect with us online

  • Email
  • Facebook

Popular Posts!

Coconut Oil Blonde Hair Color Base: Achieving Natural Radiance

Styling Cream Moisturizer: Your Hair’s New Best Friend

Get Strong Hair Naturally using Curd and Green Gram Powder

Homemade Herbal Hair Conditioner: A Customized Treat for Your Locks

Delaying Wrinkles with Proper Skincare: The Power of Cream and Honey Face Mask

Categories

  • Hair Care
  • Health and Wellness
  • Skin Care

Tags

beauty benefits beauty tips Chemical-Free Hair Care coconut oil curd curry leaves dark circles DIY Hair Care egg exfoliation eye care glowing skin hair care Hair Care Routine hair care tips hair growth Hair health Hair Health Improvement hair loss Hair Nourishment Hair Strengthening health and wellness honey hydration lemon lemon juice milk natural beauty natural conditioner natural face mask Natural hair care Natural Hair Growth Natural Hair Remedies natural ingredients natural remedies Natural remedy natural skincare olive oil radiant complexion radiant skin scalp health Scalp Nourishment skin care skincare skincare routine

© 2026 · Sharvayoni · Privacy Policy · Disclaimer