• Skip to main content
  • Skip to primary sidebar
  • HOME
  • SKIN CARE
  • HAIR CARE
  • HEALTH AND WELLNESS
  • CONTACT US

Sharvayoni

Unearth Nature's Magic - Your Path to Herbal Radiance and Wellnes

healthy hair

Styling Cream Moisturizer: Your Hair’s New Best Friend

March 24, 2024 by sharvayonibeauty Leave a Comment

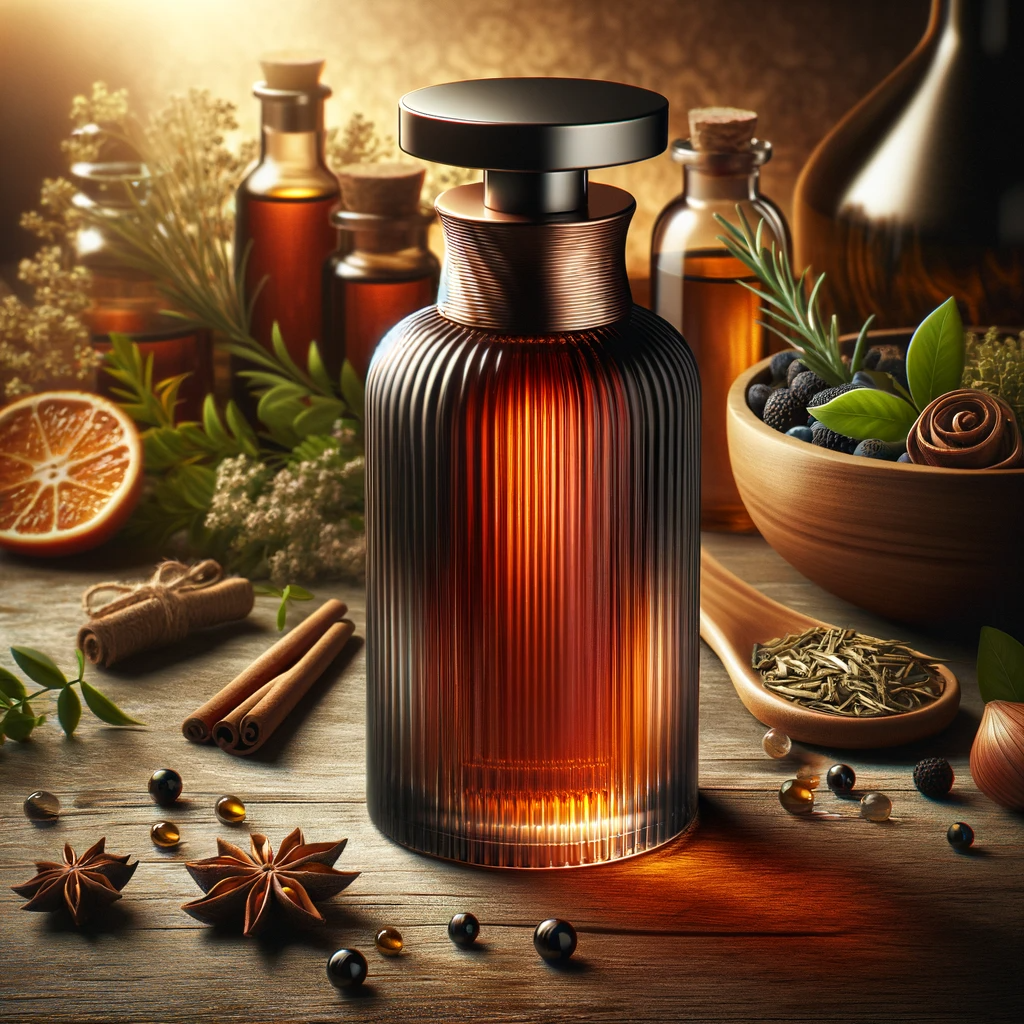
Achieving the perfect hairstyle often requires the use of styling products, but many of these products on the market are loaded with chemicals that can leave your hair dry and damaged. What if there was a way to style your hair while also nourishing it with natural ingredients? Enter the Styling Cream Moisturizer, a versatile hair care product that combines the benefits of a moisturizing conditioner, aloe vera gel, and other natural goodies to help you achieve stunning styles while keeping your hair healthy. In this article, we’ll guide you through the process of making your own Styling Cream Moisturizer and uncover the many benefits it offers.

Things Needed

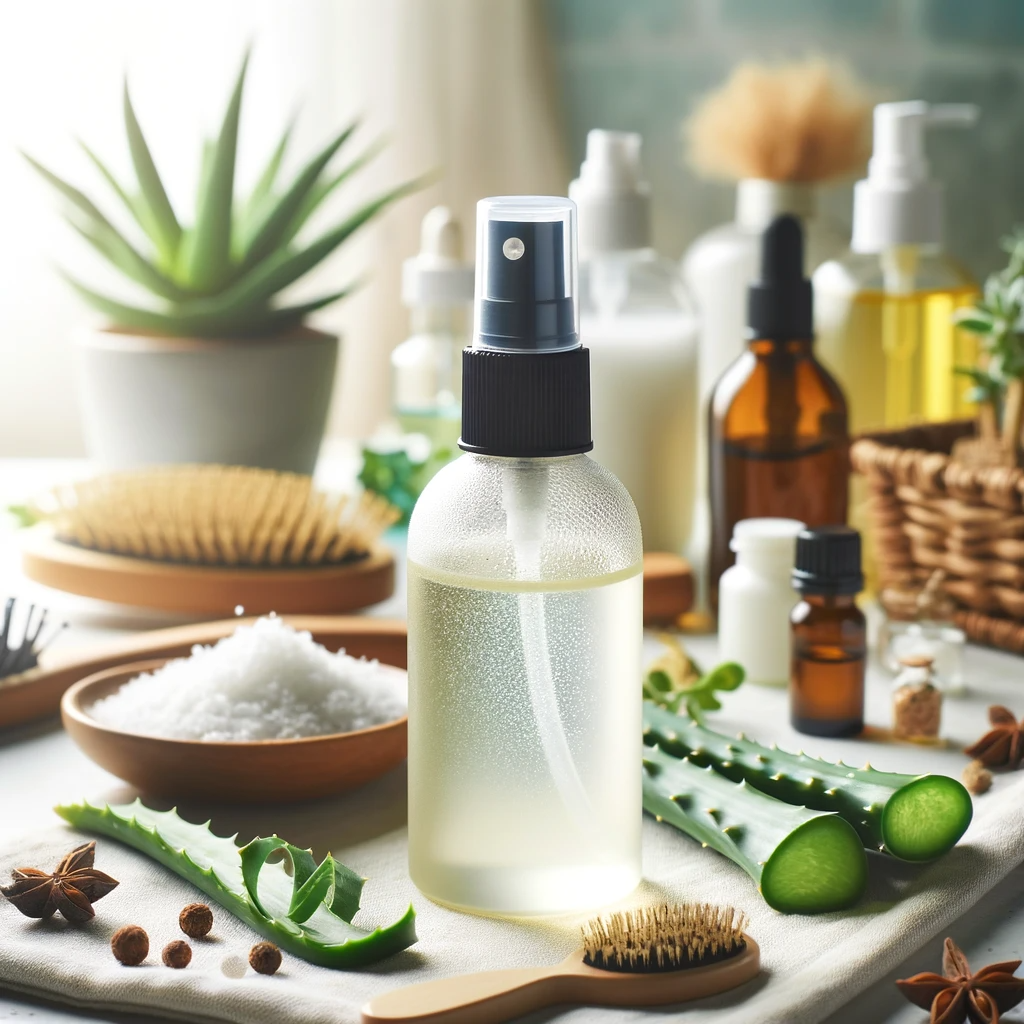
Before you embark on creating your Styling Cream Moisturizer, let’s gather all the necessary ingredients:

  • 6 tablespoons of your favorite moisturizing conditioner
  • 12 tablespoons of aloe vera gel
  • 2 pinches of cinnamon
  • ½ teaspoon of your preferred oil (extra virgin olive oil – EVOO – is an excellent choice)
  • 2 teaspoons of blue agave nectar
  • Tea tree or jasmine essential oils (for fragrance, optional)

Steps to Prepare

Creating your Styling Cream Moisturizer is a straightforward process. Follow these steps to make your hair’s new best friend:

1. In a small bowl, combine 6 tablespoons of your favorite moisturizing conditioner, 12 tablespoons of aloe vera gel, 2 pinches of cinnamon, ½ teaspoon of your preferred oil (EVOO is recommended), and 2 teaspoons of blue agave nectar.

2. Stir the mixture thoroughly until all the ingredients are well combined and you achieve a thick consistency.

Tip: The end result should be lighter than a traditional hair gel but thicker than an average styling cream.

3. Once you’ve achieved the desired consistency, transfer the mixture into a clean glass jar for storage.

Benefits

The Styling Cream Moisturizer offers numerous benefits for your hair care routine:

  • Chemical-Free Styling: Unlike many commercial styling products, this moisturizer is made from natural ingredients, reducing the risk of exposure to harmful chemicals.
  • Moisturizing Properties: With aloe vera gel and moisturizing conditioner as key components, this cream hydrates your hair, preventing dryness and frizz.
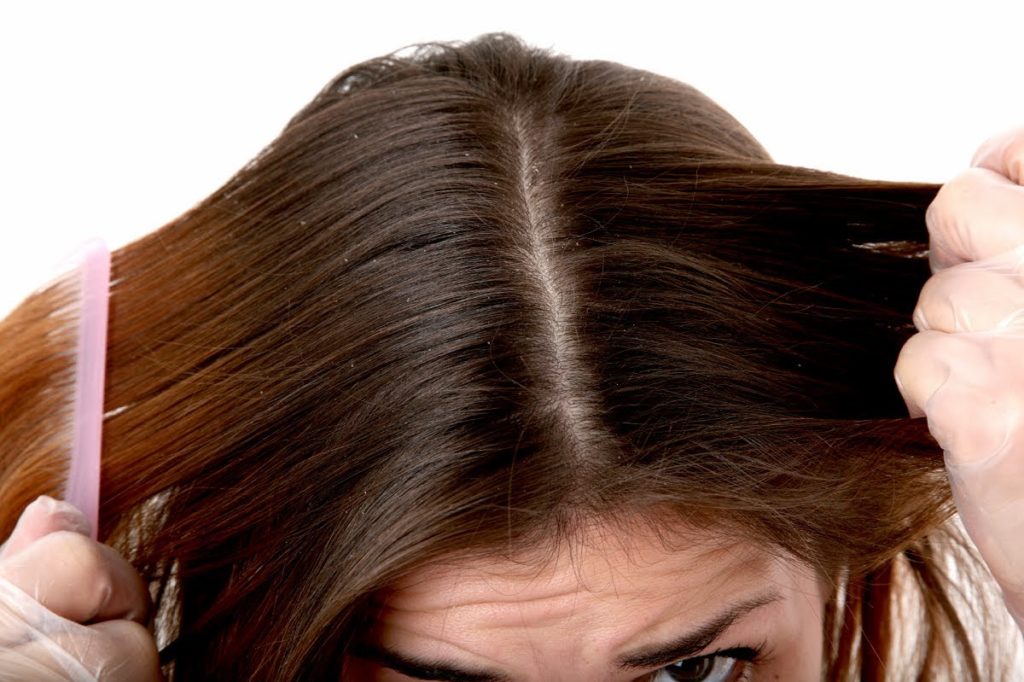
  • Styling Versatility: Use this moisturizer to create various hairstyles, from sleek and sophisticated to voluminous and textured.
  • Nutrient-Rich Ingredients: Ingredients like EVOO and blue agave nectar provide essential nutrients and promote hair health.
  • Customizable Fragrance: If desired, add tea tree or jasmine essential oils for a delightful fragrance that suits your preferences.

Conclusion

The Styling Cream Moisturizer is a game-changer in the world of hair care. It not only helps you achieve your desired hairstyles but also nourishes your hair with natural, wholesome ingredients. By making this moisturizer at home, you gain control over what you apply to your hair, eliminating the need for chemical-laden styling products. Say goodbye to dry and damaged hair and hello to beautiful, healthy locks that can be styled with ease. Your hair deserves the best, and with Styling Cream Moisturizer, it’s only a jar away from perfection.

Filed Under: Hair Care Tagged With: aloe vera, beauty tips, Chemical-Free Hair Care, DIY hair products, EVOO, hair care, Hair hydration, hair styling, healthy hair, homemade hair cream, moisturizing conditioner, Natural hair care, Styling Cream Moisturizer

Hair Refreshing Styling Spray: Your Natural Hair Elixir

March 22, 2024 by sharvayonibeauty Leave a Comment

Styling our hair often involves a variety of products, many of which are packed with chemicals that can leave our locks dry and damaged. What if you could refresh and style your hair using natural ingredients that not only enhance your look but also nourish your hair? Enter the Hair Refreshing Styling Spray, a versatile hair care product that combines Epsom salt, aloe vera gel, and more to give your hair a rejuvenating boost. In this article, we will guide you through creating your very own Hair Refreshing Styling Spray, exploring the ingredients, steps, and the numerous benefits it offers to your hair.

Things Needed

Before we delve into creating this refreshing styling spray, let’s gather the essential ingredients:

  • 2 teaspoons Epsom salt
  • 1 cup hot water
  • 1/3 cup aloe vera gel
  • 1 tablespoon jojoba or olive oil
  • 2 tablespoons conditioner
  • Spray bottle for storage

Steps to Prepare

Making your own Hair Refreshing Styling Spray is a simple and rewarding process. Follow these steps to create your natural hair elixir:

1. In a mixing bowl, combine 2 teaspoons of Epsom salt, 1 cup of hot water, 1/3 cup of aloe vera gel, 1 tablespoon of jojoba or olive oil, and 2 tablespoons of conditioner.

2. Stir the mixture thoroughly to ensure all the ingredients are well combined.

3. Carefully transfer the mixture into a clean and empty spray bottle.

4. Before each use, give the bottle a vigorous shake to mix the ingredients properly.

5. Store the spray bottle in the refrigerator to maintain its freshness.

6. You can use this spray in two different ways:

  • a) After washing your hair, apply the spray to damp hair to style it as desired.
  • b) For a mid-day hair revival and refresh, spray it on dry hair to rejuvenate your locks.

Tip: In hot temperatures, consider omitting the oil and substituting it with a bit of honey and/or aloe vera juice to prevent any potential greasiness.

Note: Feel free to experiment and tweak the ingredients to suit your hair type. The effectiveness of this Hair Refreshing Styling Spray may vary depending on the brands of the products used, so don’t hesitate to find the perfect combination for your hair.

Benefits

The Hair Refreshing Styling Spray offers a range of benefits for your hair care routine:

  • Natural Ingredients: Made from natural components, this spray eliminates the need for harsh chemicals, reducing the risk of damage to your hair.
  • Revitalization: The Epsom salt and aloe vera gel help revitalize and rejuvenate your hair, giving it a fresh look.
  • Moisturizing Effect: Ingredients like jojoba or olive oil provide essential moisture, preventing dryness and promoting hair health.
  • Styling Versatility: Use this spray to style your hair after washing or to refresh your look during the day.
  • Customization: Feel free to customize the ingredients to suit your hair type and preferences.

Conclusion

The Hair Refreshing Styling Spray is a remarkable addition to your hair care routine. It not only helps you style your hair naturally but also provides nourishment and hydration to keep your locks healthy and vibrant. By crafting this spray at home, you have control over what goes into your hair, eliminating the need for chemical-laden styling products. Say goodbye to dry and damaged hair and welcome the refreshing and rejuvenating benefits of the Hair Refreshing Styling Spray. Your hair will thank you for the natural care and attention it deserves.

Filed Under: Hair Care Tagged With: aloe vera gel, beauty tips, Chemical-Free Hair Care, DIY hair products, epsom salt, hair care, hair moisture, Hair Refreshing Styling Spray, Hair Revitalization, hair styling, healthy hair, homemade hair spray, Jojoba oil, Natural hair care, olive oil

DIY Leave-in Conditioner: Nourish Your Hair Naturally

March 20, 2024 by sharvayonibeauty Leave a Comment

Maintaining healthy and vibrant hair is a goal shared by many. However, the battle against hair loss, dandruff, dryness, and an itchy scalp can be challenging. What if you could create a leave-in conditioner at home that not only fights these common hair issues but also promotes hair growth? This DIY Leave-in Conditioner is the answer to your hair care prayers. Packed with natural ingredients like lime juice, aloe, coconut milk, and essential oils, this conditioner provides your hair with the love and nourishment it deserves. In this article, we’ll guide you through creating this miraculous conditioner, detailing the ingredients, steps, and the numerous benefits it brings to your hair.

Things Needed

Before we embark on the journey of creating your DIY Leave-in Conditioner, let’s gather all the necessary ingredients:

  • 10 small squirts of Lime Juice
  • ½ cup of Aloe Juice and gel
  • 1 cup distilled water
  • Milk/Water from 1 coconut
  • 1 tablespoon of melted Shea butter
  • 1 tablespoon of melted Coconut Oil
  • 1 teaspoon of Olive oil
  • ½ teaspoon of Thyme oil
  • 1 teaspoon of Rosemary oil
  • Small bowl for mixing
  • Spoon for stirring
  • Spray bottle for storage

Steps to Prepare

Creating this nourishing leave-in conditioner is a straightforward process. Follow these steps to give your hair the care it deserves:

1. In a small bowl, combine 10 small squirts of lime juice, ½ cup of aloe juice and gel, 1 cup of distilled water, milk or water from 1 coconut, 1 tablespoon of melted shea butter, 1 tablespoon of melted coconut oil, 1 teaspoon of olive oil, ½ teaspoon of thyme oil, and 1 teaspoon of rosemary oil.

2. Mix the ingredients thoroughly until you achieve a smooth and consistent conditioner.

3. Once the conditioner is well mixed, transfer it into a clean spray bottle for easy application.

4. Apply the leave-in conditioner as you would a regular conditioner, ensuring your hair is well-covered.

Benefits

The DIY Leave-in Conditioner offers a multitude of benefits for your hair care routine:

  • Hair Loss Prevention: Ingredients like thyme and rosemary oil help prevent hair loss and promote healthy growth.
  • Dandruff Control: The natural components in this conditioner combat dandruff, leaving your scalp refreshed and flake-free.
  • Dryness Relief: Coconut milk, aloe, and essential oils provide essential moisture to combat dryness and an itchy scalp.
  • Hair Growth Promotion: The combination of natural ingredients promotes hair growth, giving your locks a lush and full appearance.
  • Nourishment: With shea butter, coconut oil, and olive oil, this conditioner provides vital nutrients to keep your hair healthy and strong.

Conclusion

The DIY Leave-in Conditioner is a true gem in the world of natural hair care. Not only does it address common hair concerns like dandruff, dryness, and hair loss, but it also promotes healthy hair growth. By creating this conditioner at home, you take control of what goes into your hair, eliminating the need for chemical-laden products. Say goodbye to hair issues and hello to the natural care and nourishment your hair deserves. Your hair will thank you for the love and attention it receives from this miraculous DIY conditioner.

Filed Under: Hair Care Tagged With: beauty tips, Chemical-Free Hair Care, dandruff control, DIY hair products, DIY Leave-in Conditioner, essential oils, hair care, hair conditioner, hair growth, Hair Loss Prevention, Hair Nourishment, healthy hair, homemade conditioner, Natural hair care

Coconut Oil Hair Conditioner: Natural Nourishment for Your Locks

March 16, 2024 by sharvayonibeauty Leave a Comment

Healthy and lustrous hair is a desire shared by many. Achieving beautiful hair doesn’t always require expensive products or complicated routines. Sometimes, simple and natural solutions can work wonders. Coconut oil, with its numerous benefits for hair, has long been a favorite in the world of natural hair care. This article introduces you to the Coconut Oil Hair Conditioner, a quick and easy DIY solution that can help you achieve the soft, shiny, and nourished hair you’ve always wanted. Whether you have thin or thick hair, this conditioner can be tailored to your needs. Join us as we explore the simplicity of this hair care ritual and its incredible benefits.

Things Needed

Before we delve into creating the Coconut Oil Hair Conditioner, let’s gather the few items you’ll need:

  • 1/4 teaspoon of coconut oil (for thinner, shorter hair) or 1/2 teaspoon of coconut oil (for thicker, longer hair)
  • Geranium and/or sandalwood essential oils (optional, for damaged or dry hair)

Steps to Prepare

Creating this natural hair conditioner is a breeze. Follow these straightforward steps for nourished and beautiful hair:

1. Start by warming the appropriate amount of coconut oil in your palms. You can adjust the quantity based on the thickness and length of your hair.

2. Once the coconut oil is warmed and in a liquid state, transfer it into the palm of your hands.

3. Apply the warmed coconut oil to your hair shaft and hair ends, gently smoothing it through your strands using your hands.

Tip: If you have damaged or dry hair that needs extra care, consider adding 3-4 drops of geranium and/or sandalwood essential oils to the coconut oil. These essential oils serve as leave-in and deep conditioners, providing additional nourishment and a delightful fragrance.

Benefits

The Coconut Oil Hair Conditioner offers numerous benefits for your hair and overall hair care routine:

  • Natural Nourishment: Coconut oil is packed with essential fatty acids and vitamins that provide deep nourishment to your hair, leaving it soft and shiny.
  • Protection: This conditioner creates a protective barrier for your hair, helping to prevent damage from environmental factors and styling tools.
  • Split End Prevention: Regular use of coconut oil can help prevent split ends and promote healthier hair growth.
  • Simplicity: With only one or two ingredients, this conditioner is simple to make and use, making it a convenient addition to your hair care routine.
  • Customization: You can tailor the quantity of coconut oil and essential oils to your specific hair type and needs, ensuring it works perfectly for you.

Conclusion

Achieving beautiful and healthy hair doesn’t have to be complicated or expensive. The Coconut Oil Hair Conditioner is a simple yet effective DIY solution that provides natural nourishment, protection, and split end prevention for your locks. Whether you have short or long hair, thick or thin, this conditioner can be customized to suit your specific needs. By incorporating this easy and natural hair care ritual into your routine, you can enjoy the benefits of coconut oil and essential oils for softer, shinier, and more nourished hair. Say goodbye to expensive hair products and hello to the simplicity and beauty of natural hair care.

Filed Under: Hair Care Tagged With: beauty tips, coconut oil, DIY Hair Care, essential oils, hair care, hair conditioner, Hair Nourishment, hair protection, healthy hair, Homemade Hair Conditioner, Natural hair care, simple hair care, split end prevention

Simple yet Powerful Hair Pack for Fighting Dandruff: Harnessing the Anti-Fungal Properties of Shallots to Regulate Hair Growth

June 19, 2023 by sharvayonibeauty Leave a Comment

Dandruff can be a persistent and frustrating hair problem, but nature has provided us with powerful remedies to combat it. One such remedy is the use of shallots, which not only fight dandruff but also promote hair growth. In this article, we will explore the benefits of shallots for hair care and provide you with a step-by-step guide to preparing and using a shallot hair pack.

Benefits of Shallots for Hair

Before we delve into the hair pack recipe, let’s take a closer look at the remarkable benefits of shallots for hair health:

  1. Anti-Oxidant Properties:
    • Shallots are rich in antioxidants that help protect the hair follicles from damage caused by free radicals. This can prevent hair breakage and improve overall hair health.
  2. Anti-Bacterial and Anti-Viral Properties:
    • Shallots possess natural antibacterial and antiviral properties, which can help combat scalp infections that may contribute to dandruff and other scalp issues.
  3. Fights Dandruff:
    • The anti-fungal properties of shallots make them an effective remedy for dandruff. Regular use of shallots can help reduce scalp irritation, itching, and flaking associated with dandruff.
  4. Anti-Fungal Properties:
    • Shallots contain compounds that exhibit strong anti-fungal properties, making them an excellent natural remedy for fungal infections on the scalp.
  5. Promotes Hair Growth:
    • The nourishing properties of shallots can stimulate hair growth and improve the overall thickness and quality of the hair.

Preparing the Shallot Hair Pack

Now that we understand the benefits of shallots for hair, let’s learn how to prepare and use a simple yet powerful hair pack:

Step 1: Take some Shallots and Remove the Skin

Start by gathering a sufficient amount of shallots depending on the length and thickness of your hair. Peel off the skin of the shallots and collect them in a bowl.

Step 2: Grind the Shallots to a Paste

Transfer the peeled shallots to a grinder or blender and grind them into a smooth paste. It is essential not to add any water during the grinding process, as we want to retain the concentrated properties of the shallots.

Step 3: Add Gingelly Oil to the Paste

Once you have a smooth shallot paste, add some gingelly oil to it. Gingelly oil, also known as sesame oil, is highly beneficial for hair and scalp health. The oil will help enhance the effectiveness of the hair pack and provide additional nourishment to your hair.

Step 4: Mix the Paste Well

Thoroughly mix the shallot paste and gingelly oil until they are well combined. Ensure that the paste and oil are evenly distributed to create a consistent mixture.

Application and Usage

Now that your shallot hair pack is ready, it’s time to apply it to your hair. Follow these simple steps for best results:

  1. Start with Clean Hair:
    • Before applying the hair pack, ensure that your hair is clean and free from any product buildup or dirt. Wash your hair using a mild shampoo and gently towel-dry it.
  2. Apply the Hair Pack:
    • Take a generous amount of the shallot hair pack and apply it evenly to your hair, focusing on the scalp and the roots. Use your fingertips to massage the pack into your scalp gently. Ensure that all areas are covered.
  3. Leave it on for 20-30 Minutes:
    • Allow the hair pack to work its magic for about 20 to 30 minutes. During this time, the anti-fungal properties of the shallots will help fight dandruff, while the nourishing ingredients will penetrate the hair shaft and promote hair growth.
  4. Rinse and Shampoo:
    • After the recommended duration, rinse off the hair pack thoroughly with lukewarm water. Use a mild shampoo to wash your hair and remove any residue.
  5. Repeat Once a Week:
    • For optimal results, apply this shallot hair pack once a week. Consistency is key in combating dandruff and promoting healthy hair growth.

Conclusion

The natural properties of shallots make them a valuable ingredient for fighting dandruff and promoting hair growth. By harnessing the anti-fungal, anti-bacterial, and antioxidant properties of shallots, you can achieve a dandruff-free scalp and healthier hair. Incorporate this simple yet powerful hair pack into your hair care routine and enjoy the benefits of beautiful, lustrous locks. Remember to be consistent and patient, as natural remedies often require time to show their full effects. Say goodbye to dandruff and embrace vibrant, healthy hair with the help of shallots!

Check the video for the detailed explanation of the steps to make hair pack.

Filed Under: Hair Care Tagged With: anti dandruff, anti-bacterial properties, Anti-fungal properties, dandruff-free scalp, fighting dandruff, gingelly oil, hair care, hair growth, healthy hair, natural remedy for dandruff, promoting hair health, shallot hair pack, shallot paste, step-by-step guide

  • Page 1
  • Page 2
  • Go to Next Page »

Primary Sidebar

Looking for something?

Connect with us online

  • Email
  • Facebook

Popular Posts!

Unlocking Strawberry Ginger Blonde: Chamomile and Lemon Juice Recipe

Removing Unwanted Body Hair Naturally: Alum and Rose Water Remedy

The Natural Remedy for Dry and Frizzy Hair: Avocado Paste

Red Clay Face Pack: A Natural Beauty Elixir

Mustard Oil for Hydrating Dry Skin

Categories

  • Hair Care
  • Health and Wellness
  • Skin Care

Tags

beauty benefits beauty tips Chemical-Free Hair Care coconut oil curd curry leaves dark circles DIY Hair Care egg exfoliation eye care glowing skin hair care Hair Care Routine hair care tips hair growth Hair health Hair Health Improvement hair loss Hair Nourishment Hair Strengthening health and wellness honey hydration lemon lemon juice milk natural beauty natural conditioner natural face mask Natural hair care Natural Hair Growth Natural Hair Remedies natural ingredients natural remedies Natural remedy natural skincare olive oil radiant complexion radiant skin scalp health Scalp Nourishment skin care skincare skincare routine

© 2026 · Sharvayoni · Privacy Policy · Disclaimer