• Skip to main content
  • Skip to primary sidebar
  • HOME
  • SKIN CARE
  • HAIR CARE
  • HEALTH AND WELLNESS
  • CONTACT US

Sharvayoni

Unearth Nature's Magic - Your Path to Herbal Radiance and Wellnes

Homemade Hair Treatments

Crafting a Natural Hair Color with Cloves: A Versatile Approach

May 24, 2024 by sharvayonibeauty Leave a Comment

The natural hair color movement seeks alternatives to chemical dyes that can offer color enhancement without compromising hair health. Cloves, with their rich antioxidant and color-enhancing properties, present an intriguing option. Whether used alone or mixed with henna, cloves can impart a warm, subtle tone to the hair, making it a perfect solution for those looking for a gentle color boost or to cover up grays naturally.

Things Needed

  • 15 clove sticks
  • 1 ½ cups of warm water
  • 1 cup of red henna (optional)
  • A pot for warming water
  • A strainer
  • A bowl for mixing
  • Gloves (if using henna)
  • A shower cap (if using henna)

Steps to Prepare

Clove Water Preparation

  1. Warm the Water: Begin by warming 1 ½ cups of water in a pot and add the clove sticks. Allow the mixture to simmer for 20-30 minutes. This process extracts the essence and color of the cloves.
  2. Cool and Strain: After simmering, remove the pot from the heat and let the clove water cool to a comfortable temperature. Strain the mixture to remove the clove sticks, retaining the infused water for application.

Clove-Henna Mixture Preparation

  1. Prepare Clove Water: Follow the same steps as above to prepare your clove-infused water.
  2. Mix with Henna: In a separate bowl, gradually add the clove water to 1 cup of red henna, stirring continuously until you achieve a smooth, consistent paste. Allow the mixture to sit for an hour to enhance the dye release from the henna.

How to Apply

Clove Water Application

  • Apply After Shampooing: After shampooing and conditioning your hair, rinse it thoroughly and apply the clove water. Gently massage it into your scalp and hair, ensuring even coverage.

Clove-Henna Mixture Application

  • Apply to Clean Hair: With gloves on to avoid staining your hands, apply the clove-henna mixture to your hair. Use a brush or your fingers to ensure the mixture covers all strands evenly.
  • Cover and Wait: Wrap your hair with a shower cap and wait for 1-3 hours, depending on the desired intensity of the color.
  • Rinse: Rinse your hair thoroughly with water until it runs clear. Avoid shampooing immediately to allow the color to set.

Benefits

  • Natural Coloring: Both methods provide a natural way to enhance hair color, with cloves offering a subtle tint and henna a more pronounced hue.
  • Antioxidant Properties: Cloves are rich in antioxidants, which can help protect the scalp and hair from environmental damage.
  • Conditioning: Henna naturally conditions hair, leaving it smoother and stronger.

Precautions

  • Allergy Test: Conduct a patch test, especially if you’re using henna, to ensure you don’t have an allergic reaction.
  • Stain Prevention: Wear old clothes and use gloves when handling henna to avoid stains.

Tips

  • Enhance Color: For a stronger color payoff, consider increasing the simmering time of cloves in water.
  • Maintenance: Reapply the treatment every 2-4 weeks to maintain color intensity and cover new growth.
  • Hydration: Follow up with a deep conditioner or hair mask to keep your hair hydrated, especially if using the henna mixture.

Conclusion

Using cloves for natural hair coloring offers a versatile and health-conscious alternative to traditional dyes. Whether you’re seeking a slight tint or a deeper color transformation by incorporating henna, this method respects the integrity of your hair while providing the benefits of natural ingredients. By embracing the warmth and richness of cloves, individuals can enjoy a subtle enhancement to their natural hair color, along with the therapeutic benefits that come from using spices in beauty treatments.

Filed Under: Hair Care Tagged With: antioxidant hair care, beauty tips, chemical-free hair dye, cloves for hair color, DIY hair coloring, eco-friendly hair coloring, hair care, hair care tips, henna hair dye, Homemade Hair Treatments, natural beauty solutions, natural hair dye

Achieving Rich Black Hair Naturally: A Dual Approach

May 23, 2024 by sharvayonibeauty Leave a Comment

Transitioning to natural hair color solutions is not just a trend but a healthier choice for many. Among the options, black henna and the black walnut-black tea combination stand out for their effectiveness in achieving black hair. While black henna offers a straightforward method, the black walnut and black tea recipe provides a more traditional approach. Both recipes aim to deliver lasting color, enhance hair health, and minimize potential damage associated with synthetic dyes.

Recipe #1: Black Henna for Hair

Things Needed

  • 1 pack of black henna powder
  • Boiling water
  • Non-metallic mixing bowl
  • Gloves to prevent staining
  • Shower cap or plastic wrap
  • Hair conditioner

Steps to Prepare

  1. Boil Water: Start by boiling enough water to mix with the henna powder.
  2. Prepare Henna Mixture: Pour the boiling water into the black henna powder gradually, stirring until you achieve a smooth, consistent paste.
  3. Let it Cool: Allow the mixture to cool down to a comfortable temperature for application.

How to Apply

  • Apply to Hair: Wear gloves to avoid staining your hands and apply the henna mixture evenly to your hair, ensuring full coverage.
  • Cover and Wait: Cover your hair with a shower cap or plastic wrap and leave the mixture on for at least two hours for the color to develop fully.
  • Rinse and Condition: Rinse your hair thoroughly with water and follow up with a conditioner to moisturize.

Benefits

  • Natural coloring agent with minimal risk of damage
  • Conditions and strengthens hair
  • Long-lasting color

Precautions

  • Conduct a patch test to avoid allergic reactions.
  • Use gloves to prevent staining of hands.

Tips

  • Apply petroleum jelly around your hairline to prevent skin staining.
  • For deeper color, extend the duration before rinsing.

Recipe #2: Black Walnut and Black Tea for Hair

Things Needed

  • ¼ cup of black walnut powder
  • 3 black tea bags
  • 2 cups of water
  • Pot for boiling
  • Strainer or cheesecloth
  • Shower cap

Steps to Prepare

  1. Boil Black Tea: Boil the black tea bags in water for about 10 minutes.
  2. Mix with Black Walnut Powder: Remove the tea bags and pour the hot tea over the black walnut powder, stirring until well combined.

How to Apply

  • Apply to Wet Hair: After shampooing, apply the mixture to wet hair, ensuring even coverage.
  • Leave and Cover: Cover with a shower cap and leave the mixture on for a few hours to allow the color to penetrate.
  • Shampoo: Rinse out the mixture and shampoo your hair as usual.

Benefits

  • Provides a natural, dark tone to the hair
  • The tannins in black tea can add shine and enhance hair color
  • Black walnut is known for its strong natural dye properties

Precautions

  • Black walnut can stain skin and fabrics, so use gloves and old towels.
  • Conduct a patch test, especially if you have sensitive skin.

Tips

  • For a stronger color, you can leave the mixture on overnight.
  • Reapply every few weeks to maintain the color intensity.

Conclusion

Choosing a natural path to achieve black hair color offers not just a safer alternative to chemical dyes but also nourishes and enhances the health of your hair. Whether you prefer the simplicity of black henna or the traditional blend of black walnut and black tea, both recipes provide effective solutions to darkening your hair naturally. By following the detailed steps and tips provided, you can enjoy rich, vibrant black hair color, embracing the beauty of natural ingredients while maintaining the integrity of your hair’s health.

Filed Under: Hair Care Tagged With: beauty tips, black henna, black tea hair color, black walnut powder, chemical-free hair dye, DIY hair color, eco-friendly hair coloring, hair care, hair care tips, Homemade Hair Treatments, natural beauty solutions, natural hair dye

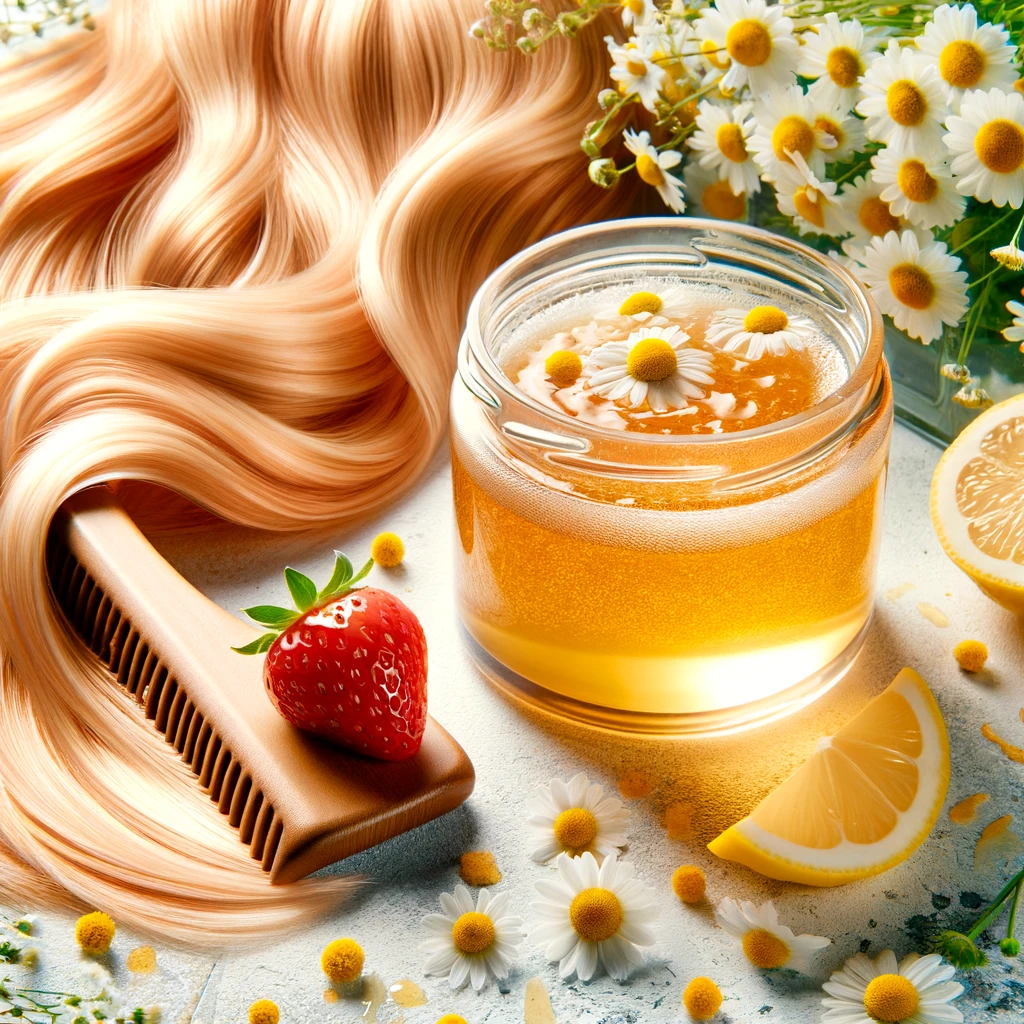
Unlocking Strawberry Ginger Blonde: Chamomile and Lemon Juice Recipe

May 22, 2024 by sharvayonibeauty Leave a Comment

The journey towards lighter hair shades naturally is not only about achieving a new look but also about maintaining hair health. The combination of chamomile and lemon juice offers a gentle yet effective means to subtly lighten hair, adding warm, strawberry ginger tones. This recipe is particularly suited for those with natural or oily hair, as lemon juice can be drying. Through this guide, you will learn the step-by-step process to achieve this desirable hair color naturally.

Things Needed

  • 1 cup of freshly brewed chamomile flower tea
  • ¼ cup of fresh lemon juice
  • A spray bottle for application
  • A comb or brush
  • Shower cap or plastic wrap (optional)
  • Sun exposure or a hairdryer

Steps to Prepare

  1. Brew Chamomile Tea: Start by steeping chamomile flowers in boiling water for about 10 minutes. This step extracts the lightening agents present in chamomile.
  2. Mix Ingredients: After the tea has cooled to a comfortable temperature, strain out the flowers. Combine 1 cup of this chamomile tea with ¼ cup of fresh lemon juice in a spray bottle. Shake well to ensure the mixture is thoroughly blended.

How to Apply

  1. Apply to Hair: Spray the chamomile and lemon mixture evenly throughout your hair, or apply it to specific sections where you want highlights. Ensure that your hair is damp but not dripping.
  2. Comb Through: Use a comb or brush to distribute the mixture evenly through your hair. This ensures that every strand is coated, promoting uniform lightening.
  3. Dry and Activate: For the best results, sit in the sun for 15-20 minutes to activate the lightening process. The UV rays enhance the effect of chamomile and lemon. Alternatively, use a hairdryer to heat your hair evenly.
  4. Don’t Rinse Immediately: Allow your hair to remain coated with the mixture for at least an hour before rinsing. This duration maximizes the lightening effect.

Benefits

  • Natural Lightening: This method provides a gentle way to achieve lighter tones without the damage associated with chemical dyes.
  • Enhanced Shine: Lemon juice can add a natural shine to your hair, leaving it looking vibrant and healthy.
  • Cost-Effective: Using kitchen and garden ingredients, this recipe is a cost-effective alternative to salon treatments.

Precautions

  • Dry Hair Caution: Given lemon juice’s drying properties, this recipe is not recommended for those with dry hair.
  • Patch Test: Always perform a patch test to ensure you don’t have an adverse reaction to the mixture.
  • Sun Protection: While sun exposure is recommended for activating the lightening effect, be mindful of protecting your skin with sunscreen.

Tips

  • Condition Well: After rinsing out the mixture, apply a deep conditioner or hair mask to counteract any potential drying effects from the lemon juice.
  • Repeat for Intensity: For more pronounced results, repeat the application several times, allowing a few days between treatments to monitor your hair’s condition.
  • Even Application: For an even lighter effect, ensure the mixture is thoroughly applied to all areas you wish to lighten.

Additional Considerations

Hair Texture and Health

Individuals with fine or particularly greasy hair might find this recipe especially beneficial, as the lemon juice helps manage oiliness while lightening the hair.

Longevity and Maintenance

The effects of this natural lightening process are gradual and require multiple applications for significant change. Regular treatments can help maintain the strawberry ginger blonde shade, but be mindful of your hair’s health and moisture levels.

Conclusion

Achieving a strawberry ginger blonde hair color naturally is a rewarding process that marries the gentle lightening effect of chamomile with the brightening power of lemon juice. This recipe offers a sustainable and health-conscious alternative to traditional hair coloring methods, ideal for those with natural to oily hair types. By following the steps outlined in this guide and paying heed to the provided tips and precautions, you can enjoy a beautiful, naturally lightened hair color that shines with the warm tones of summer.

Filed Under: Hair Care Tagged With: beauty tips, chamomile tea hair dye, chemical-free hair dye, DIY natural hair color, greasy hair remedies, hair care, Homemade Hair Treatments, lemon juice for hair, lightening hair naturally, natural beauty solutions, natural hair lightening, strawberry ginger blonde

Achieving Strawberry Ginger Blonde: A Natural Hair Tonic Recipe

May 21, 2024 by sharvayonibeauty Leave a Comment

The journey to lighter hair shades often involves harsh chemicals that can damage hair over time. However, nature offers its palette, capable of imparting beautiful colors without the adverse effects associated with synthetic dyes. The strawberry ginger blonde recipe is designed for individuals with medium to light brown or lighter hair, offering a way to achieve sun-kissed highlights with a hint of warm tones. This guide will walk you through the process, highlighting the simplicity and beauty of natural hair coloring.

Things Needed

  • 1 cup of chamomile flowers
  • 1 tablespoon of turmeric
  • 1 ½ cups of water
  • A pot for boiling
  • A strainer or cheesecloth
  • A spray bottle or applicator for easy application
  • A comb

Steps to Prepare

  1. Boil the Ingredients: Combine the chamomile flowers, turmeric, and water in a pot. Bring the mixture to a boil, then let it simmer for 15 to 20 minutes. This process allows the water to become infused with the coloring and lightening properties of the ingredients.
  2. Cool and Filter: Allow the mixture to cool to a manageable temperature. Then, using a strainer or cheesecloth, filter out the solid particles to obtain a clear tonic.
  3. Transfer to Applicator: Pour the filtered tonic into a spray bottle or another applicator for easy use. This preparation makes the application process smoother and more efficient.

How to Apply

  1. Shampoo and Condition: Start with clean, conditioned hair to ensure the tonic is absorbed evenly.
  2. Apply the Tonic: Spray or apply the tonic evenly across your hair, from roots to ends. Ensure thorough coverage for an even tone.
  3. Comb Through: Gently comb your hair to distribute the tonic evenly. This step also helps in detangling and preparing your hair for drying.
  4. Dry and Activate: To activate the tonic’s lightening effects, stay in the sun for 15 to 20 minutes or use a blow dryer. The heat or UV rays help to intensify the lightening process.
  5. Don’t Rinse: Leave the tonic in your hair without rinsing it out. This allows the active ingredients more time to impart their color to your hair.

Benefits

  • Natural Lightening: The chamomile and turmeric work together to naturally lighten hair and add warm tones, without the damaging effects of bleach or chemical dyes.
  • Conditioning Effects: Chamomile is known for its soothing and conditioning properties, leaving hair soft and healthy.
  • Cost-Effective: This method is significantly more affordable than salon treatments and commercial hair dyes.

Precautions

  • Hair Color Limitations: This recipe is most effective on medium to light brown or lighter hair colors. Darker hair may achieve a reddish tone instead.
  • Allergic Reactions: Conduct a patch test before applying the tonic to your entire head, especially if you have sensitive skin.

Tips

  • Consistency is Key: Repeat the application after every wash to gradually build up the desired color intensity.
  • Enhance Effects: For a more pronounced effect, increase the amount of turmeric slightly, but be cautious as it can impart a more vibrant hue.
  • Protect Your Skin and Clothes: Wear gloves and an old shirt during application to avoid staining.

Additional Insights

Customizing the Color

You can adjust the shade by playing with the ratio of chamomile to turmeric. More chamomile will emphasize lighter tones, while more turmeric will enhance the strawberry ginger effect.

Maintenance

To maintain the color, continue to apply the tonic regularly, as the natural dye will gradually fade over time, especially with frequent washing.

Conclusion

The quest for a strawberry ginger blonde hair color need not be laden with harsh chemicals and damaging processes. This natural recipe offers a gentle, effective alternative, imbuing hair with beautiful, sun-kissed highlights and warm tones. By embracing the power of chamomile and turmeric, individuals can enjoy a gradual and healthy color change, reflecting the beauty of nature in their hair. As with any hair color process, patience and consistency are key to achieving the best results, making this natural approach a rewarding journey to the perfect shade of strawberry ginger blonde.

Filed Under: Hair Care Tagged With: beauty tips, chamomile hair lightener, chemical-free hair coloring, DIY hair tonic, eco-friendly hair dye, hair care, Homemade Hair Treatments, light brown hair lightening, natural beauty solutions, natural hair dye, strawberry ginger blonde, turmeric hair color

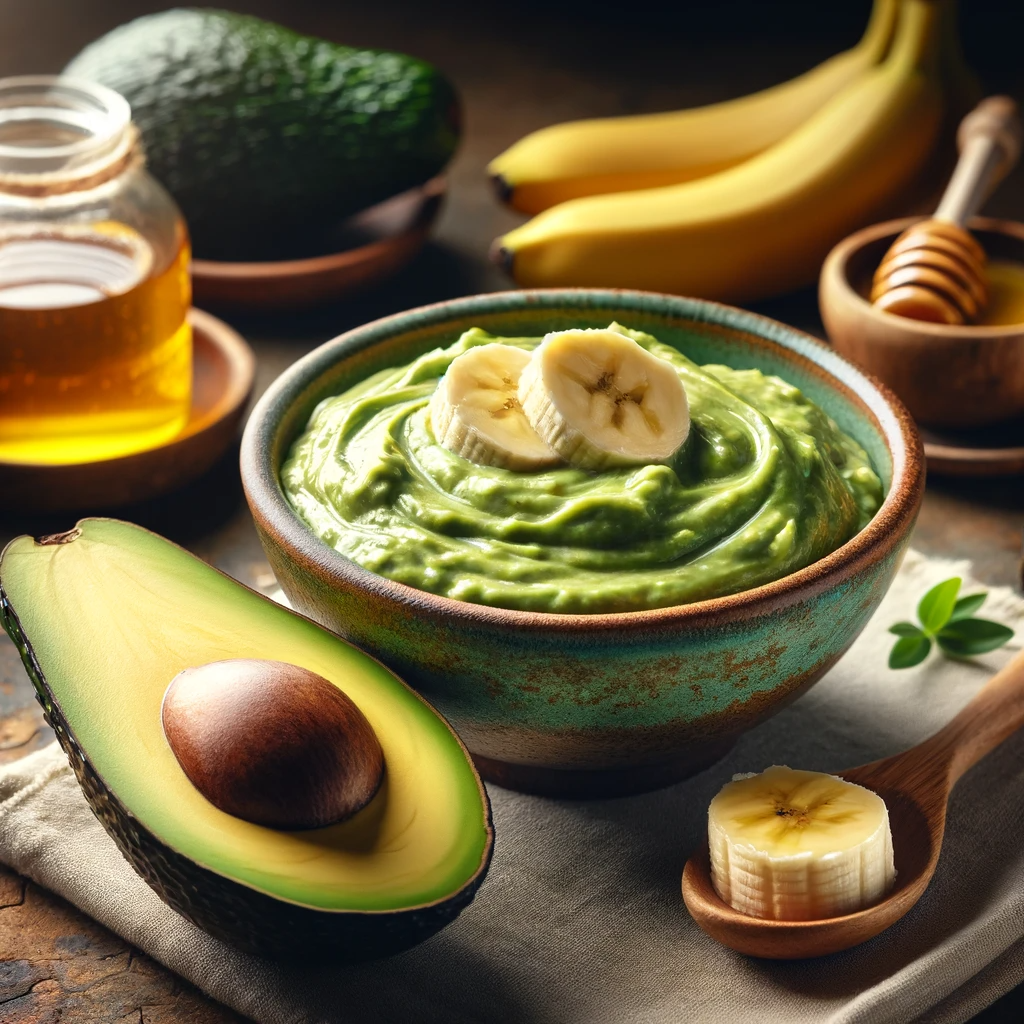
Nourishing Avocado and Banana Hair Mask: A Natural Treat for Your Hair

March 1, 2024 by sharvayonibeauty Leave a Comment

In the pursuit of healthy and vibrant hair, natural ingredients often provide the most nourishing solutions. This Avocado and Banana Hair Mask, enriched with shea butter and essential oils like tea tree and eucalyptus, is a powerhouse of nutrients and moisture for your hair. Ideal for all hair types, this mask aims to hydrate, strengthen, and revitalize your locks using the goodness of nature’s ingredients.

Things Needed

To prepare this hair mask, you will need:

  • 2 Avocados: Rich in vitamins and minerals, great for moisturizing.
  • 1-2 Bananas: Depending on hair length, for smoothness and shine.
  • 2 teaspoons Shea Butter: Provides deep conditioning.
  • 2-3 drops Tea Tree Oil: Known for its antimicrobial properties.
  • 1 drop Eucalyptus Oil: Stimulates the scalp.
  • Electric Blender or Food Processor: To create a smooth mixture.
  • Bowl: For mixing the ingredients.
  • Spoon: To stir in the oils.
  • Wide-tooth Comb: To comb the mask through your hair.
  • Mild Shampoo: For washing off the mask.

Steps to Prepare

1. Peel the avocados and bananas and place them in the electric blender or food processor. Add shea butter to the mix.

2. Blend the ingredients until you achieve a smooth, creamy consistency without any lumps.

3. Transfer the blended mixture into a bowl.

4. Add 2-3 drops of tea tree oil and 1 drop of eucalyptus oil to the avocado-banana mix. Stir well to ensure the oils are evenly distributed throughout the mask.

5. Apply the mask to your scalp and hair, massaging it in with your hands.

6. Use a wide-tooth comb to evenly distribute the mask through your hair.

7. Leave the mask on your hair for 5-10 minutes, allowing the nutrients to penetrate deeply.

8. Wash the mask out with a mild shampoo and gently pat your hair dry.

Benefits

The Avocado and Banana Hair Mask offers several advantages:

  • Moisturizes Hair: Avocado provides deep hydration to the hair.
  • Adds Shine and Smoothness: Banana helps in making the hair shiny and smooth.
  • Strengthens Hair: Shea butter deeply conditions and strengthens hair.
  • Scalp Health: Tea tree and eucalyptus oils promote a healthy scalp environment.
  • Natural and Chemical-Free: This mask is a healthy, natural alternative to commercial hair care products.

Conclusion

Creating your own Avocado and Banana Hair Mask is a simple and effective way to nourish your hair using natural ingredients. Regular use of this mask can transform your hair, leaving it hydrated, strong, and shiny. Embrace this natural remedy and enjoy the benefits of a homemade, nutrient-rich hair treatment.

Filed Under: Hair Care Tagged With: Avocado Hair Mask, Banana for Hair, beauty tips, DIY Hair Mask, Eucalyptus Oil in Hair Care, hair care, Hair Moisturization, Hair Shine and Smoothness, Hair Strengthening, Homemade Hair Treatments, Natural hair care, scalp health, Shea Butter Benefits, Tea Tree Oil for Scalp

  • Page 1
  • Page 2
  • Go to Next Page »

Primary Sidebar

Looking for something?

Connect with us online

  • Email
  • Facebook

Popular Posts!

Brighten Your Smile Naturally: Apple Cider Vinegar for Teeth Whitening

Natural Skin Tightening: A Guide to Reducing Wrinkles and Rejuvenating Your Skin

Egg Whites for the Shiny Hair

How To Brighten The Skin Using Orange Peel Powder

Enhancing Your Hair Color Naturally: Roselle, Saffron, and Henna

Categories

  • Hair Care
  • Health and Wellness
  • Skin Care

Tags

beauty benefits beauty tips Chemical-Free Hair Care coconut oil curd curry leaves dark circles DIY Hair Care egg exfoliation eye care glowing skin hair care Hair Care Routine hair care tips hair growth Hair health Hair Health Improvement hair loss Hair Nourishment Hair Strengthening health and wellness honey hydration lemon lemon juice milk natural beauty natural conditioner natural face mask Natural hair care Natural Hair Growth Natural Hair Remedies natural ingredients natural remedies Natural remedy natural skincare olive oil radiant complexion radiant skin scalp health Scalp Nourishment skin care skincare skincare routine

© 2025 · Sharvayoni · Privacy Policy · Disclaimer