• Skip to main content
  • Skip to primary sidebar
  • HOME
  • SKIN CARE
  • HAIR CARE
  • HEALTH AND WELLNESS
  • CONTACT US

Sharvayoni

Unearth Nature's Magic - Your Path to Herbal Radiance and Wellnes

Moisturization

Healthy Glowing Skin: A Natural Radiance with Curry Leaves and Curd

March 11, 2024 by sharvayonibeauty Leave a Comment

Achieving healthy and radiant skin doesn’t have to involve expensive skincare products or elaborate routines. Nature has provided us with simple yet effective ingredients that can work wonders for our skin. In this article, we’ll explore the goodness of curry leaves and curd to create a homemade face mask that promotes healthy and glowing skin. Discover the natural radiance that can be achieved with the Curry Leaves and Curd face mask.

Things Needed

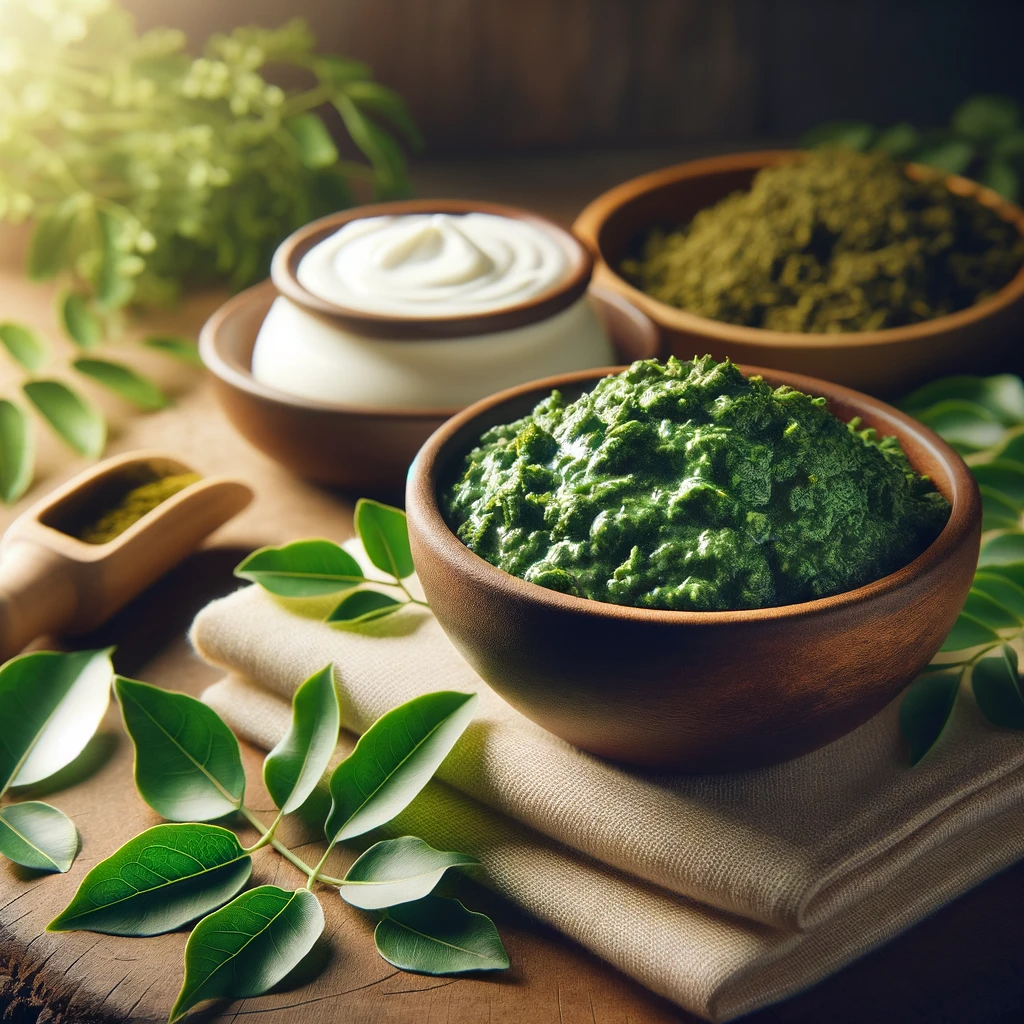
To create this nourishing face mask, you will need just two main ingredients:

  • One cup of fresh curry leaves
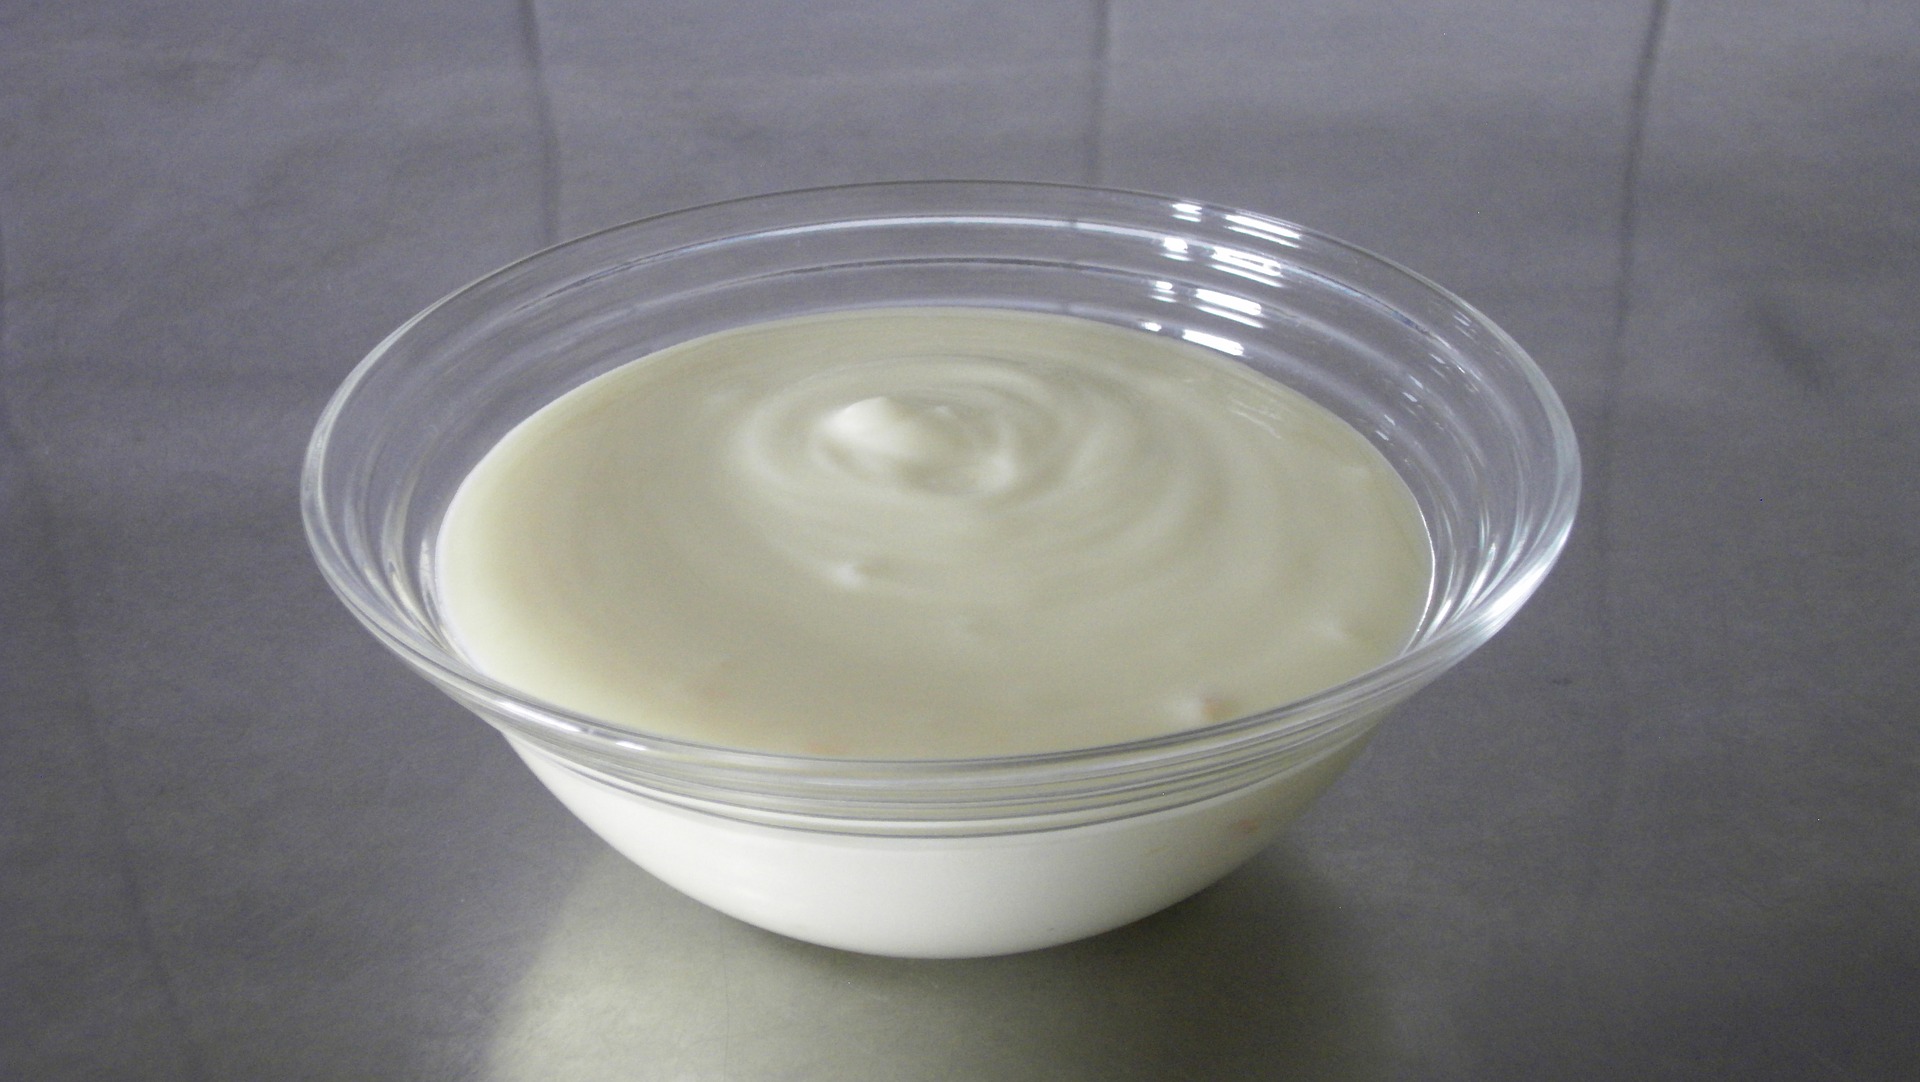
  • One spoonful of curd (yogurt)

Steps to Prepare

Creating the Curry Leaves and Curd face mask is a straightforward process. Follow these simple steps to harness the power of these natural ingredients for your skin:

1. Start by smashing the fresh curry leaves to create a smooth paste. You can use a mortar and pestle or any suitable method for this.

2. Once you have a paste-like consistency, add one spoonful of curd (yogurt) to the mixture.

3. Mix the curry leaves paste and curd thoroughly until they are well combined. You should have a consistent, smooth mixture.

4. Before applying the face mask, ensure that your face is clean and free of any makeup or impurities.

5. Apply this mixture directly to your face, covering it evenly. Avoid the delicate area around your eyes.

6. Allow the face mask to dry naturally for approximately 30 minutes. During this time, you may feel a slight tightening sensation, which is normal.

7. Once the face mask has completely dried, gently wash it off with lukewarm water. Refrain from using any soap or harsh cleansers.

Benefits

The use of the Curry Leaves and Curd face mask offers several benefits for your skin and overall skincare routine:

  • Dead Skin Removal: Curry leaves are known for their exfoliating properties, aiding in the removal of dead skin cells and providing a healthy and radiant complexion.
  • Moisturization: The inclusion of curd (yogurt) in the face mask moisturizes the skin, making it soft and supple. This moisturization contributes to a youthful and glowing appearance.
  • Natural and Chemical-Free: This face mask relies on natural ingredients, making it a safe and chemical-free solution for your skincare routine.
  • Radiant Skin: Regular use of this face mask can help you achieve healthy, glowing, and youthful-looking skin.

Conclusion

The Curry Leaves and Curd face mask offer a simple yet highly effective way to achieve healthy and glowing skin. Nature’s bounty provides us with powerful ingredients that can revitalize our complexion without the need for costly skincare products. By incorporating this face mask into your skincare routine regularly, you can expect visible improvements in the overall health and radiance of your skin. Say goodbye to dull and tired-looking skin and hello to the natural radiance and vitality brought to you by curry leaves and curd.

Filed Under: Skin Care Tagged With: beauty tips, curd, curry leaves, DIY skincare routine, exfoliation, glowing skin, healthy complexion, homemade face mask, Moisturization, natural skincare, radiant skin, skin care, youthful appearance

Nourish and Rejuvenate Your Hands with a Honey Scrub

July 5, 2023 by sharvayonibeauty Leave a Comment

Our hands are constantly exposed to environmental factors and daily activities, which can leave them feeling dry and rough. If you’re looking for a natural and effective way to nourish and rejuvenate your hands, a honey scrub is a fantastic option. With the combination of honey, coarse salt, and fresh herbs, this homemade scrub will leave your hands feeling soft, smooth, and revitalized. In this article, we will guide you through the process of creating and using a honey scrub for your hands, as well as provide a bonus hand mask recipe for an extra treat. Let’s dive in!

Ingredients for the Honey Scrub

To create the honey scrub, gather the following ingredients:

  • One tablespoon of honey
  • Two tablespoons of coarse salt
  • A sprig of fresh thyme
  • A sprig of fresh mint

These ingredients work together to exfoliate, moisturize, and rejuvenate your hands, leaving them feeling refreshed and renewed.

Preparation of the Honey Scrub

Follow these simple steps to prepare the honey scrub:

  1. In a porcelain pot or bowl, combine one tablespoon of honey and two tablespoons of coarse salt. Stir well to ensure the salt is evenly distributed throughout the honey.
  2. Take the sprig of fresh thyme and fresh mint and remove the leaves from the stems. Add the herb leaves to the honey and salt mixture.
  3. Mix all the ingredients together, ensuring that the herb leaves are well incorporated into the scrub. The combination of honey, salt, and herbs will create a nourishing and aromatic scrub for your hands.

Application of the Honey Scrub

Now that your honey scrub is ready, here’s how to use it effectively:

  1. Begin by wetting your hands with warm water. This will help to open up the pores and prepare your skin for exfoliation.
  2. Take a small amount of the honey scrub and gently massage it onto the top and bottom of your hands. Use circular motions to work the scrub into your skin, focusing on areas that are rough or in need of extra attention.
  3. Continue massaging the scrub for a few minutes, allowing the coarse salt to exfoliate and remove dead skin cells while the honey and herbs moisturize and nourish your hands.
  4. After thoroughly massaging the scrub, rinse your hands with warm water to remove any residue.
  5. Pat your hands dry with a clean towel, and feel the immediate difference in the texture and appearance of your skin.

Hand Mask for Extra Hydration

To further pamper your hands, try this simple hand mask:

  1. After rinsing off the honey scrub, take a small amount of your favorite hand cream or lotion and apply it generously to your hands.
  2. Gently massage the cream into your skin, focusing on any areas that are particularly dry or in need of extra hydration.
  3. Once the cream is applied, slip on a pair of cotton gloves or wrap your hands in plastic wrap.
  4. Allow the mask to work its magic for about 15-20 minutes, giving the cream ample time to deeply moisturize your hands.
  5. After the designated time, remove the gloves or plastic wrap and gently massage any remaining cream into your skin.

Conclusion

With the help of a honey scrub and a nourishing hand mask, you can effectively nourish and rejuvenate your hands. The combination of honey, coarse salt, and fresh herbs provides exfoliation, moisturization, and a refreshing scent. Give your hands the attention they deserve and indulge in the natural goodness of this homemade treatment. Say goodbye to dry, rough hands and hello to soft, smooth, and revitalized skin!

Filed Under: Skin Care Tagged With: beauty tips, coarse salt, exfoliation, fresh herbs, hand mask, hands, homemade, honey scrub, hydration, Moisturization, natural ingredients, Rejuvenation, skin care, smooth hands, soft hands

Strengthen Your Nails Naturally with Olive Oil: A Simple Guide

June 2, 2023 by sharvayonibeauty Leave a Comment

Are you tired of dealing with brittle nails that break easily, preventing you from achieving your desired nail length? There are various factors that can contribute to nail breakage, such as frequent exposure to water, rough handling of objects, or accidental cuts in the kitchen. The primary culprit behind brittle nails is dry and unhealthy cuticles and nail beds. To promote stronger and healthier nails, it’s essential to provide proper moisturization and care.

While the market is flooded with numerous nail care products, not all of them are trustworthy or cost-effective. Instead, you can turn to a natural and reliable solution that won’t strain your budget.

What You’ll Need:

  • Two tablespoons of olive oil

Instructions:

  1. Heat two tablespoons of olive oil in a bowl until it reaches a lukewarm temperature.
  2. Apply the warm oil to your cuticles and nail bed every night before going to bed.
  3. Repeat this process daily for optimal results.
  4. Make it a habit to follow this method every day to strengthen and enhance the health of your nails.

Why It Works:

Heated olive oil acts as an excellent oxidizing agent that effectively moisturizes the cuticles surrounding your nails. This moisturization promotes healthy nail growth. Olive oil contains vitamin E, which is highly moisturizing and easily absorbed, making it ideal for supporting nail growth. Additionally, olive oil aids in the absorption of calcium and improves bone mineralization and the calcification process. By incorporating this method into your regular routine, you’ll notice a significant improvement in the strength and vitality of your nails.

Furthermore, the absorption of calcium facilitated by olive oil contributes to enhanced bone health and overall well-being. So not only will your nails benefit from this natural treatment, but your overall bone health will also be positively impacted.

Say goodbye to weak and brittle nails by embracing the nourishing properties of olive oil. With its rich moisturizing qualities and ability to promote nail growth, you can achieve the strong and healthy nails you’ve always desired. Make this simple yet effective method a part of your daily routine, and watch as your nails transform into resilient and beautiful assets.

Filed Under: Health and Wellness Tagged With: beauty tips, CostEffective, CuticleCare, health and wellness, HealthyNails, HomeRemedy, Moisturization, NailCare, NailGrowth, NailHealth, nails, NaturalRemedy, olive oil, OliveOil, strong nails, StrongNails, tips for stronger nails

Unveiling the Beauty Benefits of Banana Peels: A Natural Remedy for Dark Circles

March 5, 2019 by sharvayonibeauty Leave a Comment

Banana peels, often discarded without a second thought, hold a treasure trove of beauty benefits that can transform your skincare routine. While bananas themselves are a common sight in Indian households, it’s time to discover the incredible potential hidden within their peels. In this article, we’ll delve into the surprising beauty benefits of banana peels, specifically their remarkable ability to reduce dark circles and infuse moisture into the skin.

Things Needed

Before we get started, you’ll need the following:

  • One fresh banana peel

Steps to Prepare

Unlock the potential of banana peels by following these simple steps:

  1. Banana Peel Application: Gently place the banana peel over your closed eyelids, ensuring it covers your eyes and the dark circles beneath them.
  2. Relaxation Time: Allow the banana peel to work its magic for approximately 30 minutes. This step is essential for the soothing and revitalizing effects to take hold.
  3. Gentle Removal: After the designated time has passed, delicately remove the banana peel from your eyes.
  4. Cool Rinse: Wash your eyes with cool water to refresh and rejuvenate the area.

Benefits

Understanding the science behind this natural remedy reveals its effectiveness:

1. Dark Circle Reduction: Dark circles often result from skin dryness and eye strain. Banana peels, particularly the inner surface, possess cooling properties that help reduce puffiness and eliminate dark circles. Regular application can lead to visible improvements.

2. Moisturization: The skin around your eyes is delicate and prone to dryness. Banana peels infuse much-needed moisture, leaving your skin feeling refreshed and revitalized.

3. Relaxation: Besides the visible benefits, the process itself provides a moment of relaxation. Taking a break to apply the banana peel soothes tired eyes and reduces eye strain, contributing to an overall sense of well-being.

Conclusion

Don’t underestimate the potential of banana peels in enhancing your beauty regimen. With their ability to combat dark circles, hydrate the skin, and offer a brief respite from the daily grind, banana peels are a natural and accessible solution to a common skincare concern. Incorporate this simple yet effective remedy into your routine, and say goodbye to dark circles while embracing the soothing benefits of banana peels. Your eyes will thank you for it.

Filed Under: Skin Care Tagged With: banana peel, banana peels, beauty benefits, beauty tips, dark circles, Eco-friendly, eye care, Moisturization, Natural remedy, skin care, skin hydration, skin rejuvenation, skincare, soothing

Banish Dark Circles with Curd and Honey: A Natural Remedy

February 28, 2019 by sharvayonibeauty Leave a Comment

Dark circles, those telltale signs of fatigue and stress, can mar the beauty of your eyes and face. One of the leading causes of dark circles is the dryness of the skin around the eyes, which can lead to puffiness. Fortunately, nature provides us with remedies to combat this issue. Among the many home remedies for dark circles, curd, and honey stand out as a powerful and natural solution. In this comprehensive guide, we will explore how to use curd and honey to effectively reduce dark circles, shedding light on the science behind their effectiveness.

Things Needed

Before we delve into the steps of preparing and applying this natural remedy, let’s ensure we have the necessary items:

  • One Spoon of Curd (Tamil: Thayir) / Milk Cream (Tamil: Paal Yedu)
  • One Spoon of Honey

With these readily available ingredients, let’s proceed to the steps of preparation and application.

Steps to Prepare

Follow these simple steps to create and apply the curd and honey treatment for dark circles:

Step 1: Curd and Honey Mixture

  1. Begin by taking curd in a small bowl.
  2. Add honey to the same bowl.
  3. Mix these two ingredients well to form a smooth and consistent mixture.

Step 2: Application

  1. Apply this mixture generously in and around the dark circles, ensuring that the affected areas are well covered.

Step 3: Waiting Period

  1. Leave the curd and honey mixture on your skin for approximately 20 minutes. During this time, the natural properties of these ingredients will work their magic.

Step 4: Thorough Rinsing

  1. After the 20-minute duration, thoroughly wash off the curd and honey mixture with cold water. Ensure that you remove all traces of the mixture from your skin.

Step 5: Consistency

  1. To achieve the best results, make it a daily routine to apply this treatment for one week. With consistent use, you should begin to notice that the skin around your eyes becomes noticeably softer and more supple, and your dark circles visibly reduced.

Why it Works

Understanding why the curd and honey treatment is effective in reducing dark circles requires a closer look at the properties of these natural ingredients:

  1. Curd’s Moisturizing Power: Curd is a natural moisturizing agent. It works by preventing the dryness of the skin, effectively moisturizing the dark circles and making the skin soft and supple.
  2. Enhanced Moisturization with Honey: The addition of honey to curd enhances its moisturizing properties. Honey’s antioxidant properties reduce the wrinkles caused by dark circles, promoting soft and wrinkle-free skin.

The combination of these natural properties makes curd and honey an exceptional remedy for dark circles.

Benefits

The curd and honey treatment offers several benefits:

  • Dark Circle Reduction: Curd and honey, with their moisturizing and antioxidant properties, effectively reduce the appearance of dark circles, giving your eyes a refreshed and youthful look.
  • Skin Moisturization: Curd’s natural moisturizing power prevents dryness of the skin, ensuring that the skin around your eyes remains soft and supple.
  • Wrinkle Reduction: Honey’s antioxidant properties help reduce wrinkles caused by dark circles, promoting smooth and youthful skin.
  • Natural and Safe: This remedy uses natural ingredients, making it a safe and chemical-free option for treating dark circles.

Conclusion

Embrace the natural beauty benefits of curd and honey as you bid farewell to dark circles and dry, tired-looking skin around your eyes. With their moisturizing and antioxidant properties, this remedy offers a rejuvenating solution for softer, suppler, and more youthful-looking skin. Make the curd and honey treatment a part of your daily skincare routine, and within one week, you’ll notice a visible reduction in your dark circles and a remarkable improvement in the texture of your skin. Rediscover the natural power of these ingredients and greet the world with brighter, more beautiful eyes.

Filed Under: Skin Care Tagged With: antioxidants, beauty, beauty tips, curd, dark circles, honey, Moisturization, Natural remedy, skin care, skin rejuvenation., skincare, youthful skin

Primary Sidebar

Looking for something?

Connect with us online

  • Email
  • Facebook

Popular Posts!

Natural Remedy to promote Hair growth and keep it Shiny

Tulsi leaf extract to get rid of pimples and burns

Unveiling the Beauty Benefits of Banana Peels: A Natural Remedy for Dark Circles

Herbal Compact Powder

Achieve Flawless Party-Ready Makeup with Herbal Compact Powder

Home Herbal Beauty Tips is now changed to Sharvayoni!

Categories

  • Hair Care
  • Health and Wellness
  • Skin Care

Tags

beauty benefits beauty tips Chemical-Free Hair Care coconut oil curd curry leaves dark circles DIY Hair Care egg exfoliation eye care glowing skin hair care Hair Care Routine hair care tips hair growth Hair health Hair Health Improvement hair loss Hair Nourishment Hair Strengthening health and wellness honey hydration lemon lemon juice milk natural beauty natural conditioner natural face mask Natural hair care Natural Hair Growth Natural Hair Remedies natural ingredients natural remedies Natural remedy natural skincare olive oil radiant complexion radiant skin scalp health Scalp Nourishment skin care skincare skincare routine

© 2025 · Sharvayoni · Privacy Policy · Disclaimer