• Skip to main content
  • Skip to primary sidebar
  • HOME
  • SKIN CARE
  • HAIR CARE
  • HEALTH AND WELLNESS
  • CONTACT US

Sharvayoni

Unearth Nature's Magic - Your Path to Herbal Radiance and Wellnes

home remedy

The Magic of Rice Water: An Effective Home Remedy for Dark Circles

June 19, 2023 by sharvayonibeauty Leave a Comment

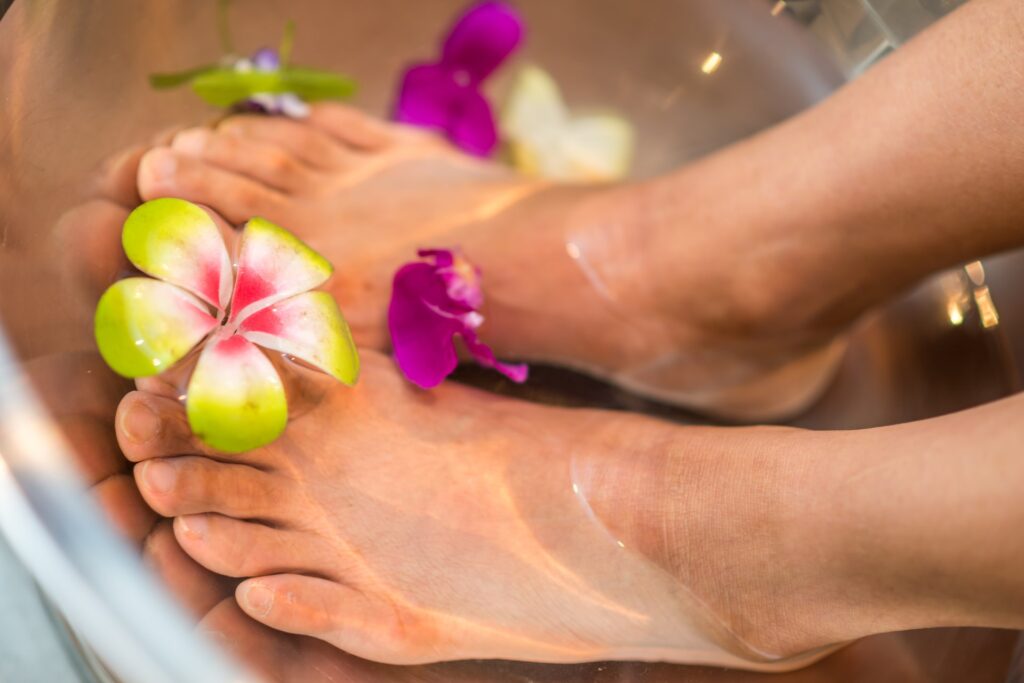
Dark circles can be a common beauty concern, and many people seek natural remedies to alleviate their appearance. One such remedy that has gained popularity is rice water. Rice water is known for its toning properties, making it an excellent solution for reducing dark circles. In this article, we will explore a home remedy that combines rice water with raw milk to maximize its effects and help you achieve brighter, revitalized under-eye skin.

Understanding the Ingredients

Before diving into the remedy, let’s take a closer look at the key ingredients and their benefits:
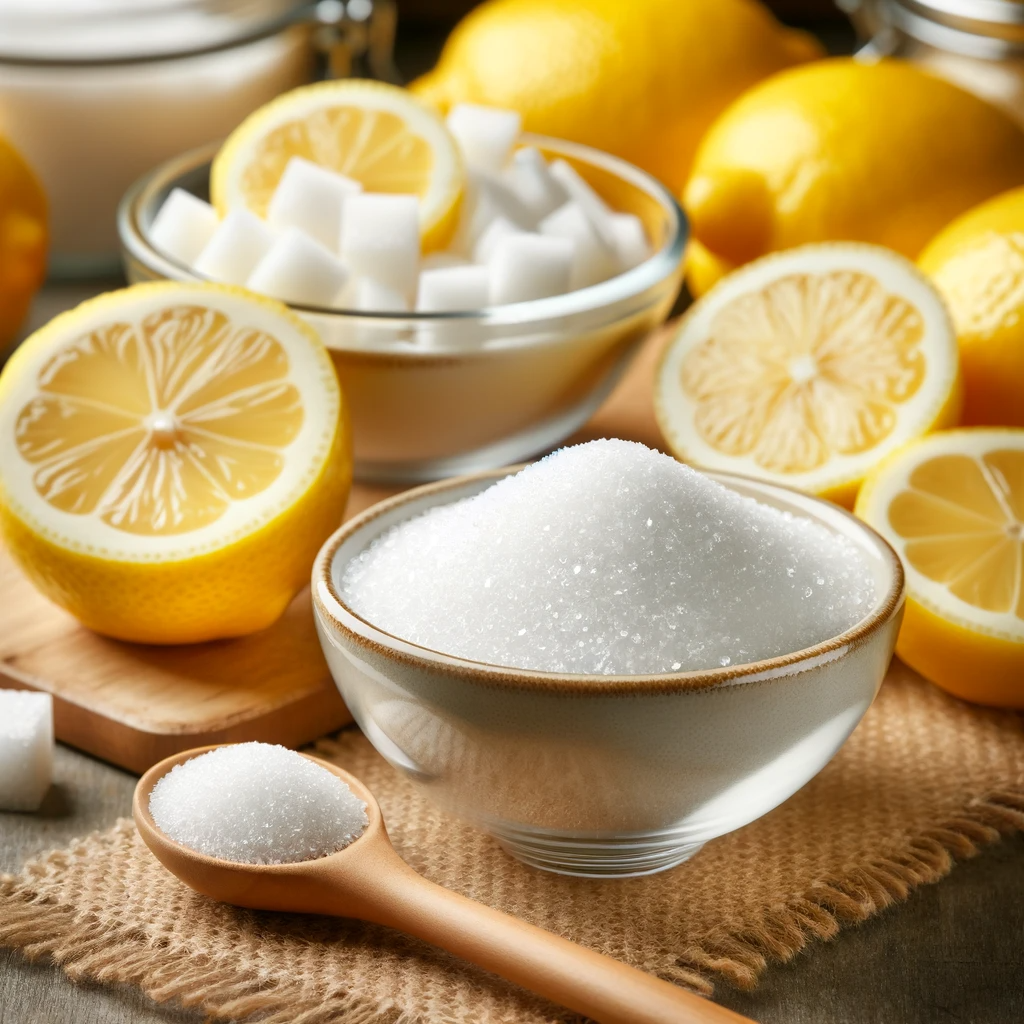
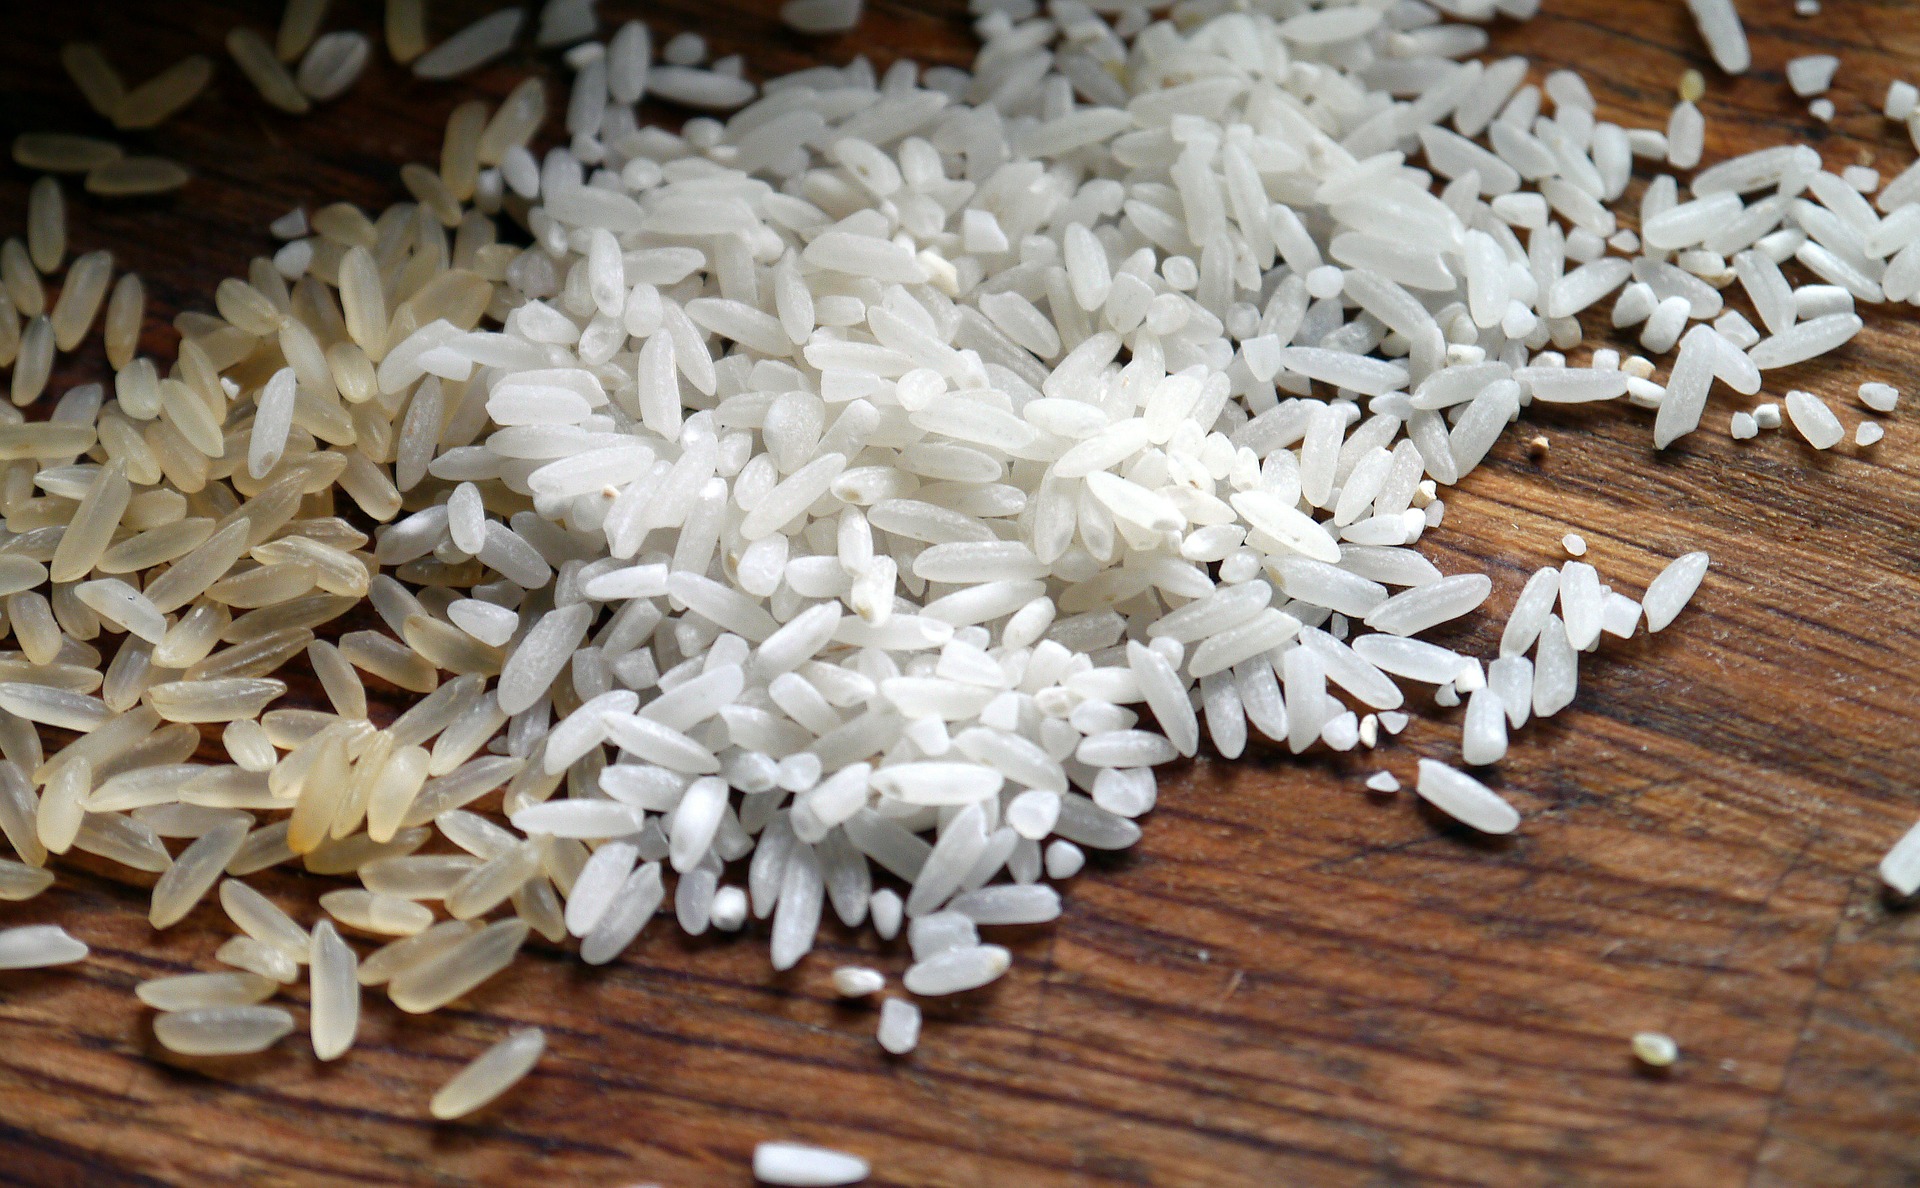
Rice Water:

Rice water is the starchy liquid that remains after boiling or soaking rice. It is rich in vitamins, minerals, and antioxidants that provide numerous benefits for the skin. When used as a toner, rice water helps tone the skin and reduce the appearance of dark circles. It also improves blood circulation, stimulates cell growth, and contributes to a supple and bright complexion.
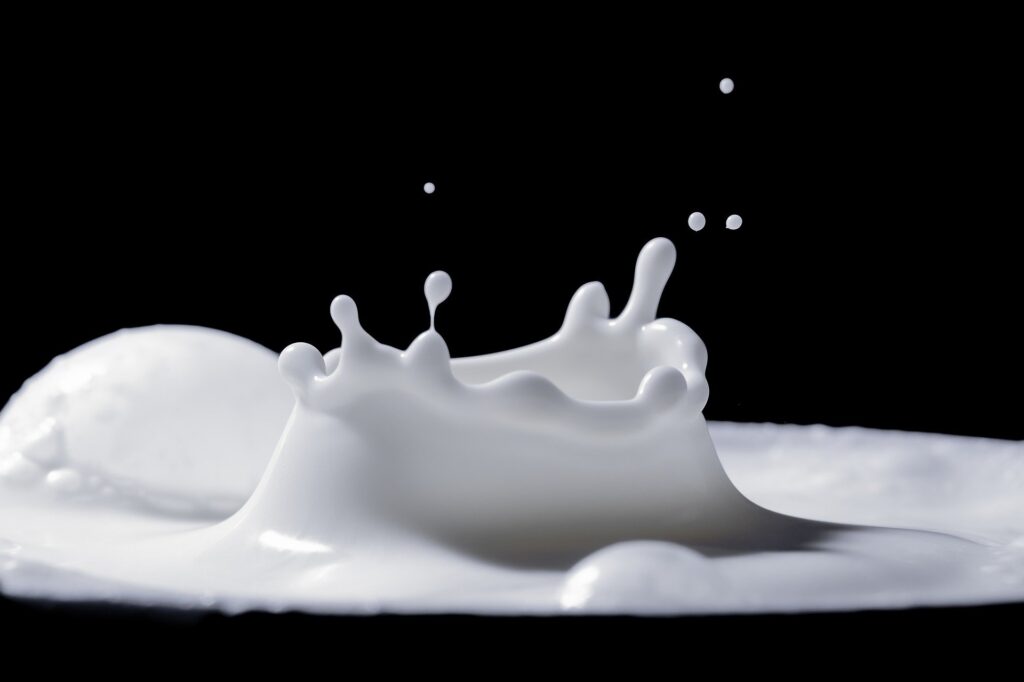
Raw Milk:

Raw milk is a natural cleanser that has been used in skincare routines for centuries. It contains lactic acid, which gently exfoliates the skin and removes impurities. When applied around the eyes, raw milk cleanses the delicate skin, leaving it soft and smooth.

Preparing the Rice Water and Raw Milk Mixture

Now that we understand the ingredients, let’s proceed with the step-by-step process of preparing and using this effective home remedy:

Step 1: Boil Rice

Start by taking one cup of rice and rinsing it thoroughly. Transfer the rice to a saucepan and add one cup of water. Boil the rice on medium heat for about 10 to 15 minutes until it becomes soft and cooked.

Step 2: Filter the Rice Water

Once the rice is cooked, strain the liquid using a fine-mesh sieve or cheesecloth. Collect the rice water in a clean bowl or container. Allow it to cool down to a comfortable temperature.

Step 3: Add Raw Milk

Take one teaspoon of raw milk and add it to the rice water. Mix the two ingredients well to ensure they are evenly combined. The addition of raw milk enhances the cleansing properties of the remedy, providing additional nourishment to the delicate under-eye skin.

Applying the Rice Water and Raw Milk Mixture

Now that the mixture is prepared, it’s time to apply it to the under-eye area to treat dark circles effectively:

Step 1: Cleanse the Area

Start by cleansing your face and the area around your eyes to remove any dirt or makeup. Pat the skin dry gently using a clean towel.

Step 2: Apply the Mixture

Using a clean cotton pad or your fingertips, gently apply the rice water and raw milk mixture in and around the eyes. Ensure that the mixture covers the entire under-eye area. For optimal results, leave the mixture on for 30 minutes. However, if you prefer, you can apply it before bedtime and leave it overnight.

Step 3: Rinse Thoroughly

After the desired time has passed, rinse off the mixture thoroughly with lukewarm water. Pat your skin dry with a soft towel.

Why It Works: The Science Behind It

Rice water’s toning properties contribute to reducing the appearance of dark circles by toning and tightening the skin. This action helps minimize the appearance of wrinkles and fine lines, resulting in a more youthful look. Additionally, rice water improves blood circulation, which helps reduce puffiness and revitalizes the under-eye area.

Raw milk acts as a gentle cleanser for the skin, effectively removing impurities and leaving it soft and smooth. It works in conjunction with rice water to provide a comprehensive solution for dark circles, offering both toning and cleansing benefits.

Conclusion

Dark circles can be a frustrating beauty concern, but with the natural remedy of rice water and raw milk, you can effectively reduce their appearance. The toning properties of rice water combined with the cleansing properties of raw milk create a powerful solution for brighter, revitalized under-eye skin. Incorporate this remedy into your skincare routine, and with regular use, you may notice a significant improvement in the appearance of your dark circles. Embrace the magic of rice water and say goodbye to tired-looking eyes!


Filed Under: Skin Care Tagged With: beauty benefits, beauty tips, cleansing properties, dark circles, home remedy, milk, natural solution, raw milk, rice, rice water, skin care, toning properties, under-eye skin

Natural Home Remedies for Acne: Malai and Besan Flour Paste

June 1, 2023 by sharvayonibeauty Leave a Comment

Acne, commonly known as pimples, occurs when the hair follicles on the face, chest, or back become clogged with oil and dead skin cells. This blockage, along with the presence of sebum, an oily substance produced by the sebaceous glands, creates an environment for bacteria to grow. While makeup may temporarily conceal acne, it doesn’t address the underlying issue and can even worsen the condition if low-quality products are used. Fortunately, natural home remedies offer a safe, reliable, and cost-effective approach to treating pimples.

Ingredients:

  • Malai (Fresh Cream)
  • Besan Flour (Chickpea Flour)

Method:

  1. Take a bowl and add malai (fresh cream) to it.
  2. Gradually add besan flour to the malai and mix well until a paste-like consistency is achieved.
  3. Apply the mixture to the affected areas, ensuring thorough coverage.
  4. Leave it on for approximately 10 minutes to allow the ingredients to work their magic.
  5. Rinse off the paste with clean cold water.
  6. For optimal results, repeat this remedy twice a week.

Why it Works:

  1. Malai: Malai, or fresh cream, is rich in anti-inflammatory and antibacterial properties, making it an effective remedy for acne-prone skin. Its application helps minimize pimples by reducing inflammation and combating bacteria. Additionally, malai acts as a natural exfoliator, gently removing dead skin cells and unclogging pores. It also has a tightening effect on large open pores, promoting a smoother complexion.
  2. Besan Flour: Besan flour, also known as chickpea flour, contains zinc, which has been found to fight the infections that contribute to acne breakouts. Moreover, besan helps regulate sebum production, the excessive production of which can contribute to oily skin and clogged pores. By reducing sebum levels and soothing inflamed skin, besan flour aids in the management of acne.

When it comes to treating acne, natural home remedies offer a gentle and effective solution without the need for expensive cosmetic products. The combination of malai and besan flour provides a powerful blend of antibacterial, anti-inflammatory, and exfoliating properties. By incorporating this simple paste into your skincare routine, you can combat acne, minimize inflammation, unclog pores, and achieve a healthier complexion. Embrace the power of natural remedies and enjoy the benefits of clearer, smoother skin.

Filed Under: Skin Care Tagged With: acne, antibacterial, beauty tips, besan flour, exfoliation, home remedy, inflammation, malai, natural face mask, pimples, skin care, unclog pores

Soothe Your Feet with Foot Soaks: A Simple Home Remedy for Foot Pain

May 23, 2023 by sharvayonibeauty Leave a Comment

Our feet carry us through life, supporting our weight and helping us navigate the world. Yet, they are often the most neglected part of our body when it comes to self-care. Foot pain, or footsore, is a common issue that can arise due to various reasons, affecting people of all ages. From incorrect shoe sizes to health conditions like sprains or fractures, there are multiple causes for foot pain. Fortunately, there is a simple and effective at-home remedy to alleviate footsore and promote relaxation. In this article, we will explore the benefits of foot soaks and guide you through a soothing foot soak routine to relieve pain and reduce stress.

The Power of Foot Soaks

Foot soaks offer a natural and accessible solution for foot pain relief. In addition to easing discomfort, foot soaks provide a relaxing and rejuvenating experience. They can be a beneficial practice for reducing stress and promoting overall well-being.

Preparing a Foot Soak

To create a soothing foot soak, you will need the following:

  • Half bucket of lukewarm water
  • 3 tablespoons of Epsom salt

Instructions for a Foot Soak

  1. Fill half of a bucket with lukewarm water.
  2. Add 3 tablespoons of Epsom salt to the water.
  3. Submerge your feet in the foot soak and allow them to soak for approximately 10 minutes.
  4. During this time, find a peaceful and comfortable space to relax.

Benefits and Results

Foot soaks provide several benefits for foot pain relief and overall relaxation. Soaking your feet in a warm Epsom salt solution can help alleviate pain, reduce inflammation, and provide an instant energy boost. Additionally, foot soaks can help relax muscles and joints, making them particularly beneficial for individuals with conditions like arthritis.

Incorporating Foot Soaks into Your Routine: You can perform a foot soak whenever you feel your feet are stressed, tired, or in pain. It is a versatile remedy that can be incorporated into your self-care routine at any time of the day.

Understanding the Mechanism

While the theory of Epsom salt entering the body through the skin has not been proven, soaking your feet in warm water alone can help relax muscles and loosen stiff joints. People have used Epsom salt baths as a home treatment for pain and swelling associated with conditions like arthritis.

Don’t neglect your feet any longer. Embrace the healing power of foot soaks and give your feet the care they deserve. By incorporating a simple foot soak routine into your self-care regimen, you can soothe foot pain, promote relaxation, and reduce stress. Remember, a little bit of pampering for your feet can go a long way in enhancing your overall well-being.

Filed Under: Health and Wellness Tagged With: arthritis, beauty tips, energy boost, epsom salt, foot pain, foot soaks, footsore, health and wellness, home remedy, lukewarm water, muscles, pain relief, relaxation, self-care, stress reduction, swelling, well-being

Mint Leaves for Teeth Whitening: A Natural Remedy

March 21, 2019 by sharvayonibeauty Leave a Comment

Stained teeth can be a source of discomfort and self-consciousness, leading many individuals to explore teeth whitening solutions. While commercial products abound, natural remedies using readily available kitchen ingredients offer a cost-effective and chemical-free alternative. In this article, we’ll delve into the use of mint leaves for teeth whitening—an easy and natural method that can help restore your smile’s radiance.

Things Needed

Before embarking on your journey to whiter teeth using mint leaves, ensure you have the following items:

  • A cup of fresh mint leaves (known as Pudina in Tamil)

The freshness of the mint leaves is crucial for achieving the best results.

Steps to Prepare

The process of preparing mint leaves for teeth whitening is simple and can be accomplished as follows:

  1. Drying Mint Leaves: Begin by taking the cup of mint leaves and thoroughly drying them.
  2. Crushing into Powder: Once the mint leaves are dry, proceed to crush them into a fine powder. This powder will serve as a natural teeth whitening agent.

How to Apply

Applying mint leaves for teeth whitening is uncomplicated and can be done as follows:

  1. Brushing with Mint Leaves: Take a small amount of the mint leaf powder and use it to brush your teeth thoroughly.
  2. Combination with Toothpaste (Optional): If you prefer using toothpaste, you can start by brushing your teeth with toothpaste and then apply the mint leaf powder for an added whitening effect.

Precautions

While using mint leaves for teeth whitening is generally safe, there are some precautions to keep in mind:

  • Sensitive Teeth: Individuals with sensitive teeth should exercise caution when using mint leaves, as they may experience increased sensitivity. Consult your dentist if you have sensitive teeth before starting this method.
  • Allergic Reactions: To rule out any allergic reactions, conduct a patch test by applying a small amount of the mint leaf powder to a small area of your skin. Monitor for any signs of irritation or allergies before proceeding with teeth brushing.

Tips

To maximize the effectiveness of mint leaves for teeth whitening, consider the following tips:

  • Consistent Use: Incorporate this natural teeth whitening method into your daily oral hygiene routine for consistent and noticeable results.
  • Maintain Good Oral Hygiene: Continue practicing good oral hygiene habits, such as regular brushing, flossing, and dental check-ups, to ensure overall dental health.

Benefits

Utilizing mint leaves for teeth whitening offers numerous benefits:

  • Anti-Bacterial Properties: Mint leaves possess anti-bacterial and anti-inflammatory properties, helping combat bacterial build-up and reducing the risk of infections, thus promoting fresher breath.
  • Strengthening Tooth Enamel: The vitamins and minerals found in mint leaves contribute to stronger tooth enamel, enhancing overall dental health.
  • Natural Moisture: Mint leaves help maintain the moisture and freshness of your teeth and mouth, resulting in a clean and comfortable sensation.
  • Cost-Effective: This method is cost-effective, making it an accessible and budget-friendly solution for teeth whitening.

Conclusion

The use of mint leaves for teeth whitening is a natural and straightforward approach to tackling stained teeth while promoting dental health. By following the provided steps, precautions, and tips, you can embrace this natural remedy to attain a brighter and healthier smile. While consistency is key to achieving the desired results, it’s important to maintain good oral hygiene practices to ensure overall dental well-being.

Filed Under: Skin Care Tagged With: beauty tips, brighter smile, dental health, dental well-being, home remedy, mint, mint leaves, Natural remedy, oral hygiene, stained teeth, teeth whitening, white teeth

Natural Hair Removal with Sugar and Lemon: An Effective Home Remedy

March 20, 2019 by sharvayonibeauty Leave a Comment

Natural Hair Removal: Sugar and Lemon Method

Introduction

Unwanted body hair can be a source of embarrassment, particularly for women who often perceive it as diminishing their beauty. Resorting to expensive artificial treatments to remove body hair has become common. However, there are several natural remedies that offer a cost-effective and convenient way to address this concern from the comfort of your home. In this article, we’ll explore one such natural hair removal method using sugar and lemon, which provides an alternative to costly salon visits and chemical-laden products.

Things Needed

Before you begin, ensure you have the following items ready:

  • One tablespoon of sugar
  • One tablespoon of honey
  • One tablespoon of lemon juice

Gather these simple yet effective ingredients to prepare the natural hair removal mixture.

Steps to Prepare

Creating the sugar and lemon hair removal mixture is straightforward:

  1. Ingredient Mixing: Take a metal bowl and combine one tablespoon of sugar, one tablespoon of honey, and one tablespoon of lemon juice.
  2. Gentle Heating: Heat the mixture slowly to prevent burning, ensuring the sugar dissolves. Continue heating until the mixture reaches a thick, wax-like consistency.

Precautions

While the sugar and lemon method is a safe and natural hair removal option, some precautions should be kept in mind:

  • Skin Sensitivity: Individuals with sensitive skin should perform a patch test to ensure they do not experience any adverse reactions. Apply a small amount of the mixture to a small area of your skin and wait for any signs of irritation.
  • Temperature: Be cautious while heating the mixture to avoid overheating, as this can lead to burns or discomfort during application.

Tips

To achieve the best results with the sugar and lemon hair removal method, consider the following tips:

  • Direction of Application: Apply the wax in the direction of hair growth for effective hair removal.
  • Use Waxing Strips: Gently pat a strip of waxing cloth into the still-soft wax after application. Allowing it to cool and harden will facilitate easy hair removal, similar to regular waxing.
  • Post-Treatment Care: After hair removal, soothe the treated area with a gentle, hydrating lotion to minimize any potential redness or irritation.

Benefits

This natural hair removal method offers various benefits:

  • Cost-Effective: It is a budget-friendly alternative to expensive salon treatments and chemical-laden hair removal products.
  • Gentle on the Skin: The sugar and lemon mixture is gentle on the skin, reducing the risk of irritation or allergies commonly associated with chemical products.
  • Natural Ingredients: The method employs natural ingredients, making it a safe and eco-friendly option.
  • Effective Hair Removal: The mixture effectively removes unwanted hair, leaving the skin smooth and hair-free.

Conclusion

The sugar and lemon hair removal method provides an accessible and natural solution to address unwanted body hair. By following the simple steps, taking necessary precautions, and applying useful tips, you can achieve effective hair removal without resorting to costly and potentially harsh alternatives. Embrace this natural approach to hair removal and enjoy the benefits of smoother, hair-free skin.

Filed Under: Skin Care Tagged With: beauty tips, hair removal, home remedy, honey, lemon, natural remedies, skin care, sugar, sugar and lemon, unwanted body hair, unwanted hair removal

  • Page 1
  • Page 2
  • Go to Next Page »

Primary Sidebar

Looking for something?

Connect with us online

  • Email
  • Facebook

Popular Posts!

Butter and Coriander juice to get rid of Dark circles

Natural Oil Control Face Pack Using Coconuts

Get Wrinkle Free Skin with Watermelon

Strengthen Your Nails Naturally: A Guide to Healthier and Stronger Nails

Get Rid of Brown Hair Naturally using Senna and Marjoram Dried leaves

Categories

  • Hair Care
  • Health and Wellness
  • Skin Care

Tags

beauty benefits beauty tips Chemical-Free Hair Care coconut oil curd curry leaves dark circles DIY Hair Care egg exfoliation eye care glowing skin hair care Hair Care Routine hair care tips hair growth Hair health Hair Health Improvement hair loss Hair Nourishment Hair Strengthening health and wellness honey hydration lemon lemon juice milk natural beauty natural conditioner natural face mask Natural hair care Natural Hair Growth Natural Hair Remedies natural ingredients natural remedies Natural remedy natural skincare olive oil radiant complexion radiant skin scalp health Scalp Nourishment skin care skincare skincare routine

© 2025 · Sharvayoni · Privacy Policy · Disclaimer